
Tree therapy: How to photograph rainforests (Part one)
Rainforests are truly one of the world’s most astounding natural wonders.
Playing vital roles in the global ecosystem and housing over 50% of Earth’s plants and animals, they’re incredibly important for life as we know it. From tropical rainforests with giant leaves to cool temperate areas draped with hanging moss, there’s no shortage of splendour within their green walls.
But beautiful as they are, rainforests are notorious for being a challenging subject for landscape and nature photographers. They’re exceedingly chaotic and busy, making it difficult to piece together an image that is both coherent and aesthetically pleasing.
So without further ado, here are my top tips to photographing these complex yet rewarding ecosystems.

Taking it slow - explore with an open mind
One of the biggest mistakes many landscape photographers make is taking out the tripod and camera as soon as they arrive on location.
The more you have to worry about heavy, clunky equipment, the less you can pay attention to the surrounding landscape. With so much going on in a rainforest setting, it’s especially important to slowly absorb what’s around you.
Set aside plenty of time for slow observation so you don’t feel rushed. Take in each element and notice what catches your eye. Often this is what will lead to your best – and most meaningful – rainforest photos.

Equipment
One of the great aspects about rainforests is that they can be captured in a variety of focal lengths. I personally have images in my portfolio ranging from 14mm to 400mm.
With that said, a zoom lens in the mid-range is very useful. I love my Nikon 24-120mm, which provides me with a huge focal range. My Nikon Z 14-24mm lens also gets a regular workout, emphasising interesting trees from their surroundings. A telephoto lens will help you isolate those delicious green details.
A sturdy tripod is another essential piece of equipment. Since the lighting is almost always dim underneath the canopies, you’ll want to be able to get a sharp frame at a slightly slower shutter speed. This will also make certain Photoshop blending techniques much easier, since there won’t be any movement between exposures.

A circular polariser filter (CPL) is a key item too. Though they’re not always necessary, they come into their own for reducing reflections on foliage and wet surfaces. This enriches the colour within the scene, as well as simplifying the photo by reducing glossy distractions.
Finally, have plenty of microfibre cloths to keep your camera dry and your front lens element clear. Don’t forget a rain cover for your camera bag, and a good shell jacket to keep yourself dry.
Conditions for every occasion
You may have heard to only head into the trees during a cloudy or foggy day. The truth is, there’s something to shoot no matter what conditions you get – it’s just about knowing how to adapt. With that said, foggy conditions are certainly the ideal to aim for in a forest. The atmosphere creates depth, helping separate your subject from a messy background.
These conditions work especially well for wide-angle compositions, where there may be many extra elements competing for attention. Get lucky and you may even see beams of light as the sun breaks through the fog.
Head out early in the day after some rain for your best chance to catch fog and mist. Even rain can produce a similar effect, so don’t be afraid to don the jacket and shoot in wet conditions.
Though direct sun is a rather taboo form of light to photograph, it does offer some great creative applications. For example, backlit branches and foliage are a fun concept to play with at longer focal lengths, utilising silhouette, and underexposure for striking images.
It’s also a great way to create separation for your subject tree in lieu of fog, or even for creating a sun star. Keeping your foreground shadowed and your background illuminated is a fantastic compositional tool to lead the viewer’s eye through the scene.
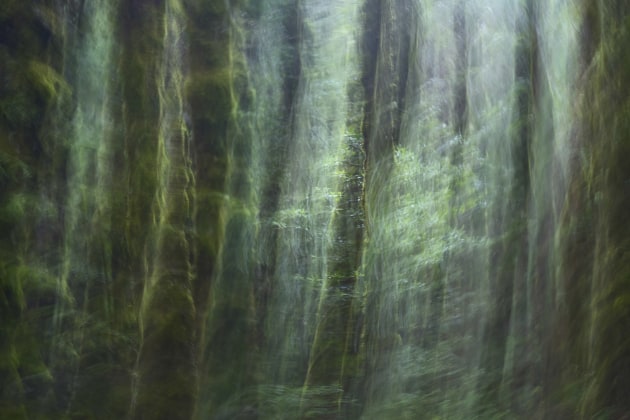
Finally, while wind can make focus stacks and sharp foliage a challenge, it can also be used to your advantage. Try deliberately slowing down your shutter speed and capturing the motion of foliage blowing in the breeze for a more impressionistic result.
Creative framing
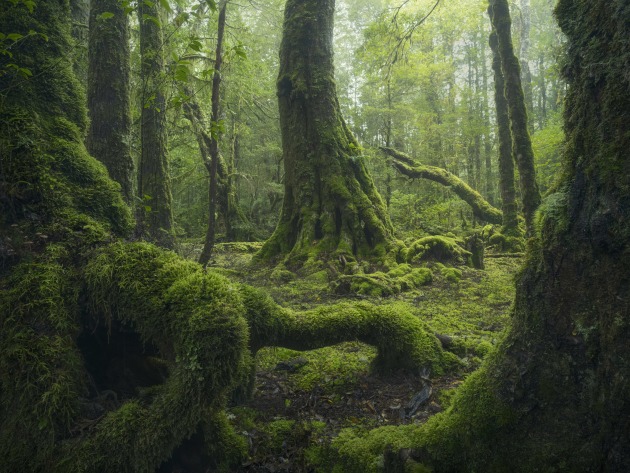
When working with a wide scene, find something to help lock viewers into the image. An obvious example would be a charismatic tree, or a waterfall. A sun-star also works well for this purpose. The goal is to create an image that you can explore without feeling lost – having an obvious point to come back to aids this greatly.
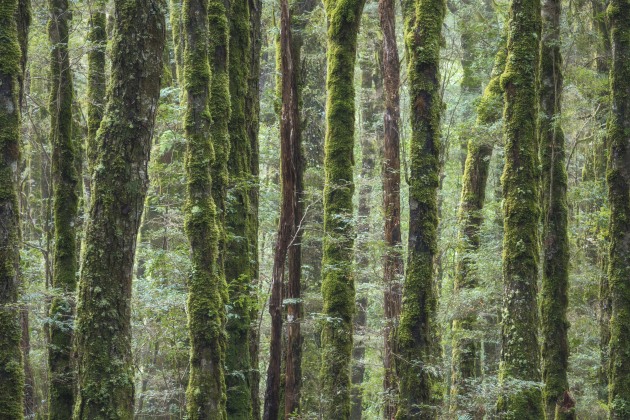
Once this has been established, composition now comes into play. Sometimes keeping the image simple is the best way to go. As mentioned, forests are already incredibly chaotic, which means bringing in more elements can be detrimental to the composition’s effectiveness.
In a simple composition, be conscious about placement to ensure the subject looks its best and isn’t competing with distractions. Keep it clear of extraneous elements, even small ones such as branches and sticks.
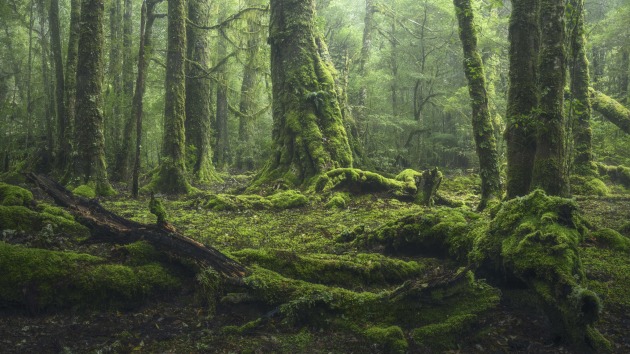
In many cases, however, using other natural elements to enhance visual flow can be very effective. Get creative with ferns, branches, leaves, roots, fallen logs, water flow, and even other trees, to create more interest and emphasise depth.
You’ll also want to utilise transitions (such as near-to-far, dark-to-light, and cool-to-warm) to draw the viewer into the scene, making them feel like they’re standing amongst the greenery. Try emphasising certain foreground elements to help simplify the scene.
Getting low and close to them will enlarge their presence in the frame, hiding smaller details that can become rather busy. Try using surrounding trunks to frame the image, acting as a visual guide to the centre. Finally, if introducing extra elements, be careful to not let them overpower the hero of the image.

Conversely, when your visual anchor is something like a sun star, the subject – in a rather abstract sense - becomes the concept of depth and light. When this is the case, the only real concern is that of compositional balance and aesthetics.
These sorts of images can be captured from 11mm to 60mm, so don’t feel restricted to your wide-angle lens!
Look out for part two next week.
About the author: Benjamin Maze is a landscape photographer based in Sydney. He’s been passionate about capturing nature since 2014, with a particular drive to exemplify Australia’s unique places and less-explored locations. Utilising a diverse approach deriving from a range of influences, he loves capturing everything from dramatic vistas to intimate details. He offers archival prints of his images as well as workshops where he helps others improve their own photography. See more of his work at benmazefineart.com.