The magic of mono: Tips for creative architecture b&w shots (part two)
This is part two of a two part series on capturing and editing long exposure black and white architecture images. You can see part one, from last week, here.
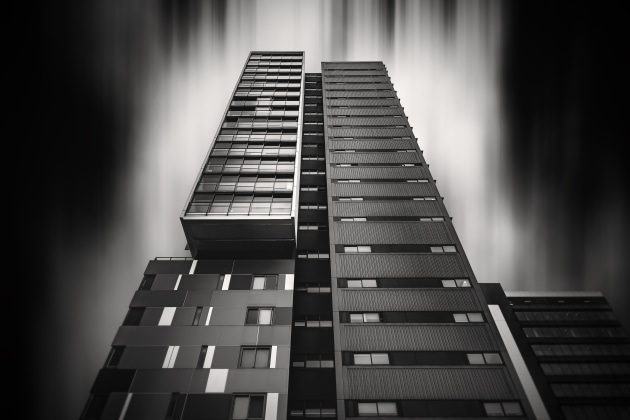
Lightroom editing
Crafting a photograph through editing is a personal journey, and each photographer will approach the process differently. Here, I’ve listed a series of steps that offer a framework for transforming your raw image into a compelling black and white photograph. You’ll need Adobe Lightroom and Photoshop to follow along.
First, import the raw into Lightroom. Use the Tone Control Auto function along with White Balance adjustments located under the Library section to achieve the desired colour and lighting balance.
Next, navigate to the Develop tab. Under Lens Correction, select ‘Remove chromatic aberration’ and ‘Enable profile corrections’ to naturally correct lens-induced irregularities. You can also use the Transform tool to straighten, rotate, and modify aspect ratios. Use the Auto button or tailer settings for your preferred outcome.
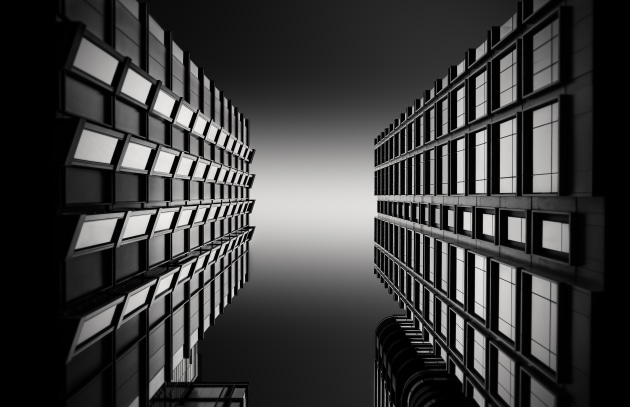
In the Detail segment, use the sharpening tool and denoise function to refine the image, eliminating noise and enhancing clarity. Doing this in Lightroom, as opposed to Photoshop, ensures the preservation of image quality in the raw.
Lastly for Lightroom, delve into the Basic tab. There’s plenty of tools here, and how you edit is up to your artistic vision. A couple of pointers - highlights, shadows, whites, and blacks’ adjustments will help reveal architectural intricacies.
The texture and clarity sliders can also highlight details in the building’s features, and the dehaze slider can be used for a subtle sky enhancement. Additionally, use the spot removal tool to eliminate any undesirable blemishes.
Finally, if you don’t want to take your image editing into Photoshop, you can do a simple conversion to black and white in the Develop section. In the Basic editing panel, use the Saturation bar to remove all colour, then scroll down to HSL/Color in the editing panel, and play with the individual colours under the Luminance heading to fine-tune the shot.
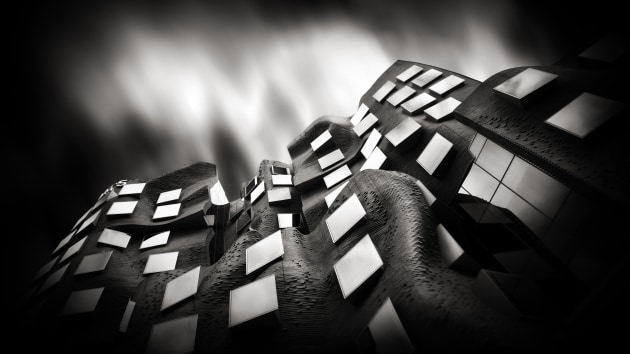
Photoshop editing
If you’re keen to explore what Photoshop can do, first, in Photoshop, duplicate the original layer to safeguard it, and using the cloning or healing tool, remove any imperfections or unwanted objects (such as trees, cables, building marks etc).
Next, separate the sky and building components into distinct layers. My preferred technique involves duplicating the original layer again (equalling three layers in total), adding a mask layer to the top layer, and then using a polygonal lasso tool to select the sky. Finally, I use a black coloured brush in the mask layer to remove the sky.
This allows for focused attention and editing options to the building design and the sky separately.
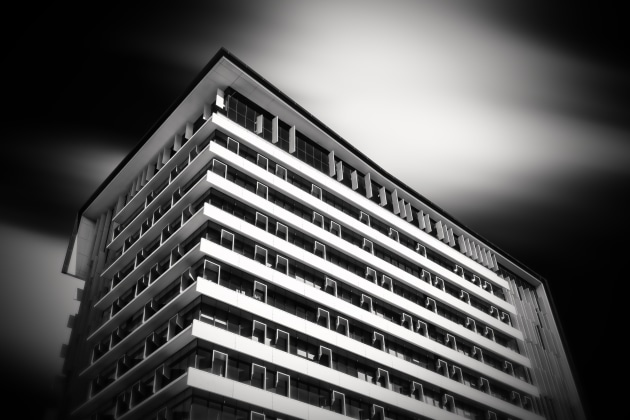
Using photoshops new adjustment options, convert both the architecture and sky layers to a black and white present. The Adjustment options can be found on the right in the Panels Group, in between the Properties and Libraries tab (if running the latest PS). Then, under Adjustments Presets, click More and select the best Black and White preset feature for your image.
Choose a desaturated option that provides strong contrast to the black and white sections.
Enhance each layer’s impact by applying a curves adjustment layer. (Layer>New Adjustment Layer>Curves) Lowering a point near the bottom left intersection darkens the shadows, while raising the line at the top right intersection brightens highlights.
Key is to tailor the shadows further for the sky background to deepen its tone. This creates a visual impact of the black and white sections, making the design pop.
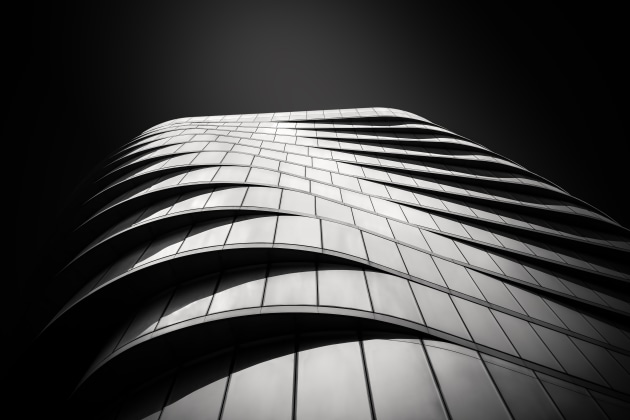
To intensify shadows or highlights, use the burn tool. You have the option to utilise Photoshop’s built-in burn tool, or you can create a custom burn layer for more precise control.
First, create a new burn layer (Layer>New>Layer, change mode to Overlay, and click Fill with Overlay-Neutral Colour (50% gray).
With a soft brush set to low opacity, around 10%, and adjusted to your preferred size, apply black for darkening and white for brightening, strategically brushing over sections as required.
For a finishing touch, consider applying a vignetting effect. This will subtly direct viewers' attention to the central focal point - the architecture. You can do it by creating a fresh adjustment layer and choosing a Gradient Fill (Layer>New Fill Layer>Gradient).
Next, save the layer with a desired name, and configure the gradient to transition from black to transparent. To do this, click in the colour pattern next to the word Gradient, Click the little rectangle (stops) above the colour line on the left side and make sure the Opacity is at 100%.
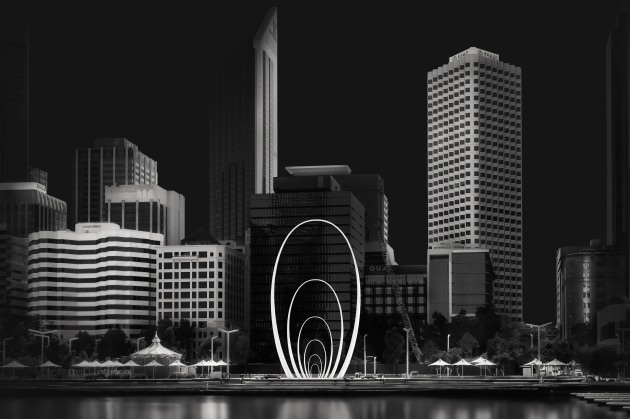
Then click the little rectangle above the colour line to the right and make sure the opacity is at 0%. If the colour of the little rectangle (below the line, on the left) is not black, double click it and change the colour in the Colour picker to black. Do the same for the little rectangle below the line, on the right, but to white.
For style, choose Radial, and then select Reverse (for instances where the central area will be rounded).
Finally, using a large soft brush at opacity 100%, paint within the mask layer to gradually remove the gradient, resulting in a gentle darkening along the corners and edges of the photograph – and you’re done!
What I love about this style of photography is the possibilities are endless, limited only by your own creativity.
I hope this article gives you ideas of your own to experiment with and explore your camera, the equipment, settings, and editing, and ultimately embrace your own creative inspiration. ❂

