
Photo tip of the week: How to take sharp landscape images
If you want to capture sharper landscape images there are a few techniques you need to master first. From focus to focus stacking, here’s everything you need to know.
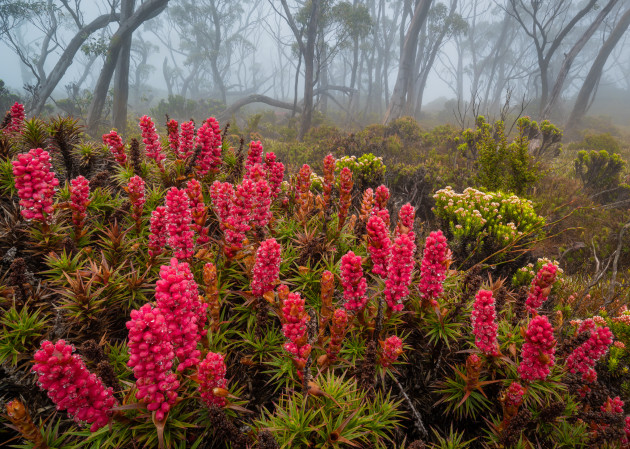
Capturing sharp landscape images is harder than it looks. Technically, we can only really focus on one point, or plane, in an image. For the landscape photographer, the trick then is to make it appear the entire image is in focus – or at least the important parts of the scene appear sharp.
It’s a juggling act between focus, composition, aperture and depth of field. There are compromises and workarounds (as there always are in photography), but if you know what you’re doing, pin-sharp images are just around the corner.

1) Go wide
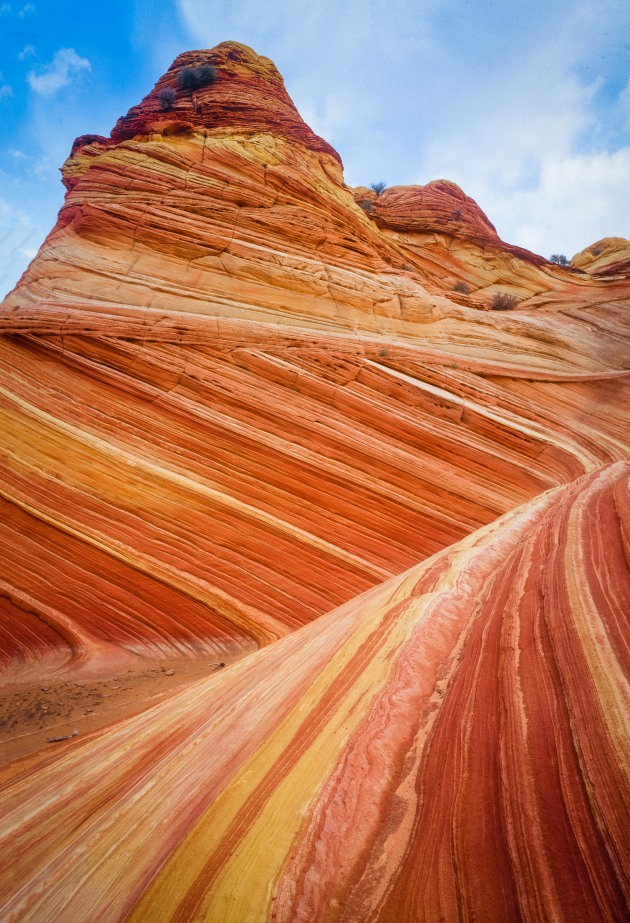
The first step in capturing sharp images is choosing the right lens. Typically, landscape photographers use wide- and ultra-wide angle lenses to get extensive depth of field. Wide angle lenses have a more gradual decrease in focus away from the point of focus so they appear to have greater depth of field than a longer lens.
This is basically because a longer focal length lens not only magnifies the scene, it also magnifies the drop off of depth of field – much more than a wide angle lens does. So a wide angle lens is a good place to start if you want more of your image to appear sharp.
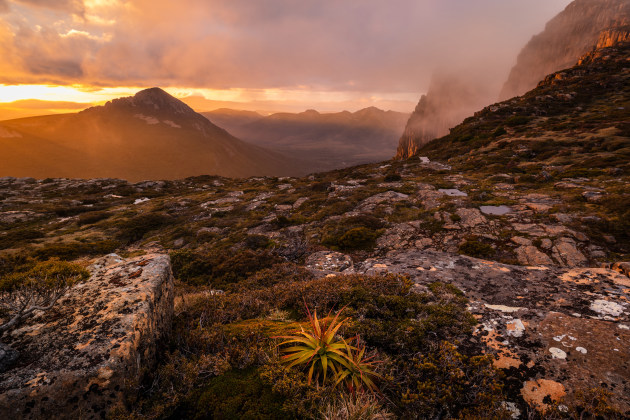
And while it’s a start, it isn’t quite enough. Take a shot of a mountain with a prominent foreground in the scene with a 20mm full frame lens with an aperture of f/1.4 and an awful lot of it is still going to appear soft. You need more tools to achieve a deep depth of field.
2) Smaller aperture, more depth
Another way of increasing depth of field is to use a narrow aperture. In the case of apertures, larger numbers like f/22 represent narrow apertures while small numbers like f/1.4 represent wide apertures.
The reason for this is the way the light passes through a lens. With a wide aperture (small number) light arrives at the sensor at a more heavily converging angle than if it was passing through a smaller aperture. Because the angle of the light path is more gradual with the smaller aperture the focus falls off slower either side of the focus plane so the lens appears to have more depth of field with a small aperture.
At this point you might be thinking the secret to pin-sharp images, with good front-to-back sharpness, is simply to choose the narrowest aperture setting on your lens.
Unfortunately it’s not quite that simple.
3) Middle aperture, peak sharpness
As light passes a sharp edge, a small amount at the edge of the ray is slightly diffracted. If light is passing through a relatively large aperture, the percentage of light that’s diffracted as it passes the aperture edge is relatively low.
If we shut the lens down to its minimum aperture, the percentage of light that’s diffracted at the edge is much higher. Consequently, most lenses project a slightly softer image at their smallest apertures.
For this reason, most experienced photographers avoid the smallest apertures in favour of the middle apertures – usually somewhere between f/11 and f/16 – which offer a better balance between sharpness and depth of field.
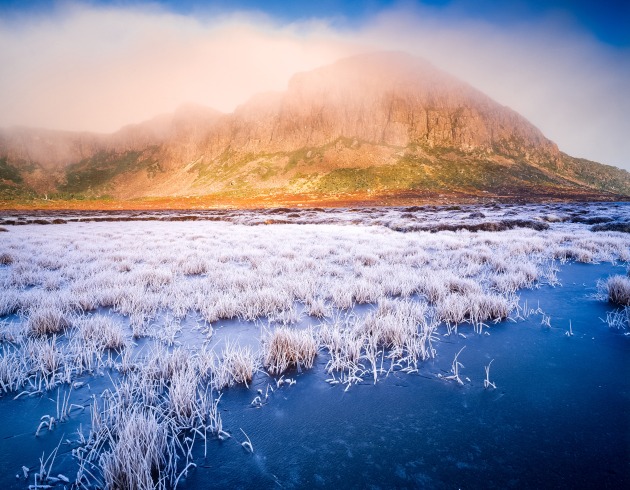
4) Hyperfocal distance - easier than you think!
Obviously the point you focus on has a big effect on whether your image appears sharp from front to back. For landscape photographers, knowing how to calculate the hyperfocal distance is invaluable.
Hyperfocal distance is simply the distance from your camera lens to the optimal point of focus that will maximise depth of field in the image. It sounds complex, but working it out is really as simple as looking up some numbers in a table.
The variables that affect hyperfocal distance are sensor size (say, whether you are using a camera with a full-frame, APS-C or four thirds sensor), the focal length of your lens and your aperture setting. If you know these three things working out the hyperfocal distance is easy. There are plenty of simple hyperfocal distance tables online, or you can choose from a number of smartphone apps that can do the job.
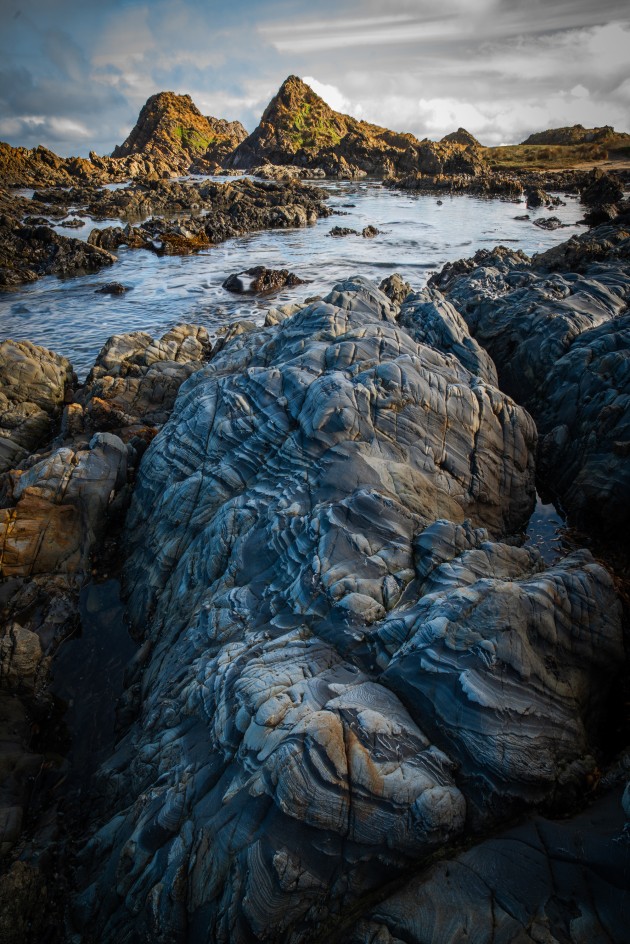
5) Focus stacking
In the last decade or so, photographers have had access to a technique that lets them achieve almost unrestricted front-to-back sharpness. Focus stacking uses software to stitch together multiple exposures, each with a different focus setting, to produce a single perfectly sharp image. It’s like capturing an HDR, but instead of exposing for the shadows and highlights, each image is focused on a new part of the scene.

There are a couple of technical issues to consider when shooting the component images for a focus stack.
First, it’s essential the camera does not move between shots so use a solid tripod and don’t extend the centre column as it reduces stability.
Use a shutter release and select the ‘mirror lockup’ option in the camera menu to prevent unwanted movement and shutter shock.
I use live view to focus as it shows me the image on the sensor. If the screen is sharp in live view mode it will be equally sharp in the final image. I always manually focus as I like to have complete control over the image.
Next, I decide which parts of the image I want to be in focus. Usually, but not always, I want everything in focus.
Bearing in mind what I said about the negative effects of diffraction, an aperture of f/8 or f/11 is generally the best choice for optimal sharpness, and still offers a reasonable depth of field.
For the first shot, focus on the nearest object in the scene that you want to be sharp and fire the shutter. Move focus a small amount into the scene and take another image and so on until you have taken a series of images all the way to infinity. Normally, I shoot between three and four images.
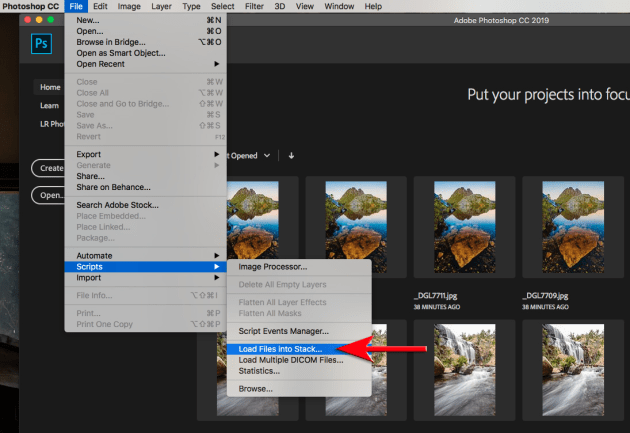
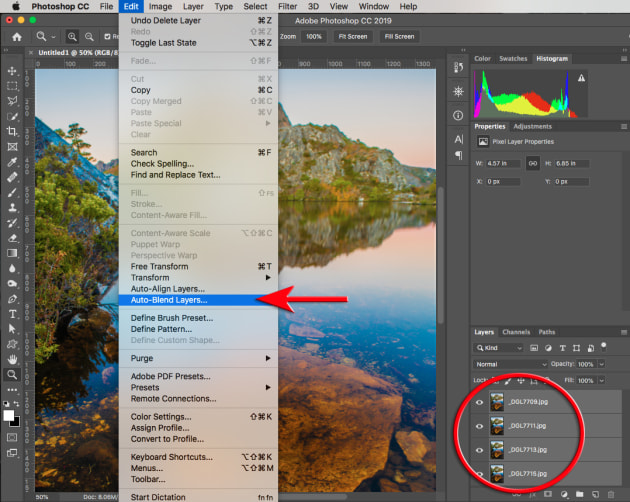
You can use a program like Photoshop to blend the images or there are specialist programs such as Helicon Focus and Zerene Stacker.
As far as I know, only Photoshop and Helicon Focus are able to stack RAW files. Other programs can stack JPEG and TIFF files but not RAWs. Helicon is very versatile and the finished image is easy to correct though sometimes it’s just easier to load a series of layers into Photoshop and selectively correct the image manually. The step-by-step guide on the following page explains how to focus stack in Photoshop. Happy shooting!
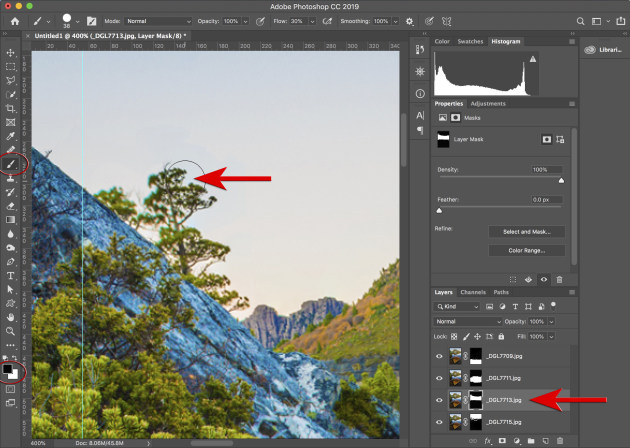
How to ‘focus stack’ in Photoshop

About the author: Tasmanian Geoff Murray is a wilderness photographer and expeditioner. He uses his images to show what is at stake as our natural world diminishes. See more at geoffmurray.com.