
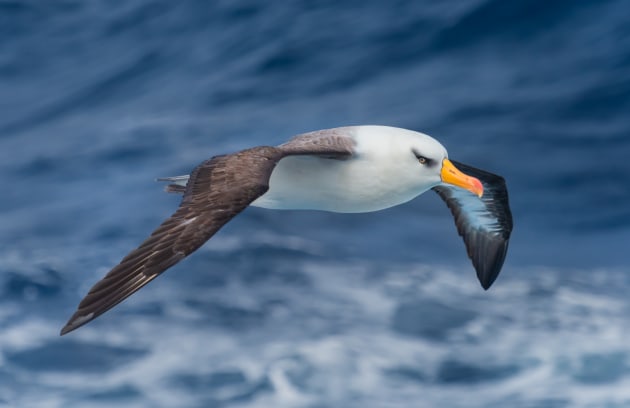
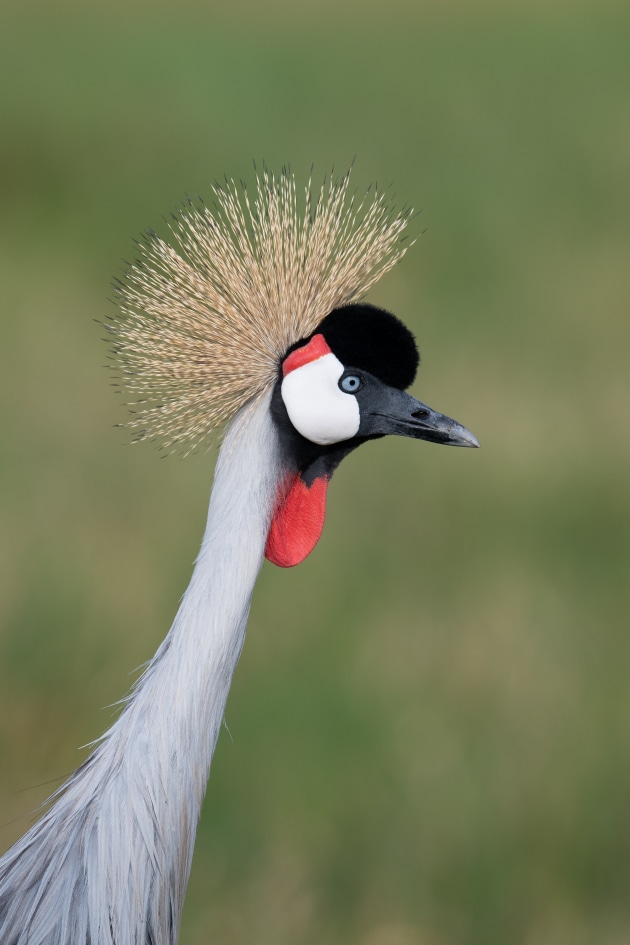
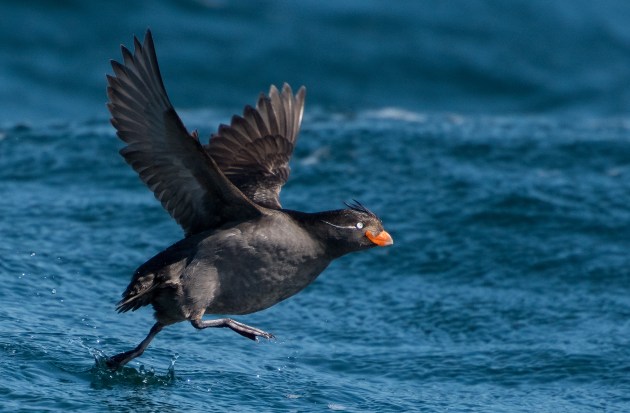
A pro shooters method for capturing great bird images
Photographing birds can be an absolute joy but for many photographers it can also be a real challenge, especially for beginners. Below are six tips that will help you on your way to achieving great bird images.
1. Be Patient
There is no question whatsoever that you need lots of patience when photographing birds. Quite simply, birds fly, run and hop around most of the time. If you are expecting to ‘nail’ a shot each time, you will be greatly disappointed.
Keep trying and if you aren’t succeeding, try some more. NEVER get disheartened, as it does take time to master the art of good bird photography. Instead of feeling dejected by the number of misses you might have, look at it as a great learning curve. The more you practice, the easier it becomes.
2. Learn From Others
Study the images of bird photographers whose work you really like. If available, check out the EXIF data on the image and study the aperture, shutter speed, ISO etc used. Join specific bird photography-related Facebook groups, read specialist bird photography books and magazine articles or join a local camera club.
When I started out in bird photography some 23 years ago, I basically became a ‘human sponge’. I studied the various techniques used by the pros, practised like crazy and practised some more! The more you try, the better you will become. Learn from your mistakes and don’t get disheartened.
3. How To Get Close To Birds
Move slowly - this may seem logical but I regularly see bird photographers moving in too quickly and scaring off the bird(s). Slow, deliberate movements mean that the bird(s) won’t feel threatened.
When approaching a bird, walk slowly and then stop and take a few shots. Then move a little closer and take a few more shots. This way, you aren’t tempting fate by moving until the bird flies away and you didn’t get the chance to get even one shot!!

4. Choosing The Best Season To Photograph
At certain times of the year, such as spring, some species of male birds regularly display to females. They will often be more tolerant of photographers being close, as they are so absorbed in trying to court the girls! One absolute ‘no no’ is setting yourself up in front of a bird’s nest, especially one that’s exposed and in full view. This can disturb the parent birds, who are either incubating their eggs or feeding their chicks.
This is especially critical late in the day, as a person waiting near a nest may make the birds nervous to fly in and incubate or feed, before the onset of dark. If a bird doesn’t get back to the nest before dark, the eggs won’t hatch and chicks will die.
Also, birds such as Currawongs are known to gravitate to where photographers are and your presence will alert them to where a nest is, full of chicks. If you love your birds, which I suspect you do if you are into photographing them, then please don’t even consider sitting out in the open near a nest.

5. Use Camouflage
Over the years, I have sat in various camouflaged bird hides, so as to blend in with the surroundings and not startle the birds I’m photographing. A good hide (or blind) should be made of material that doesn’t let in light, especially after sunrise or before sunset. If your silhouette is seen, many birds won’t come near you.
Make sure your lens, which pokes out via a hole in the hide, is also camouflaged. Companies such as Lenscoat sell neoprene lens covers which have different camouflaged patterns and can be purchased to suit most lens models.
I have also had success with camo-coloured ponchos. I recommend finding a spot where birds bathe, preen, court etc. Set up a camping chair and tripod with a gimbal attached, connect your camera/lens combo to it and sit down. Then after putting your poncho on, remain still and be very quiet. You will be surprised how readily birds come in and behave quite naturally around you.

6. Which Lens Is Best?
Owning a lens with a decent focal length (minimum of 400mm if possible) is recommended. That way, even if you are photographing tiny birds, you don’t have to crop as much as when you are using a lens with a much shorter focal length.
Too much cropping means you lose too many pixels, so if you want to print out images at a decent size, you will end up with a pixelated print. Even if you only post your images online, too much cropping will create unsightly artefacts.
Lenses with wide apertures also help in letting in more light, especially in low-light situations like rainforests or on cloudy, gloomy days. Yes, they are often heavier to hold and more expensive but often much sharper and faster focusing, too.
Happy Photography!
Michael Snedic is one of Australia's most experienced and published professional wildlife and nature photographers. He is the owner and operator of WildNature Photo Expeditions and has been presenting photography workshops and tours across Australia and the world for the last 17 years.
If you would like to learn how to take magazine-quality images and do so in stunning wildlife and wilderness locations, please visit WildNature Photo Expeditions.