
5 Lightroom shortcuts you need to know
Once you’ve got the hang of editing in Lightroom, these 5 keyboard shortcuts will not only speed up your workflow, but give you more options to create better images.
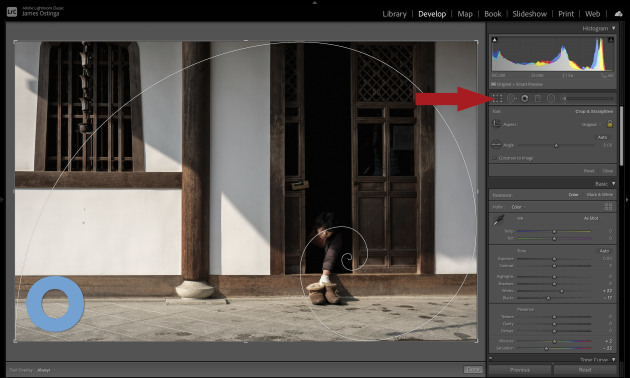
1) Cropping
Cropping is one of the most common tasks we do in Lightroom, but did you know you can make the process more intuitive by toggling through different crop overlays? Crop overlays are line guides that show you common compositional rules like the ‘rule of thirds’ and the ‘golden spiral’.

In the Develop module, press R on your keyboard to bring up the crop tool, then type O to cycle through the various crop overlays. If there are some overlays you use more than others, go to ‘Tools > Crop Guide Overlay > Choose Overlays to Cycle’ to customise which overlays appear.
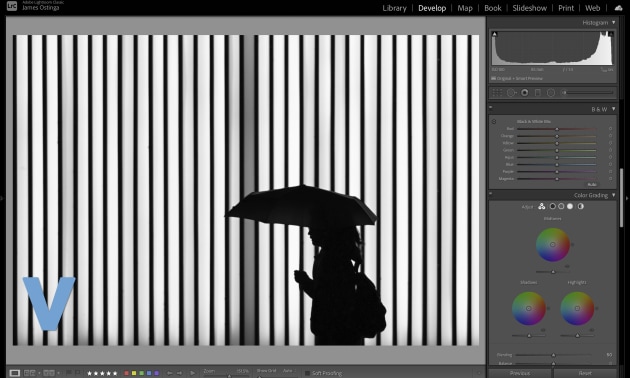
2) Go mono
Want a quick and easy way to see if your colour image works in black and white? In the Develop module, press the V key. Sometimes colour can be a distraction – getting rid of it can help you see the potential of an otherwise uninteresting image.

3) Auto sliders
You may already know that you can automatically set the White Balance and Tone in your image by clicking the Auto option on the right of the basic panel, but did you know you can also set an Auto value for each slider individually?
Shift-double-click a label and Lightroom will give you the recommended value for that setting. If Lightroom recommends too much exposure, say, dial it back a bit. Too little? Push the slider up.
If you want to reset any of the sliders, just double-click the label and the slider will return to zero.
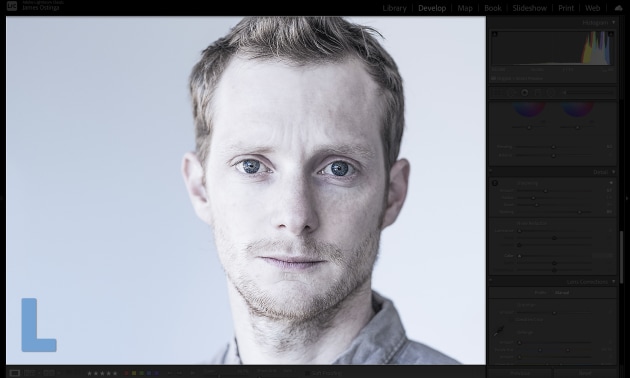
4) Lights out and full screen
A useful way to simplify your workspace and get a better overview of how your edits are looking is to use the Lights out and Full Screen shortcuts.
Sometimes you want to see your image without the clutter of the Lightroom panels. Lights Out mode makes it easier to focus on the image, without all the messy stuff. Press L to dim the interface and everything else on the screen, apart from the image in the main panel. Another useful shortcut is F, which drops out all the panels, and displays the image full screen on your computer.
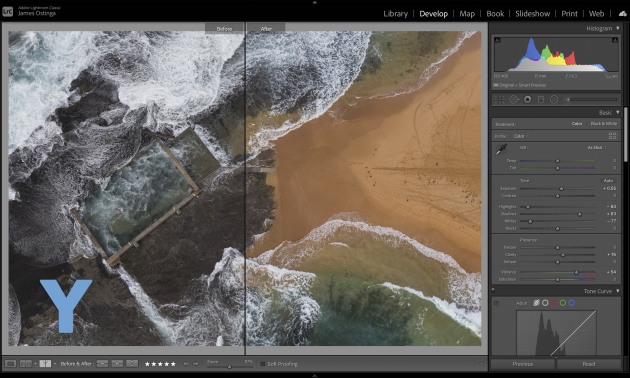
5) Before and After
This is another favourite. It’s really easy when you’re editing in Lightroom to lose track of where you’re up to. Luckily there’s a shortcut to help you see a before and after view. To toggle between the ‘before’ and ‘after’ view in the Develop module, press the ‘backslash’ \ key.
This is one of the most useful shortcuts I use and I’m constantly toggling this view on and off. Another option is to press Y, although I don’t find this view as useful because it uses so much more screen real estate and therefore makes the image much smaller. However, Shift-Y brings up a split view which lets you run your image larger over more of the screen. Try them all to work out which you prefer. ❂
Look out for next week's feature where we share 5 more shortcuts.