
10 quick tips for better flat lays
Further to our piece on capturing better flat lays from last week, here's 10 more general tips to help you capture interesting flat lay images.
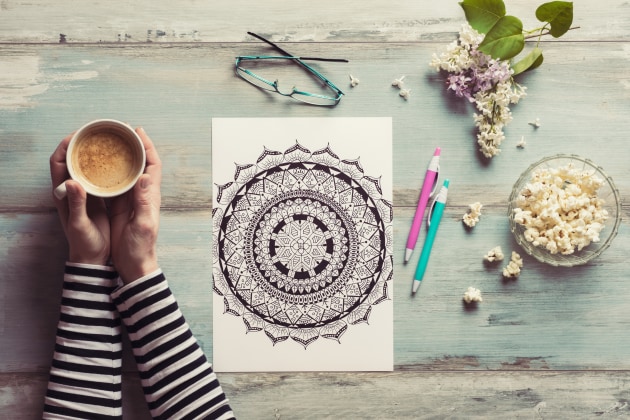
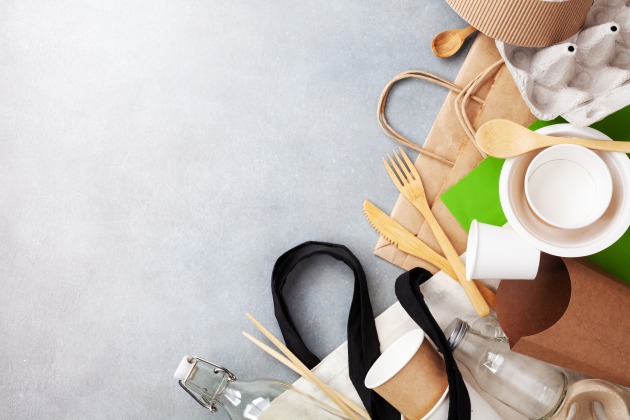
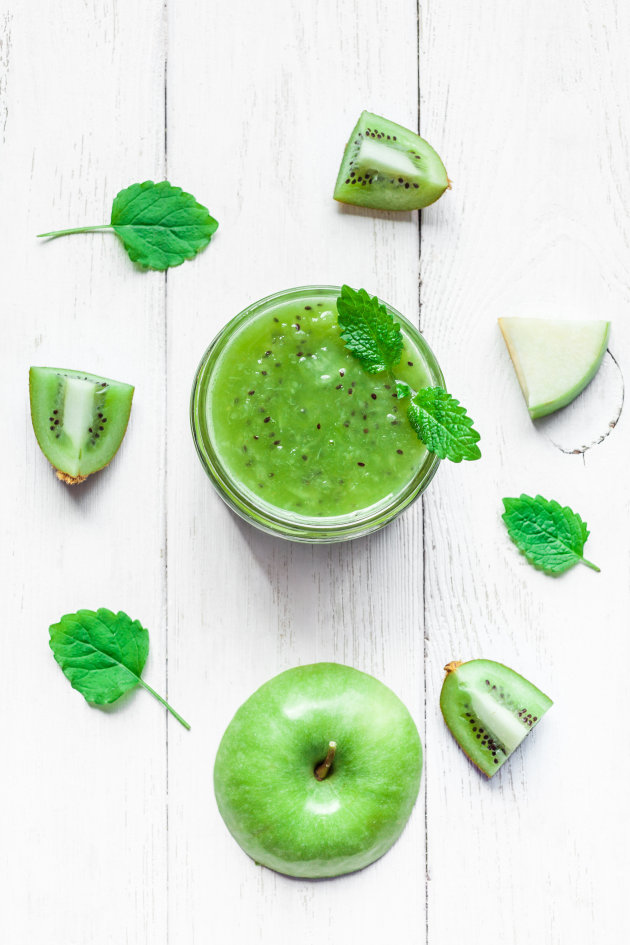
1) Find a theme or an interesting object and then find a good collection of props to support your idea. The more props the better as you can swap objects in and out until the design looks strong.
2) Any surface can be used as a background for a flat lay, including tabletops, wooden floors, old pieces of rusty tin or coloured card. You can even use flat surfaces in nature, including flat rocks in the bush or sand on a beach. Flat lays can be constructed on any flat surface, anywhere!
3) It is possible to shoot flat lays handheld, but a good tripod makes the process so much easier. Using a tripod allows you to keep the composition constant while you finesse the design and lighting of your photograph. Some tripods allow you to offset the central column laterally across the top of the legs, and this not only makes it easier to aim the camera directly downwards but it also helps to keep the tripod legs out of the composition. If you are working with the central column extended laterally, just remember to put some weight on top of the legs to counter the off-set position of the camera.

4) Lenses in the 50mm to 85mm range usually give you best results when shooting flat lays. Wide-angle lenses often incur distortion but they also have a habit of revealing the sides of objects along the edge of your flat lay, and this can degrade the graphic nature of your image.
5) Working with window light is a good starting point when exploring flat lays, but you can use any light source for these projects including desk lamps, torches and even candles. Photographing flat lays is a great way to explore and experiment with light!
6) Strong styling and design are key to making a flat lay interesting. Strong lines and diagonals, repeating shapes and the tasteful use of colour will all add visual strength to your image.
7) Give every object in your flat lay a good clean - you might not notice the dust and fingerprints now, but they will soon become apparent when you enlarge the photo on your computer screen.
8) Make a few test photos and then review your composition. If there are obvious gaps in the image, add a prop to fill the empty spaces or tighten up the arrangement of objects in your design.
9) Looking straight down can get tiring, so if you have the option, try shooting tethered to a laptop or alternatively, try connecting a computer monitor to the HDMI output of your camera.
Turn on the LiveView mode on your camera and then arrange the various props in your flat lay while checking the monitor. This technique is also useful when exploring your various lighting options.
10) Finally, work at a reasonable small aperture setting such f8 or f11. Most objects in a flat lay will be in the same plane of focus, but as the focusing distance is rather close any slight variation in the height of objects will be noticeable if you try working with a wide aperture setting.