
Review: Topaz Photo AI
In the history of photography there have been several quantum leaps – technologies that have revolutionised how we capture images. The first consumer digital cameras in the 90s were one, and the mainstream adoption of computer-based editing with software like Photoshop and Lightroom were another.
Today, we’re in the age of Artificial Intelligence (AI) and, like it or not, it is increasingly shaping how we capture images.
One such product leveraging this technology is Photo AI by US-company Topaz.
In essence, this software-based technology removes the complexity found in most photo editing apps, and instead uses AI tech to analyse images, identify areas that could be improved, and then applies intelligent corrections with as little user input as possible.

Up until now, Topaz has marketed the individual elements that make up Photo AI as stand-alone products, but in its latest edition has combined these into one product that will set you back a one-time fee of $199USD ($299 AUD).
You can use Topaz Photo AI as a stand-alone application, as a Lightroom plugin, or within Photoshop. And, if you choose to use it with Lightroom, you can even apply adjustments to the raw data.
Ease of use
Historically, my aim has always been to capture the perfect image in-camera. However, in the last few years that has changed as larger megapixel cameras have dropped in price and image processing software has got better.
However, years of capturing photos on smaller megapixel cameras with poor sensors and average lenses has left me with many images that have noise and softness issues. These images just can’t hold a candle to modern captures, and even further back, many of my old scans are even worse.
Topaz Photo AI can dramatically help improve images such as these. Once the software is installed, it’s simply a matter of uploading images into the standalone software or using it as a plugin in Photoshop (found in the Filters tab) or Lightroom via Photo > Edit in (my preference).
Like in Lightroom, Topaz has a dropdown panel on the right-hand side that allows you to choose the transformations you want. The main functions are Remove Noise, Sharpen, Recover Faces and Enhance Resolution, and thanks to the AI technology built into the software, they’re largely idiot-proof to use and the level of intensity of the effect can be tweaked with individual sliders as well.
From there, you can export your image as a JPEG, TIFF, PNG or DNG, or return it to Lightroom or Photoshop for further editing.
The results
A great use case for Photo AI is wildlife photos, so let’s look at a few examples.
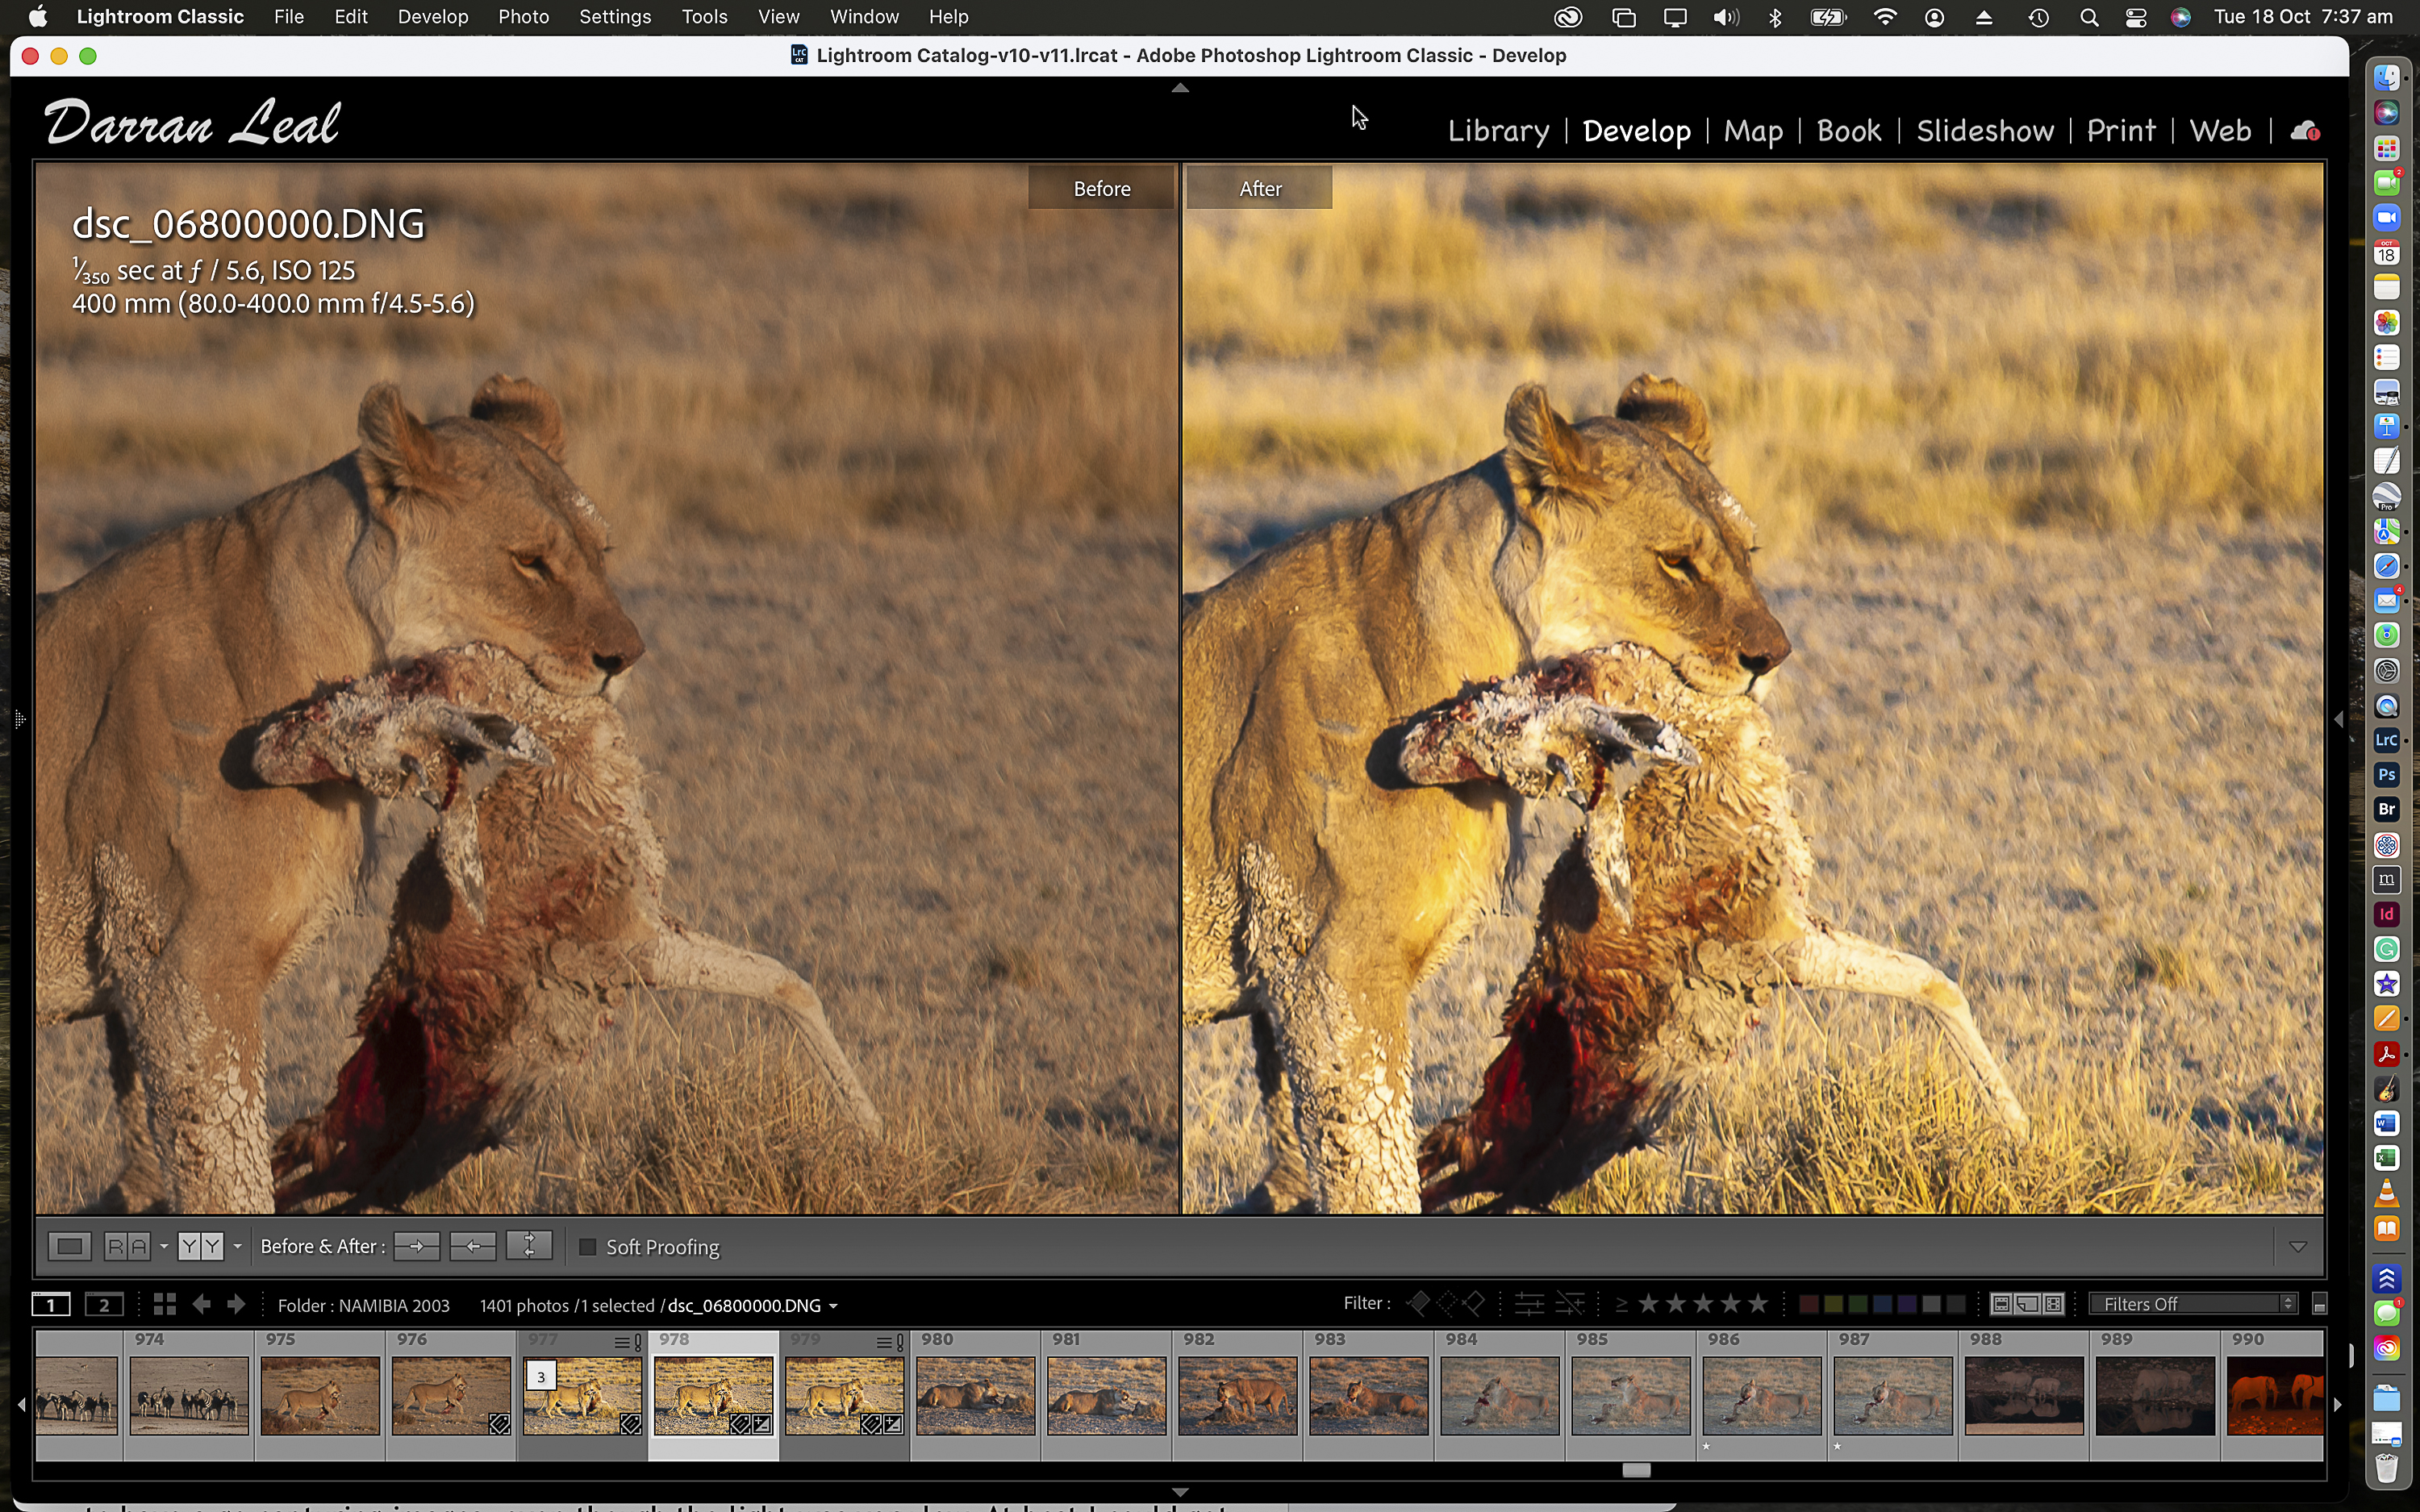
The image here was shot in 2003 in Etosha National Park, Namibia. It was captured on a Nikon D1x, a top-of-the-line camera in its day, with a Nikon 80-400mm lens at ISO 125.
First, I used my default Preset to process the image, making adjustments to Contrast, Vibrance and Sharpening. Then, I opened the image in Photo AI and allowed it to offer an auto-fix of the image.
Note the immediate difference in sharpness and detail when you compare the Lightroom processed image on the left and the Photo AI image on the right - a big improvement.
The software is also intelligent enough to not sharpen the out of focus areas, while returning plenty of detail and texture to the lion’s fur.
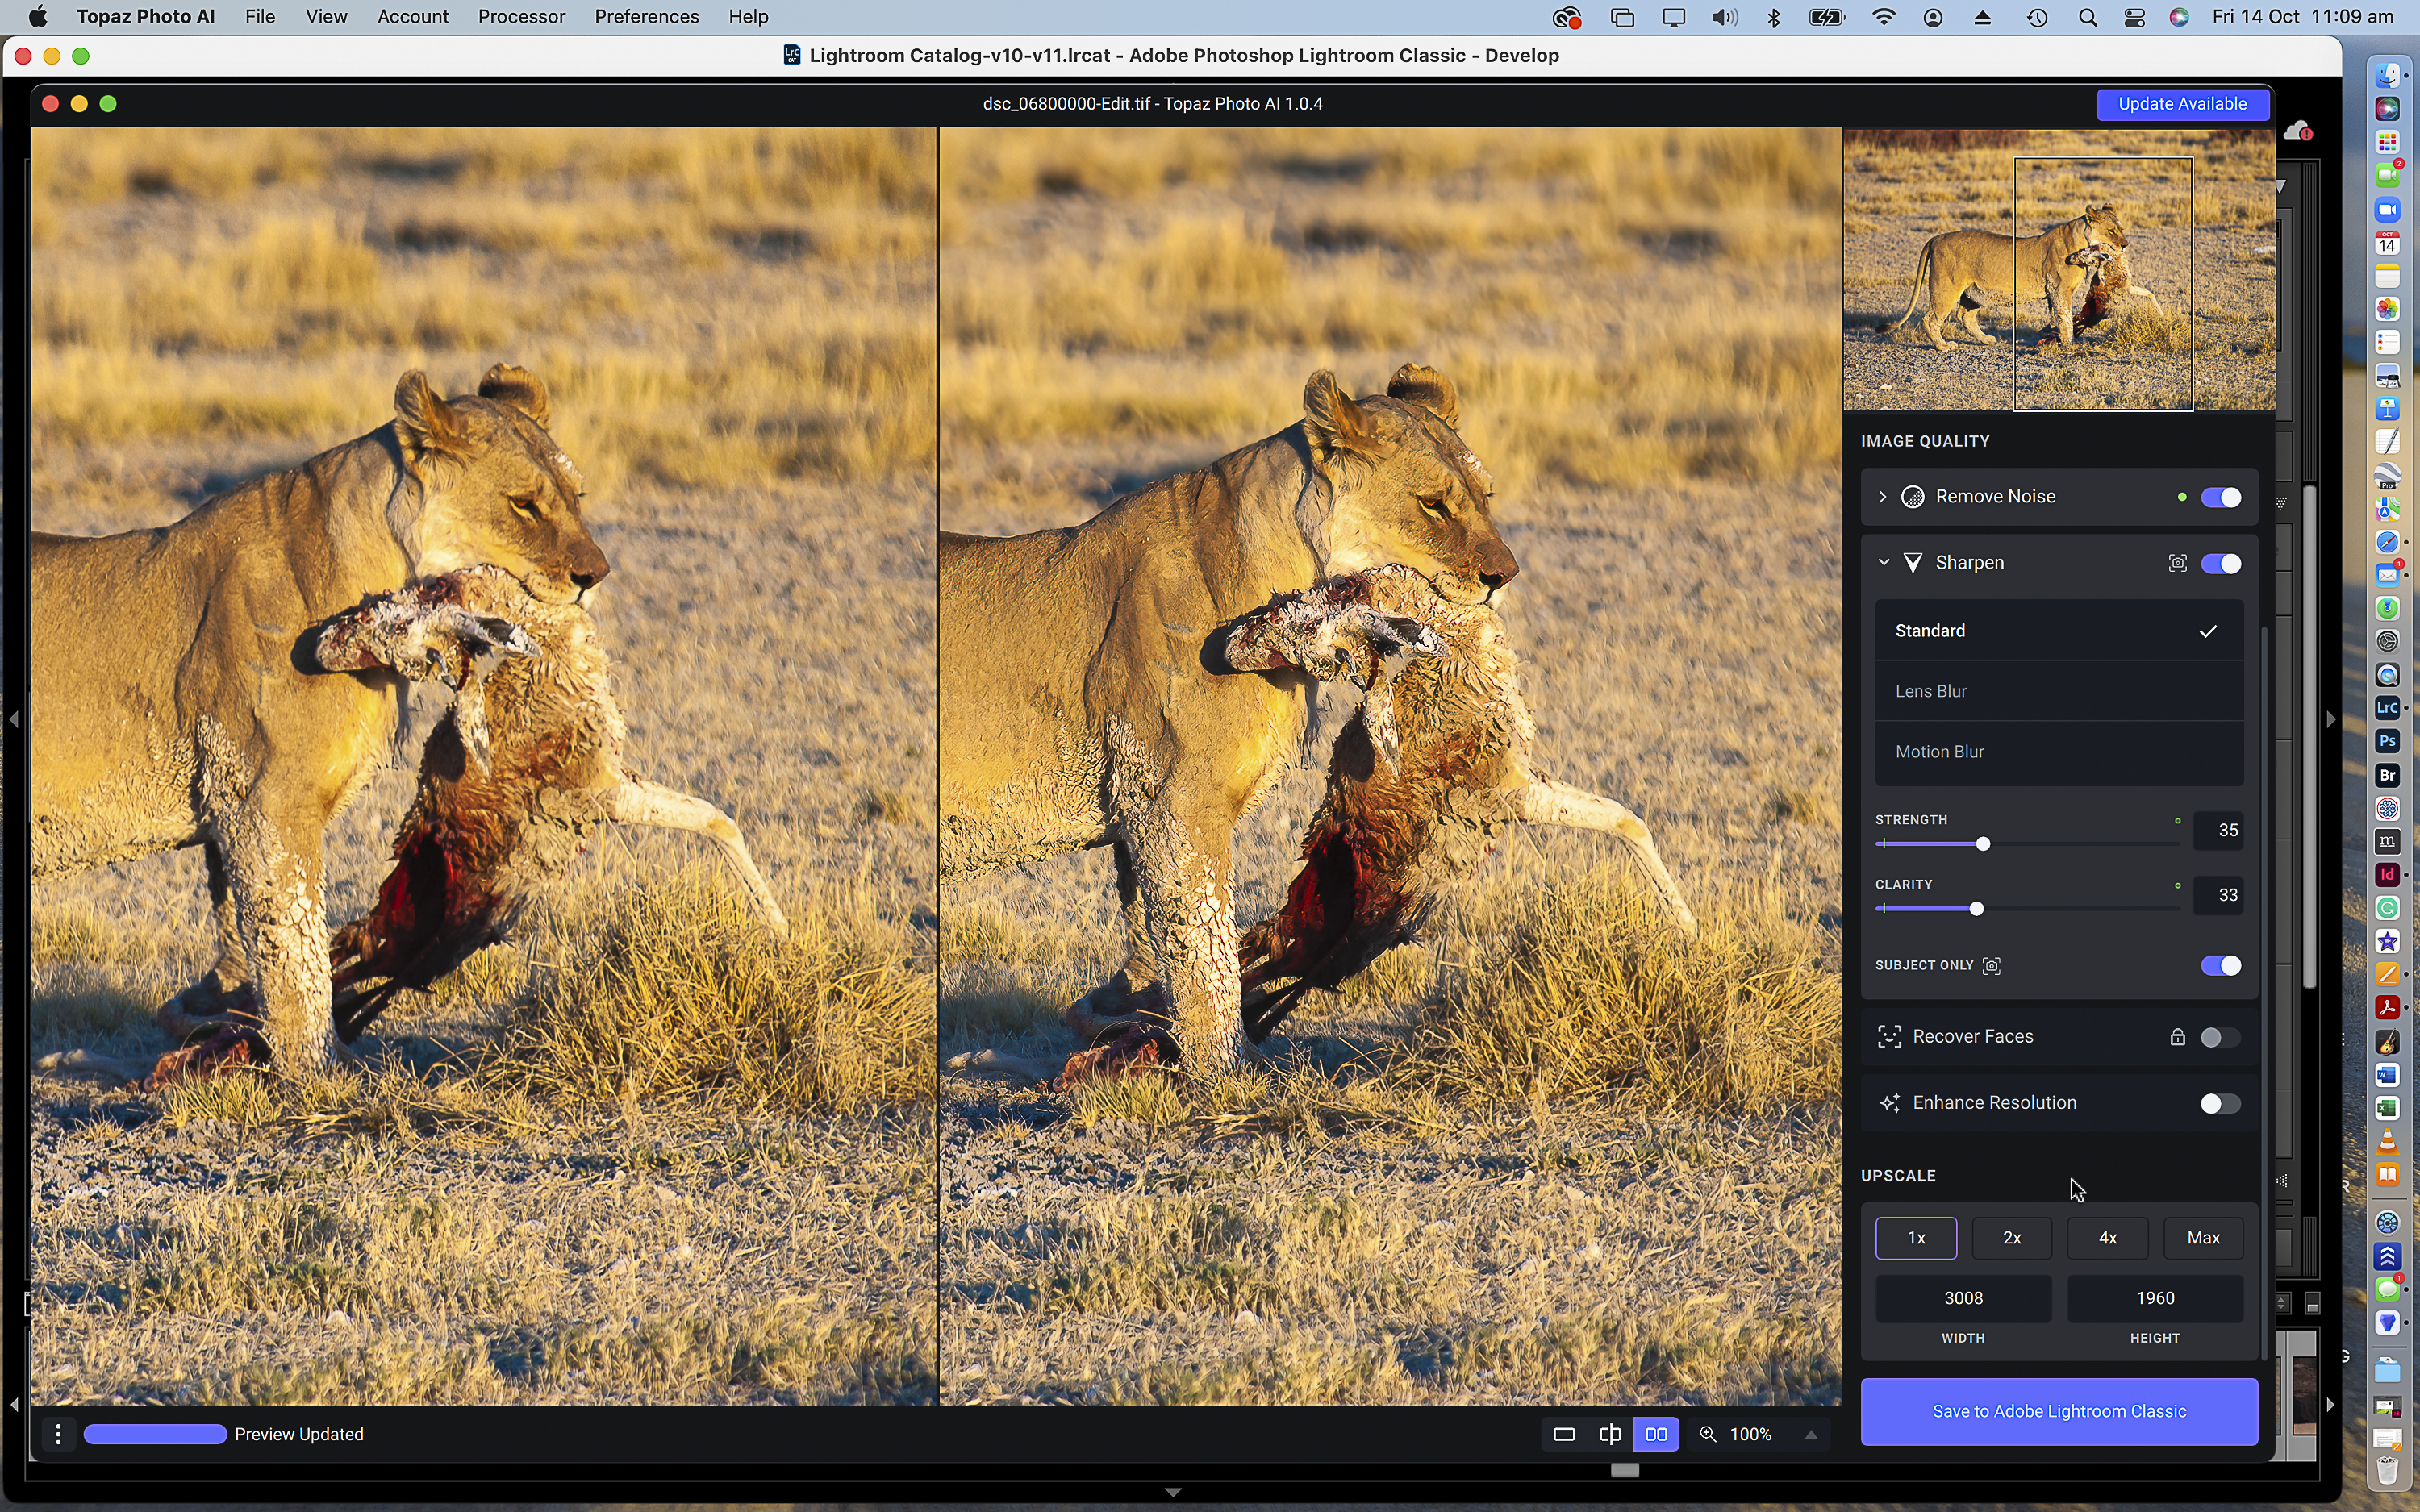
In this image, I’ve used Photo AI’s Enhance Resolution feature, which intelligently upsizes the image to higher pixel dimensions. Here, I’ve upsized by a 4X factor, giving me an image of more than 12,000 pixels on the long edge.
You can see that up-close there’s a waxiness to the fur, but you can control this by using the sliders to drop back the sharpness and clarity manually. While the auto setting is suitable for some uses, you might want to control the final look yourself at other times.
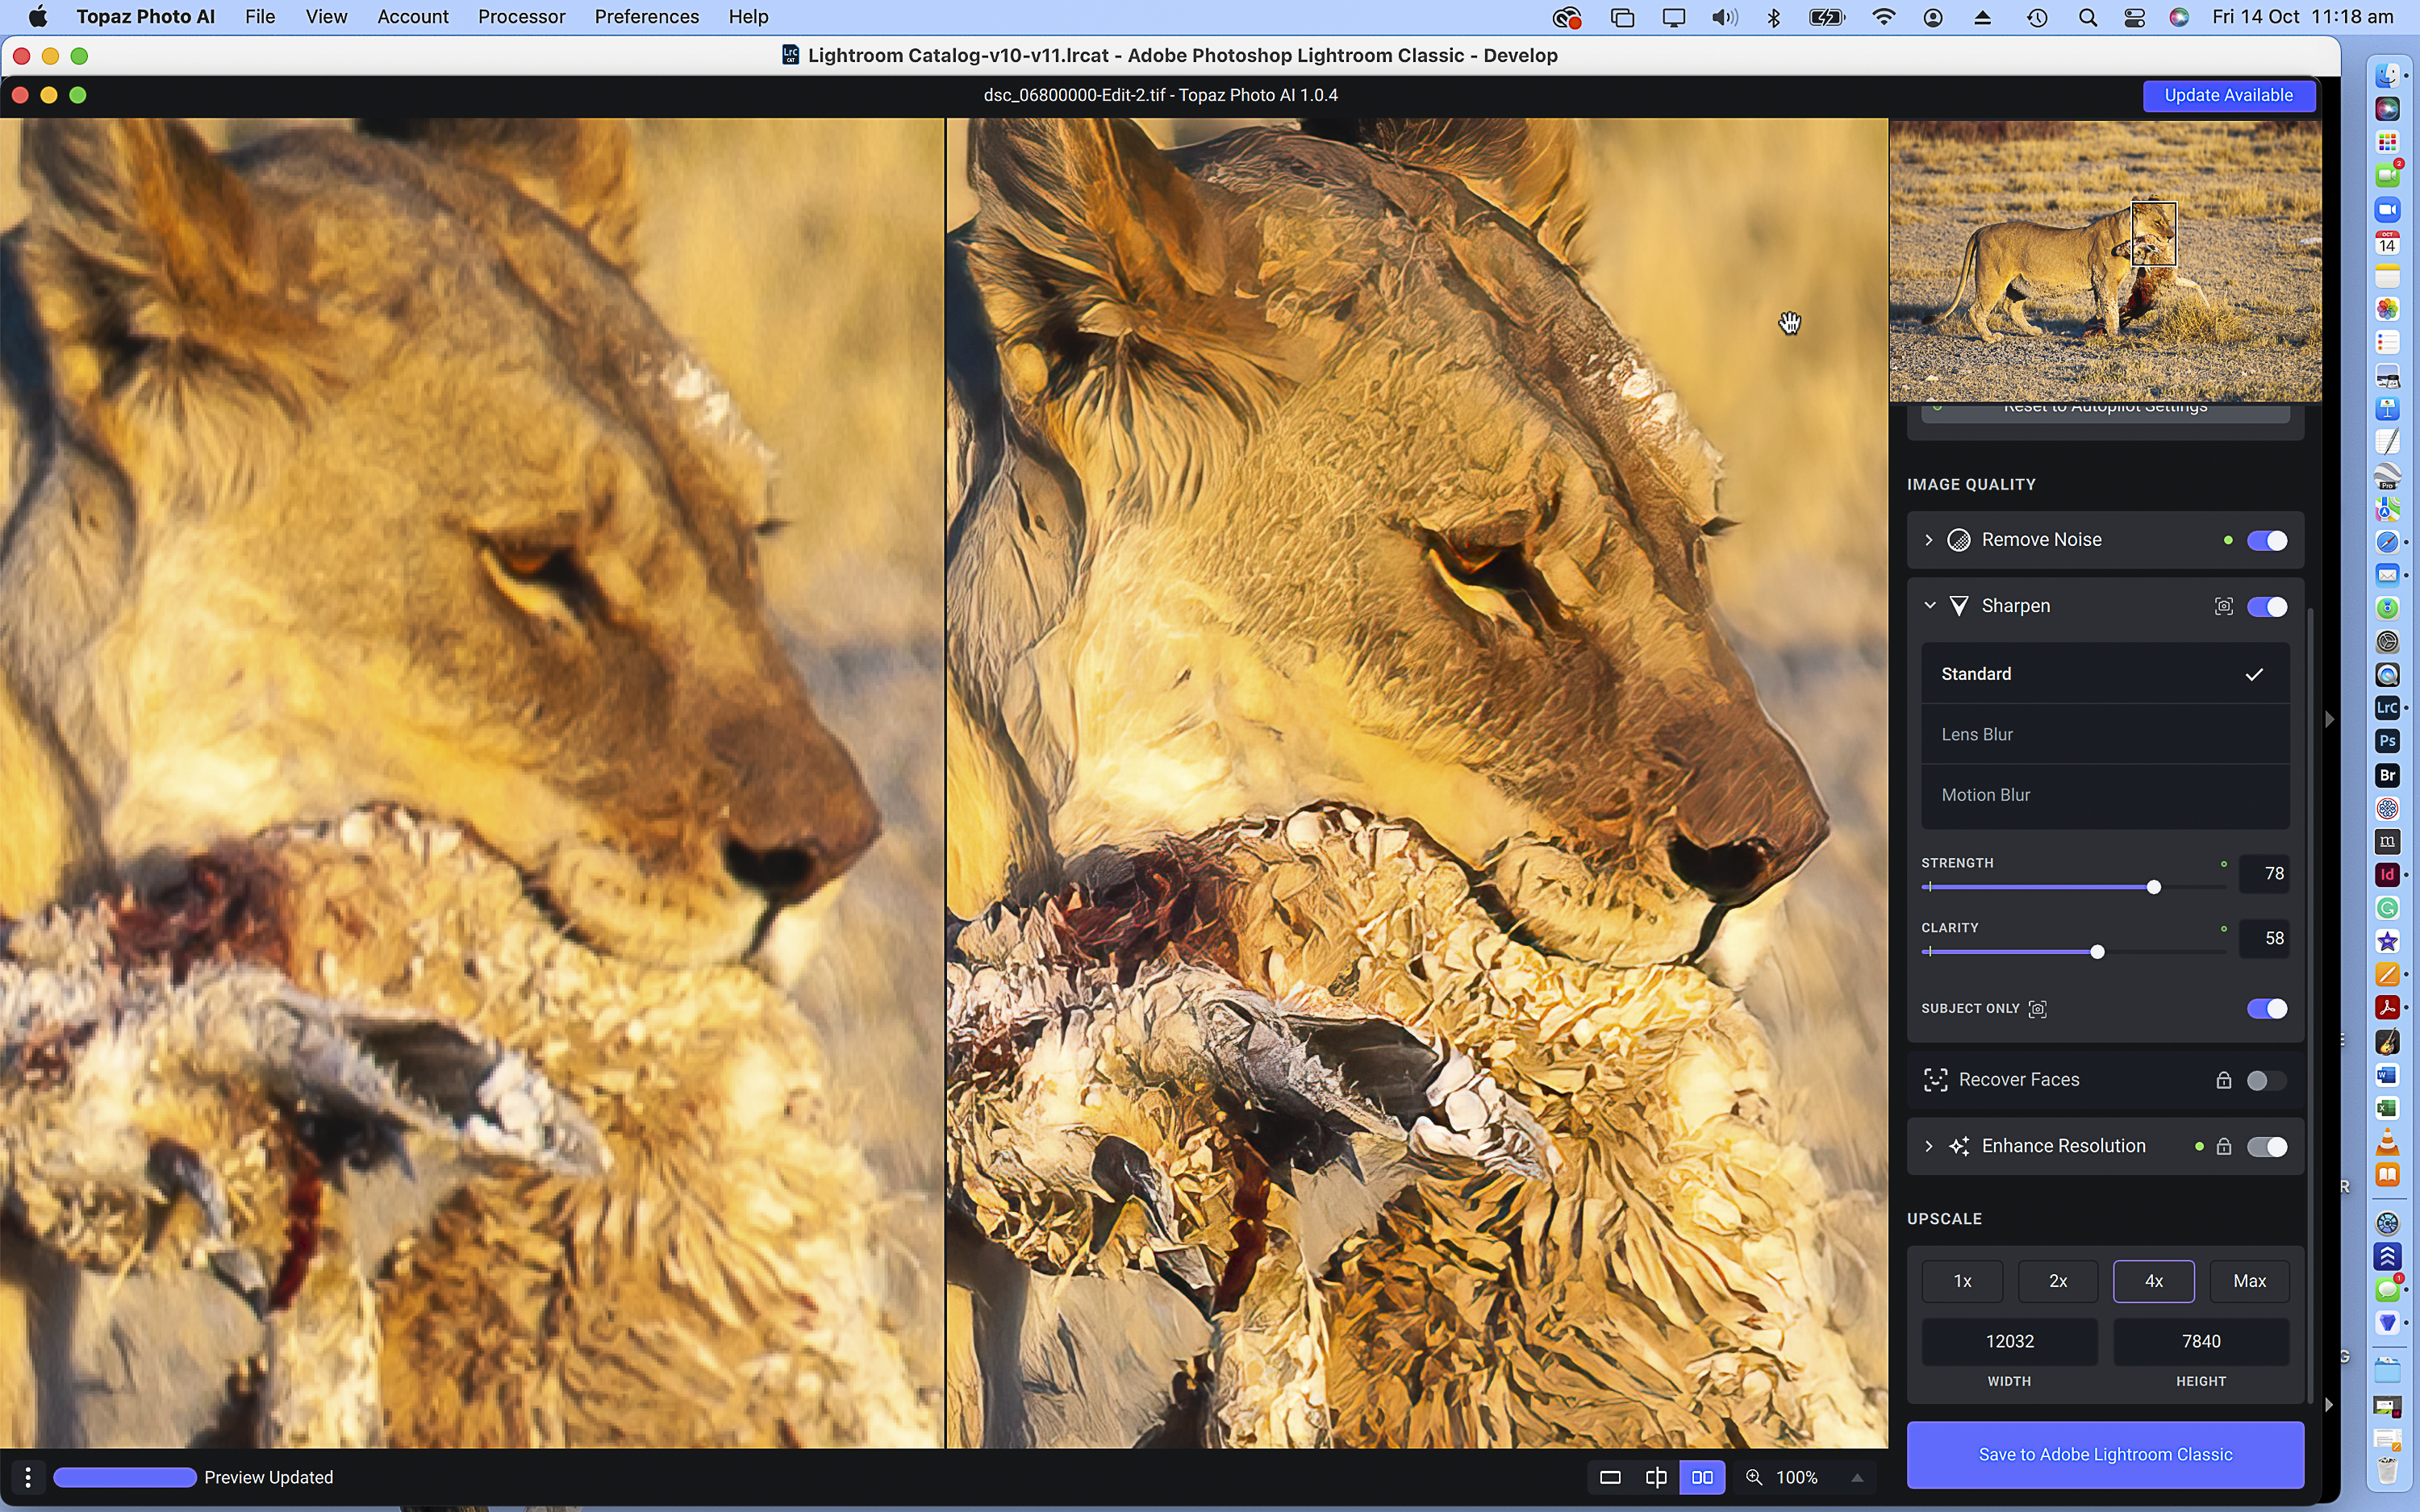
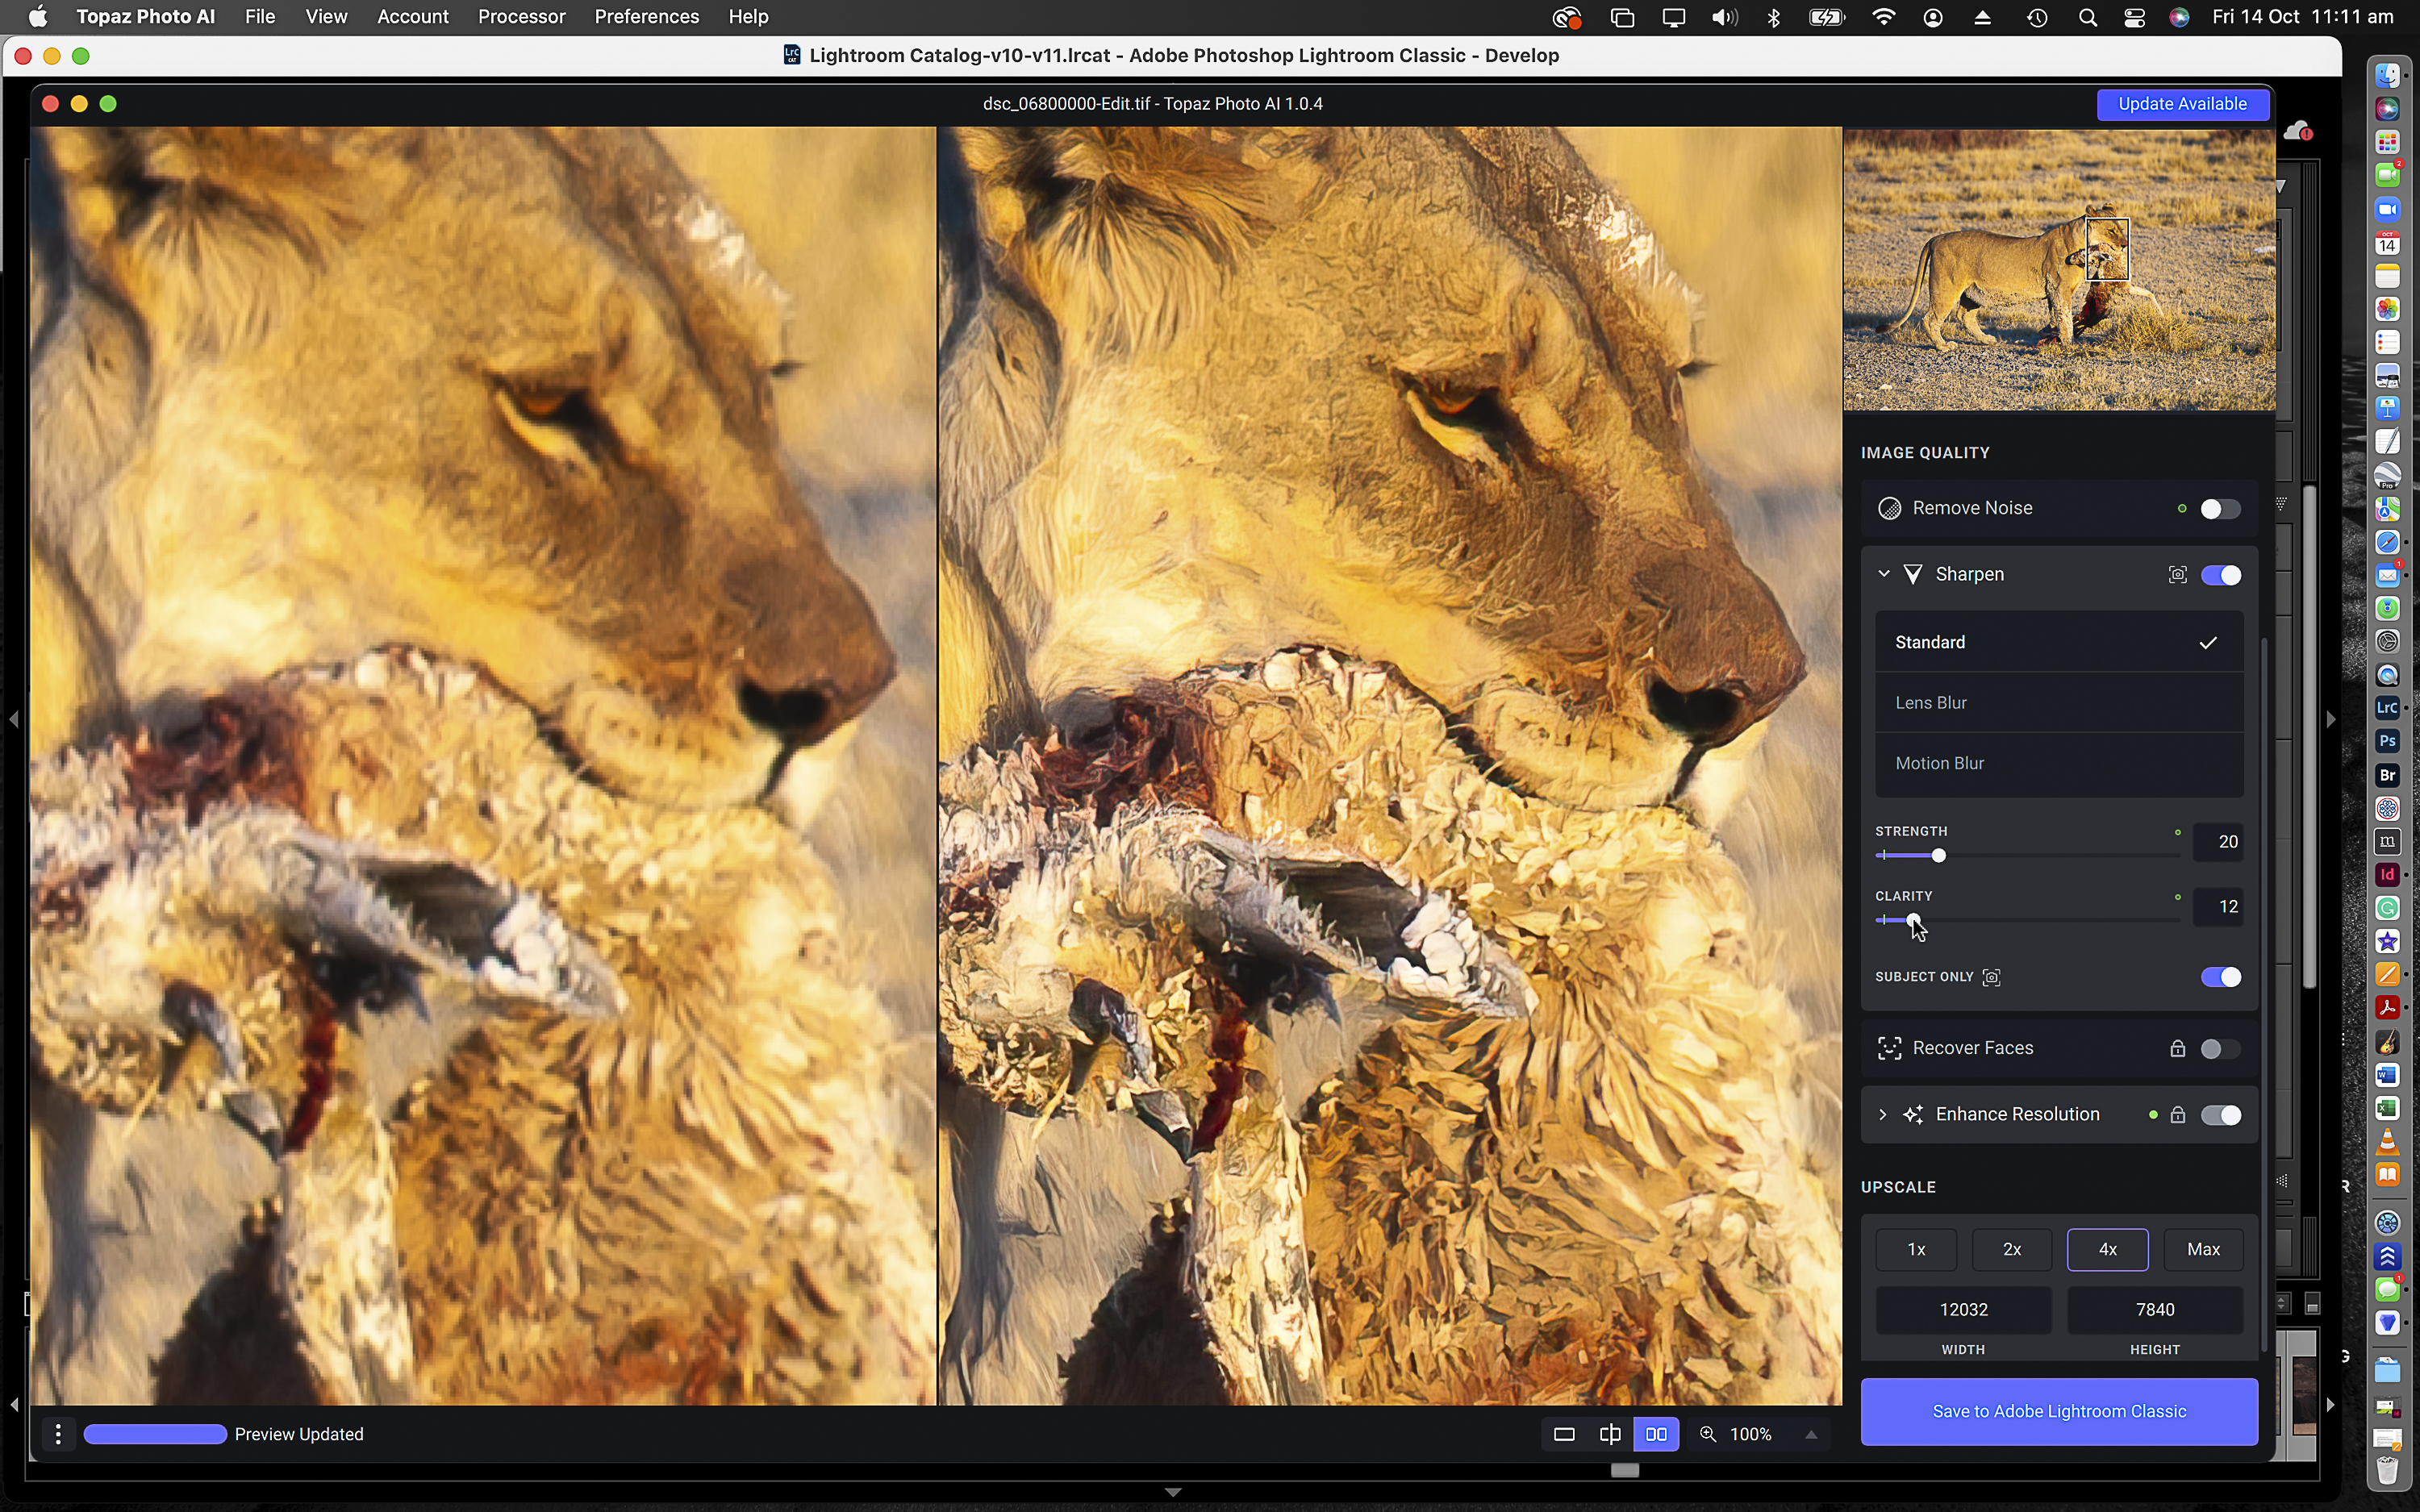
Finally, in the image above I’ve pushed the same sliders to extremes to demonstrate what happens if you go too far!
Let’s look at another example, this time a Forest Kingfisher captured with a modern camera, my Sony A1, and Sony 200-600mm lens at ISO 6400. The light here was very low, and at best, I could get ISO 4000; sometimes, it was as high as 12800.
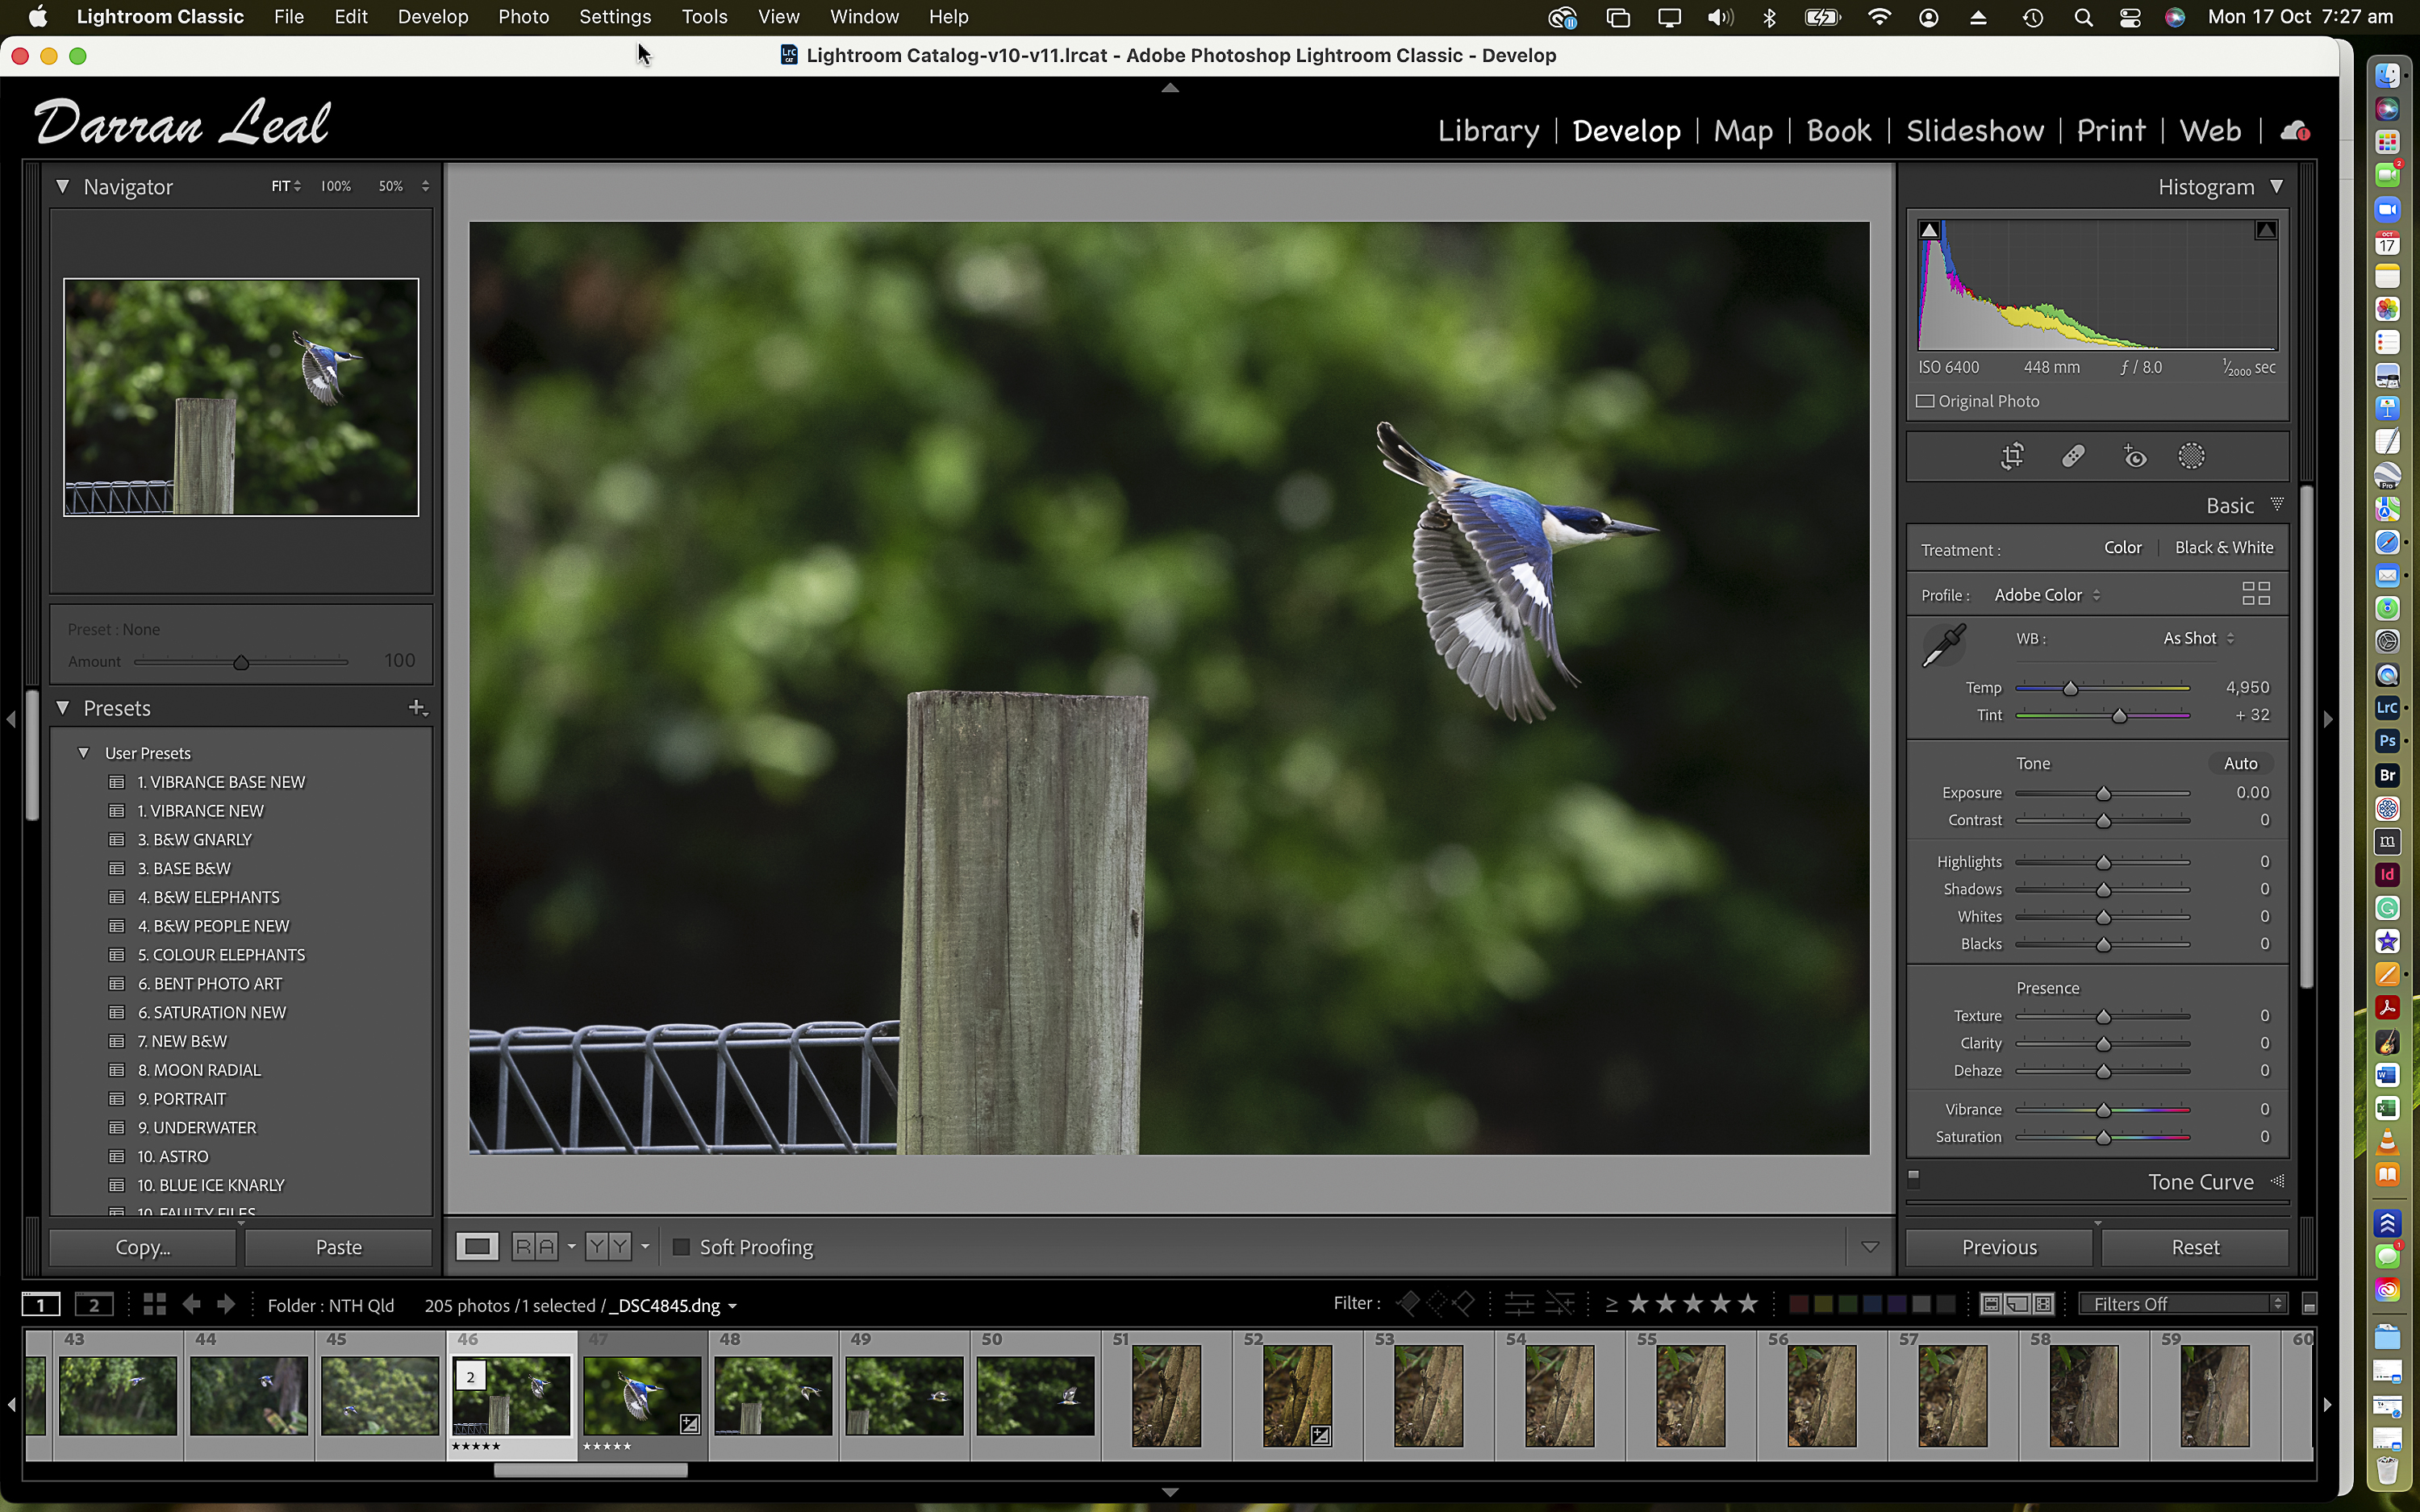
Above you can see the original RAW capture. When shooting, I used the 51MP sensor to my advantage knowing that I could leave space for the bird to fly into, then crop in Adobe Lightroom Classic while still leaving me a reasonable amount of information. What I couldn’t so easily fix was the noise that came with shooting at ISO 6400.
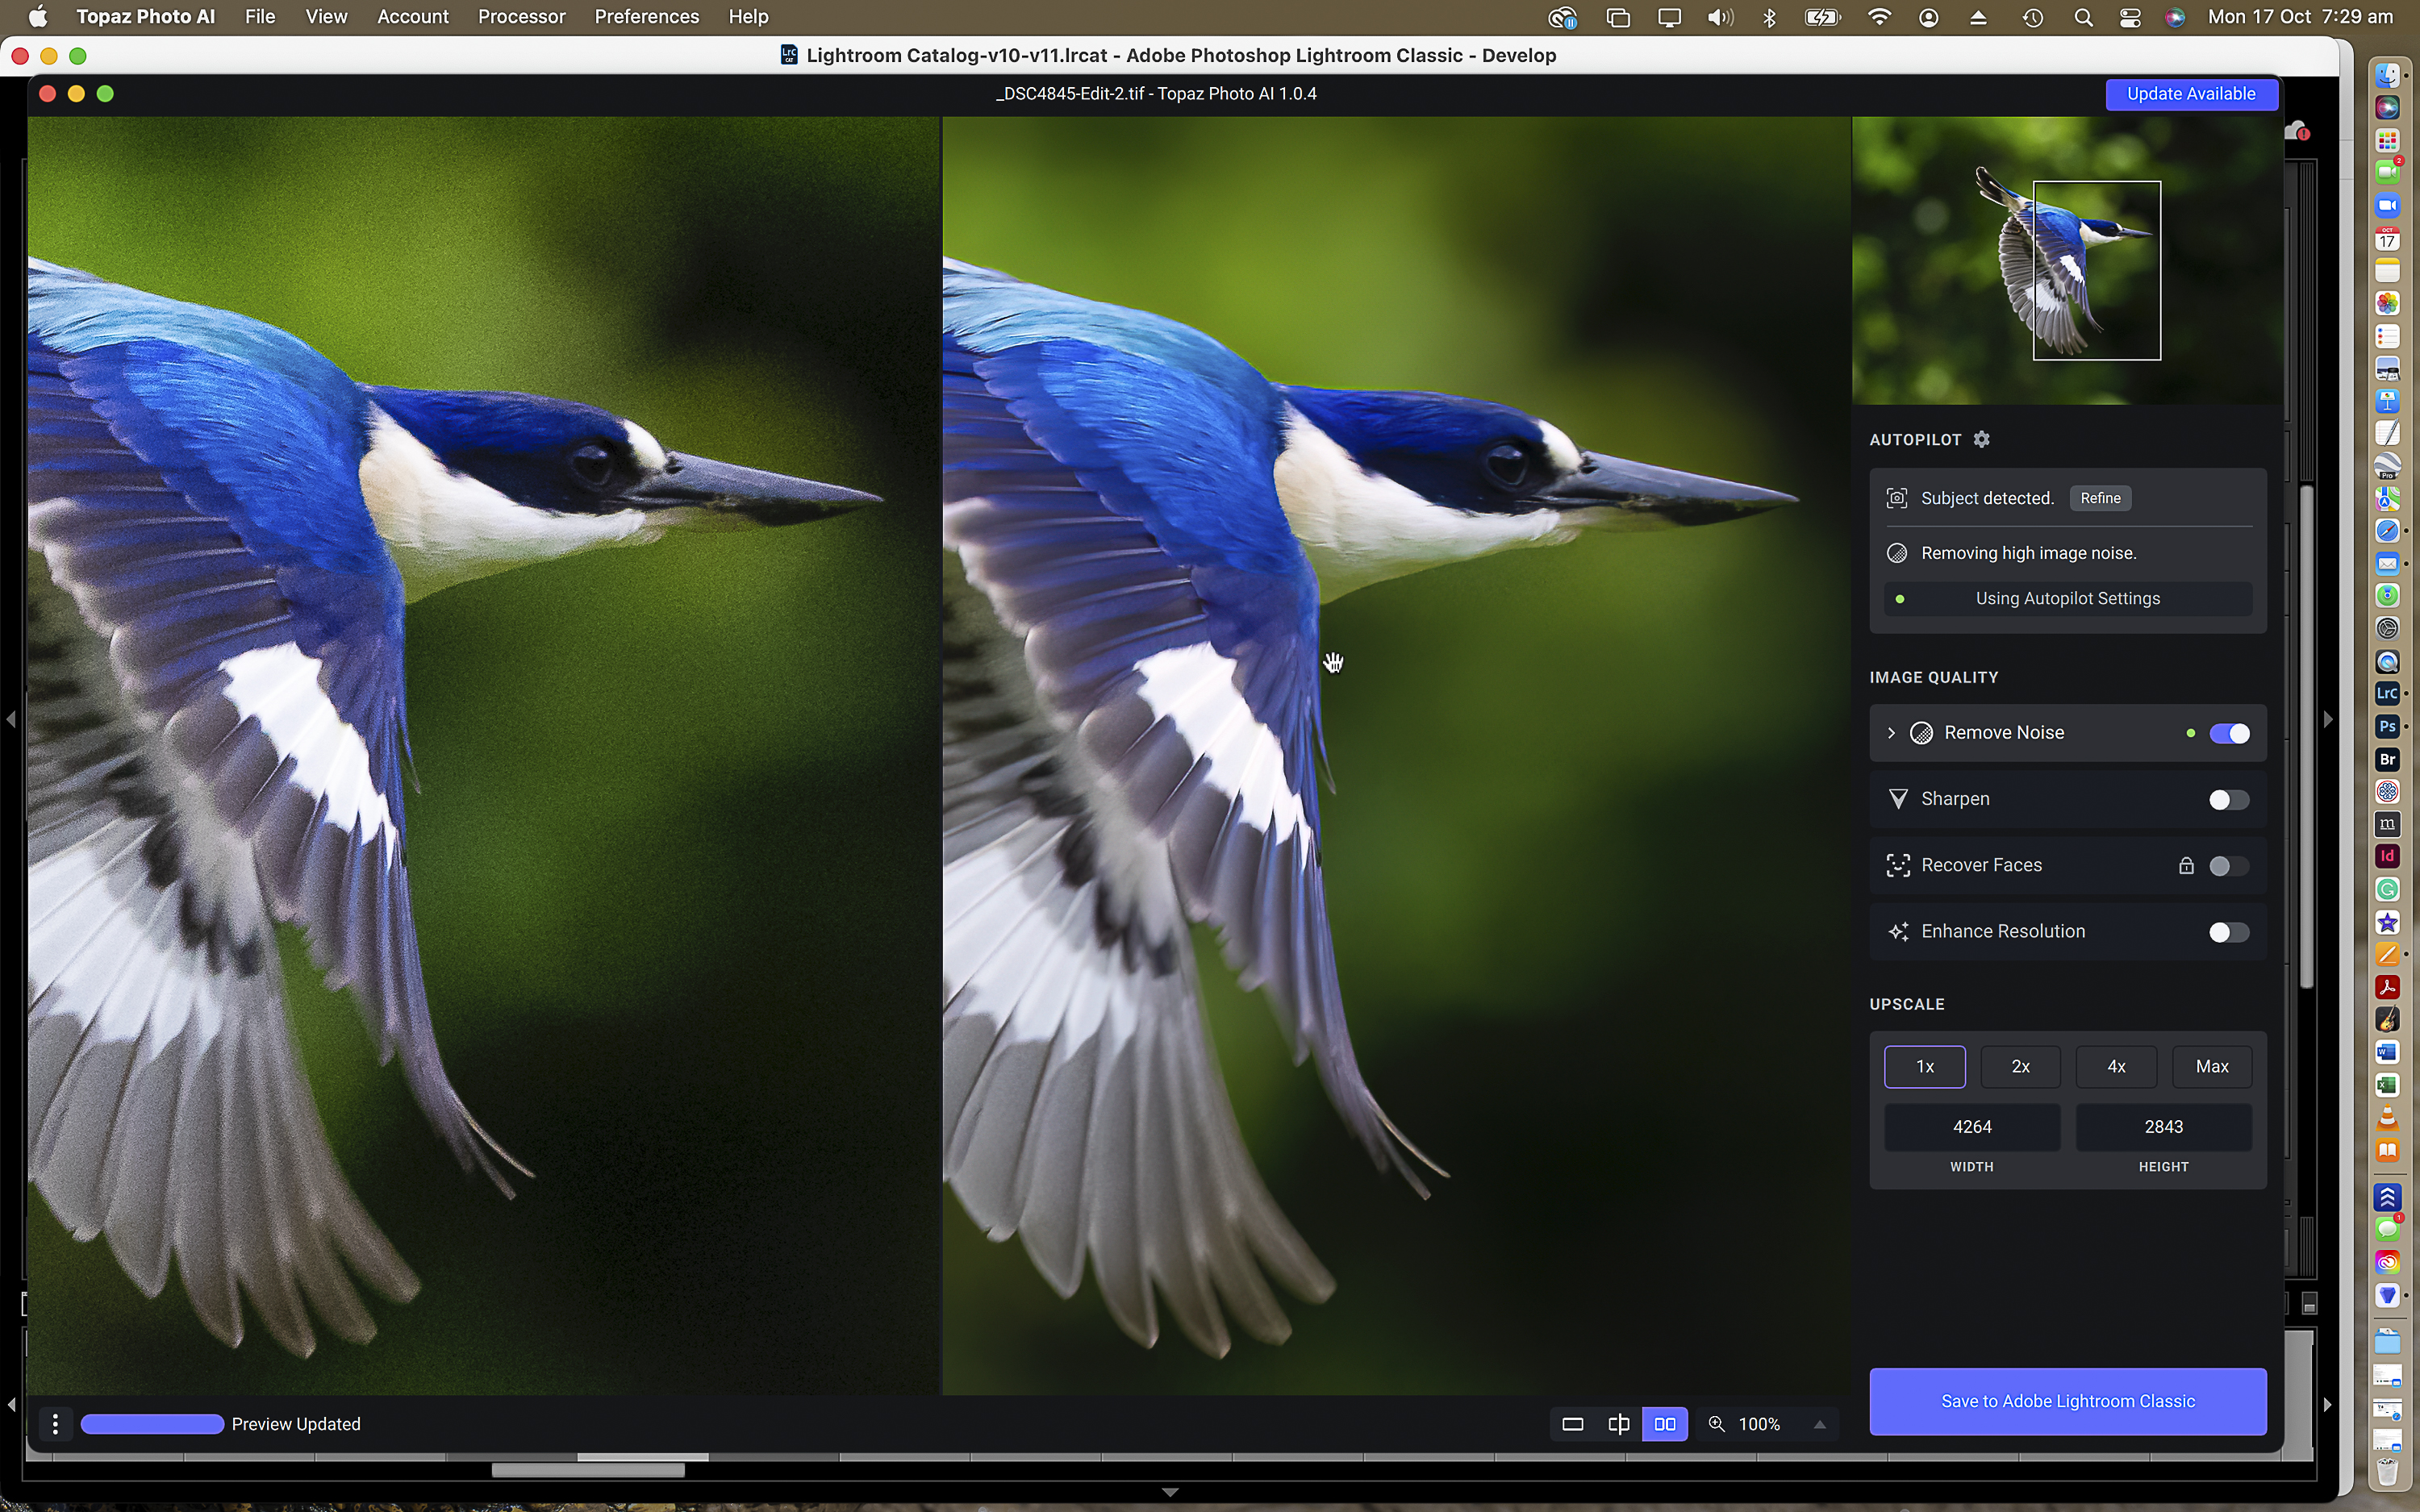
After I processed the image in Adobe Lightroom Classic using the same adjustments as the previous image, I then opened the image in Photo AI. It’s worth noting that Photo AI gives you the option of importing the file at several different settings, colour spaces and compression settings.
Above is the default auto-setting result, which although admirable isn’t quite as sharp as I’d like. In the end I increased the sharpness slider to 50 and decreased the Clarity slider to end up with the final file.
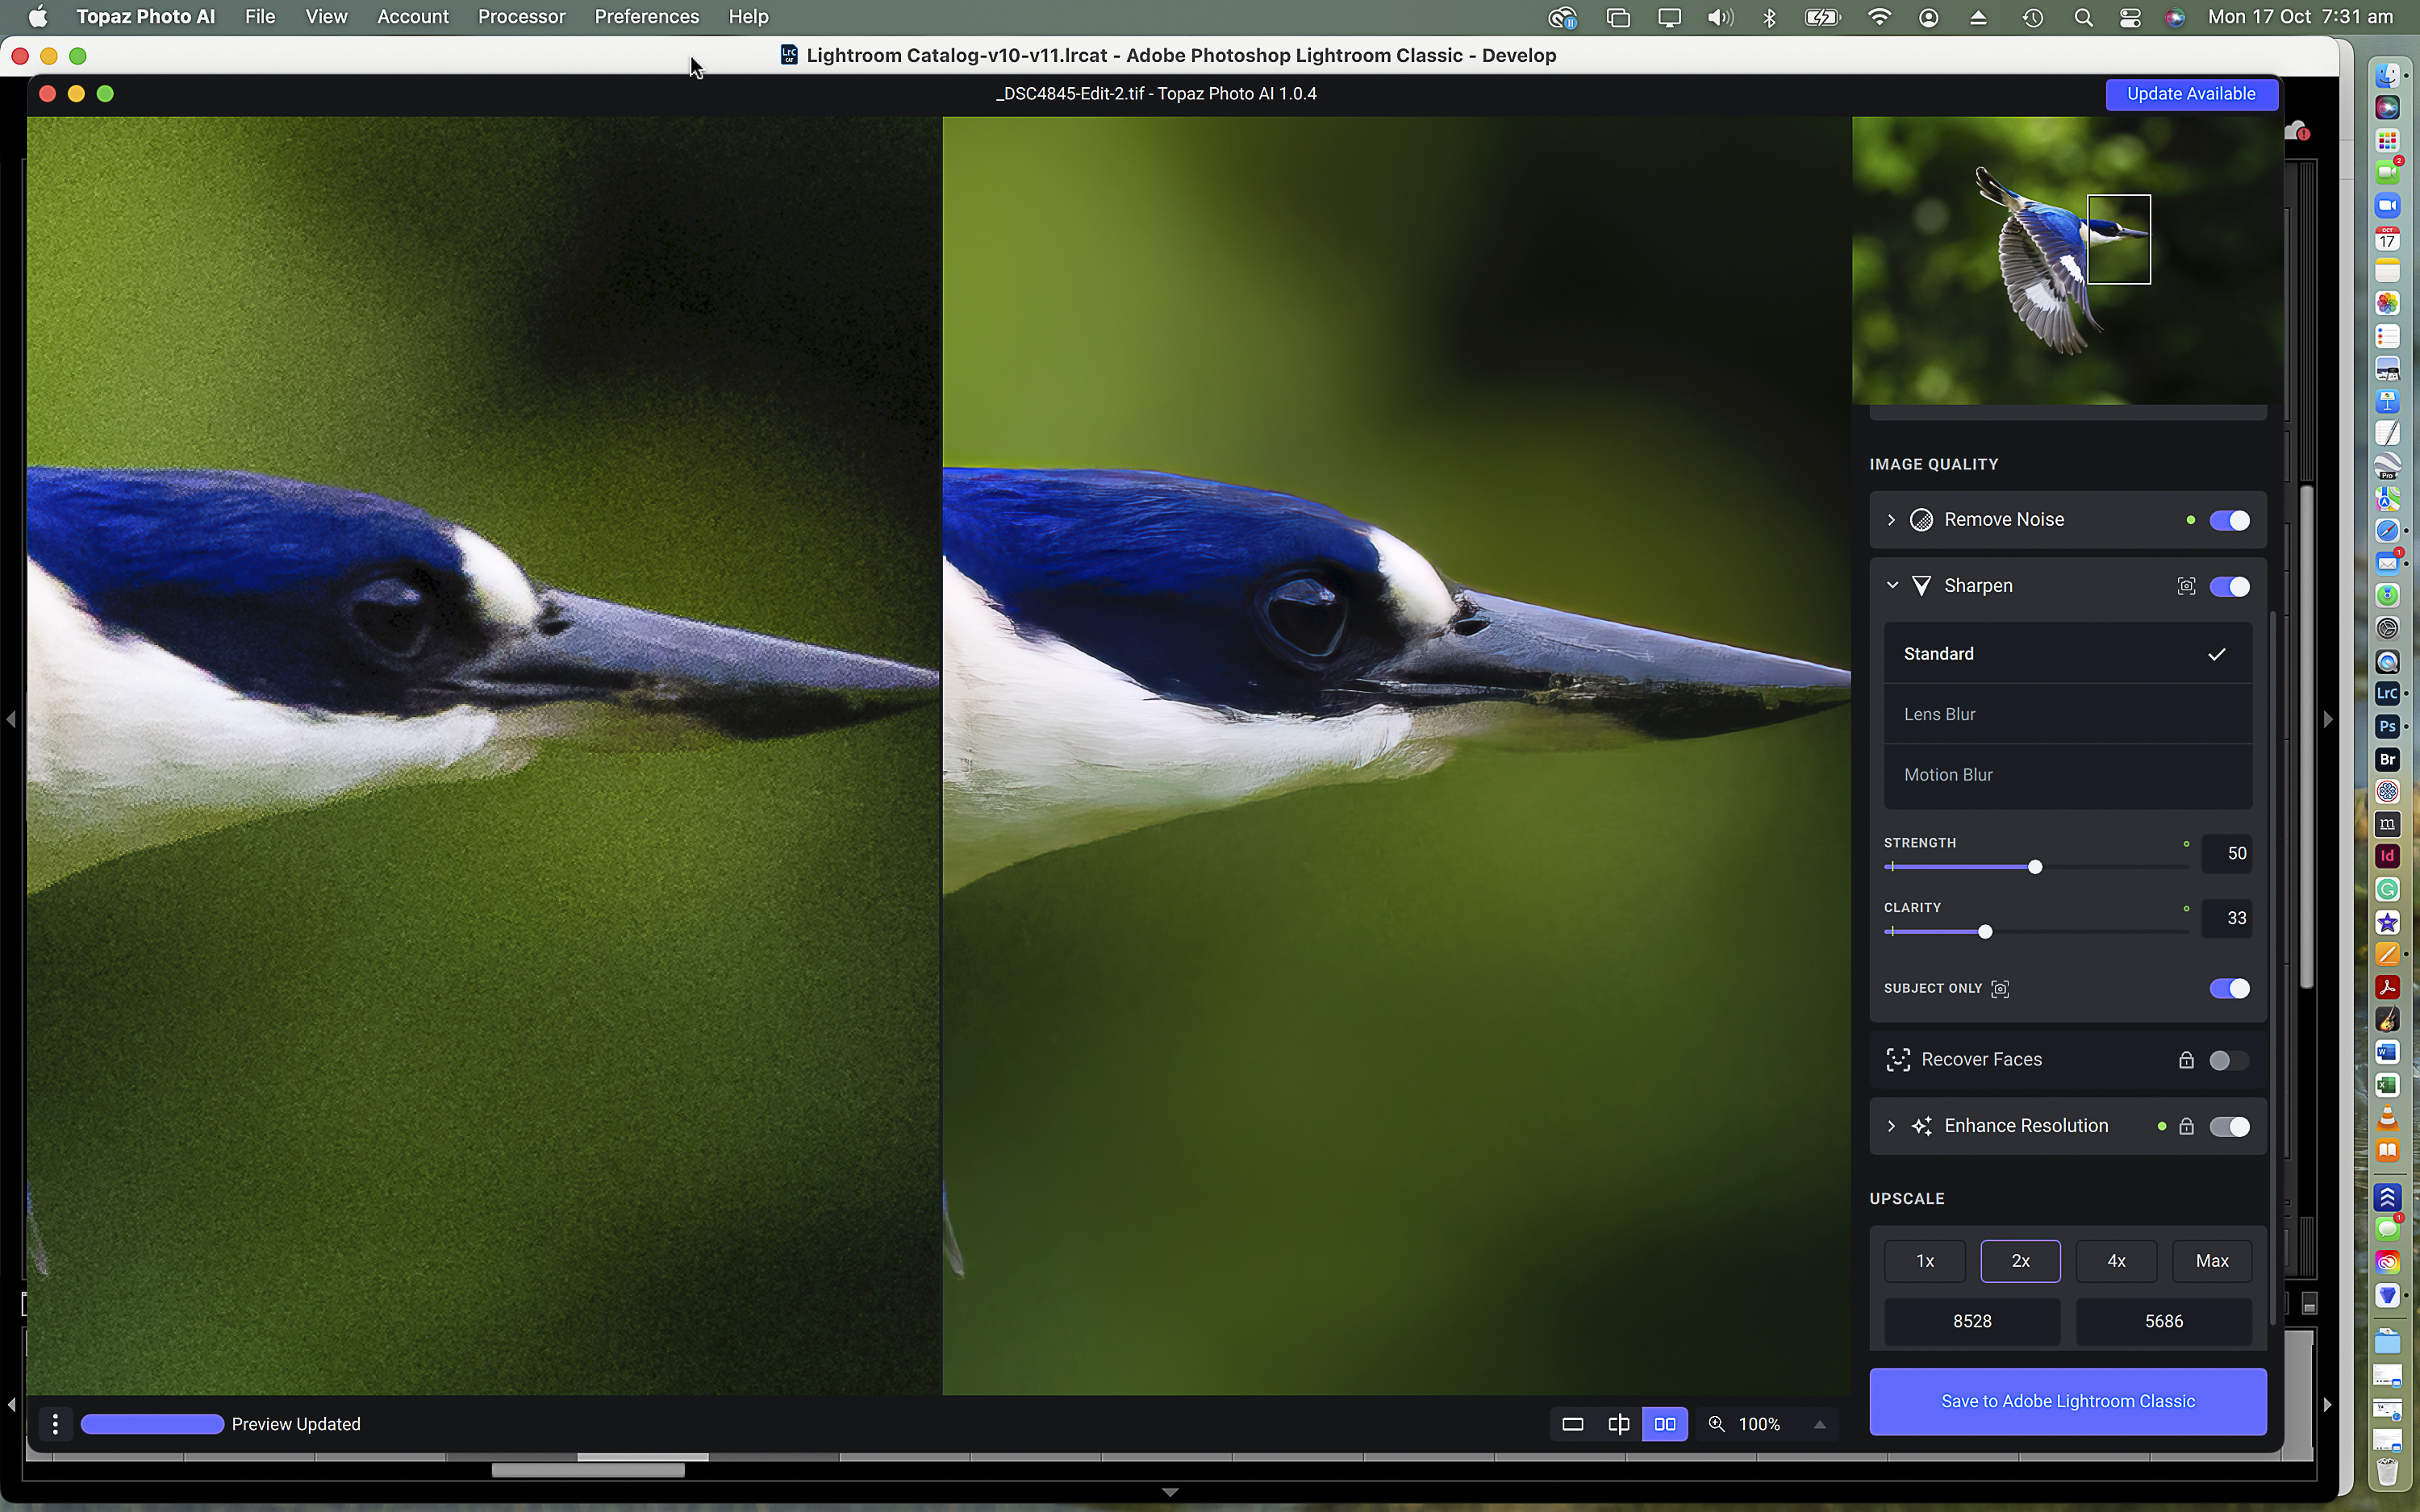
In this case, I also doubled the file size using the option in the bottom right panel. It’s worth noting that as you upsize images you will need to adjust the slider settings so that it does not look over-processed as the pixel dimensions increase.
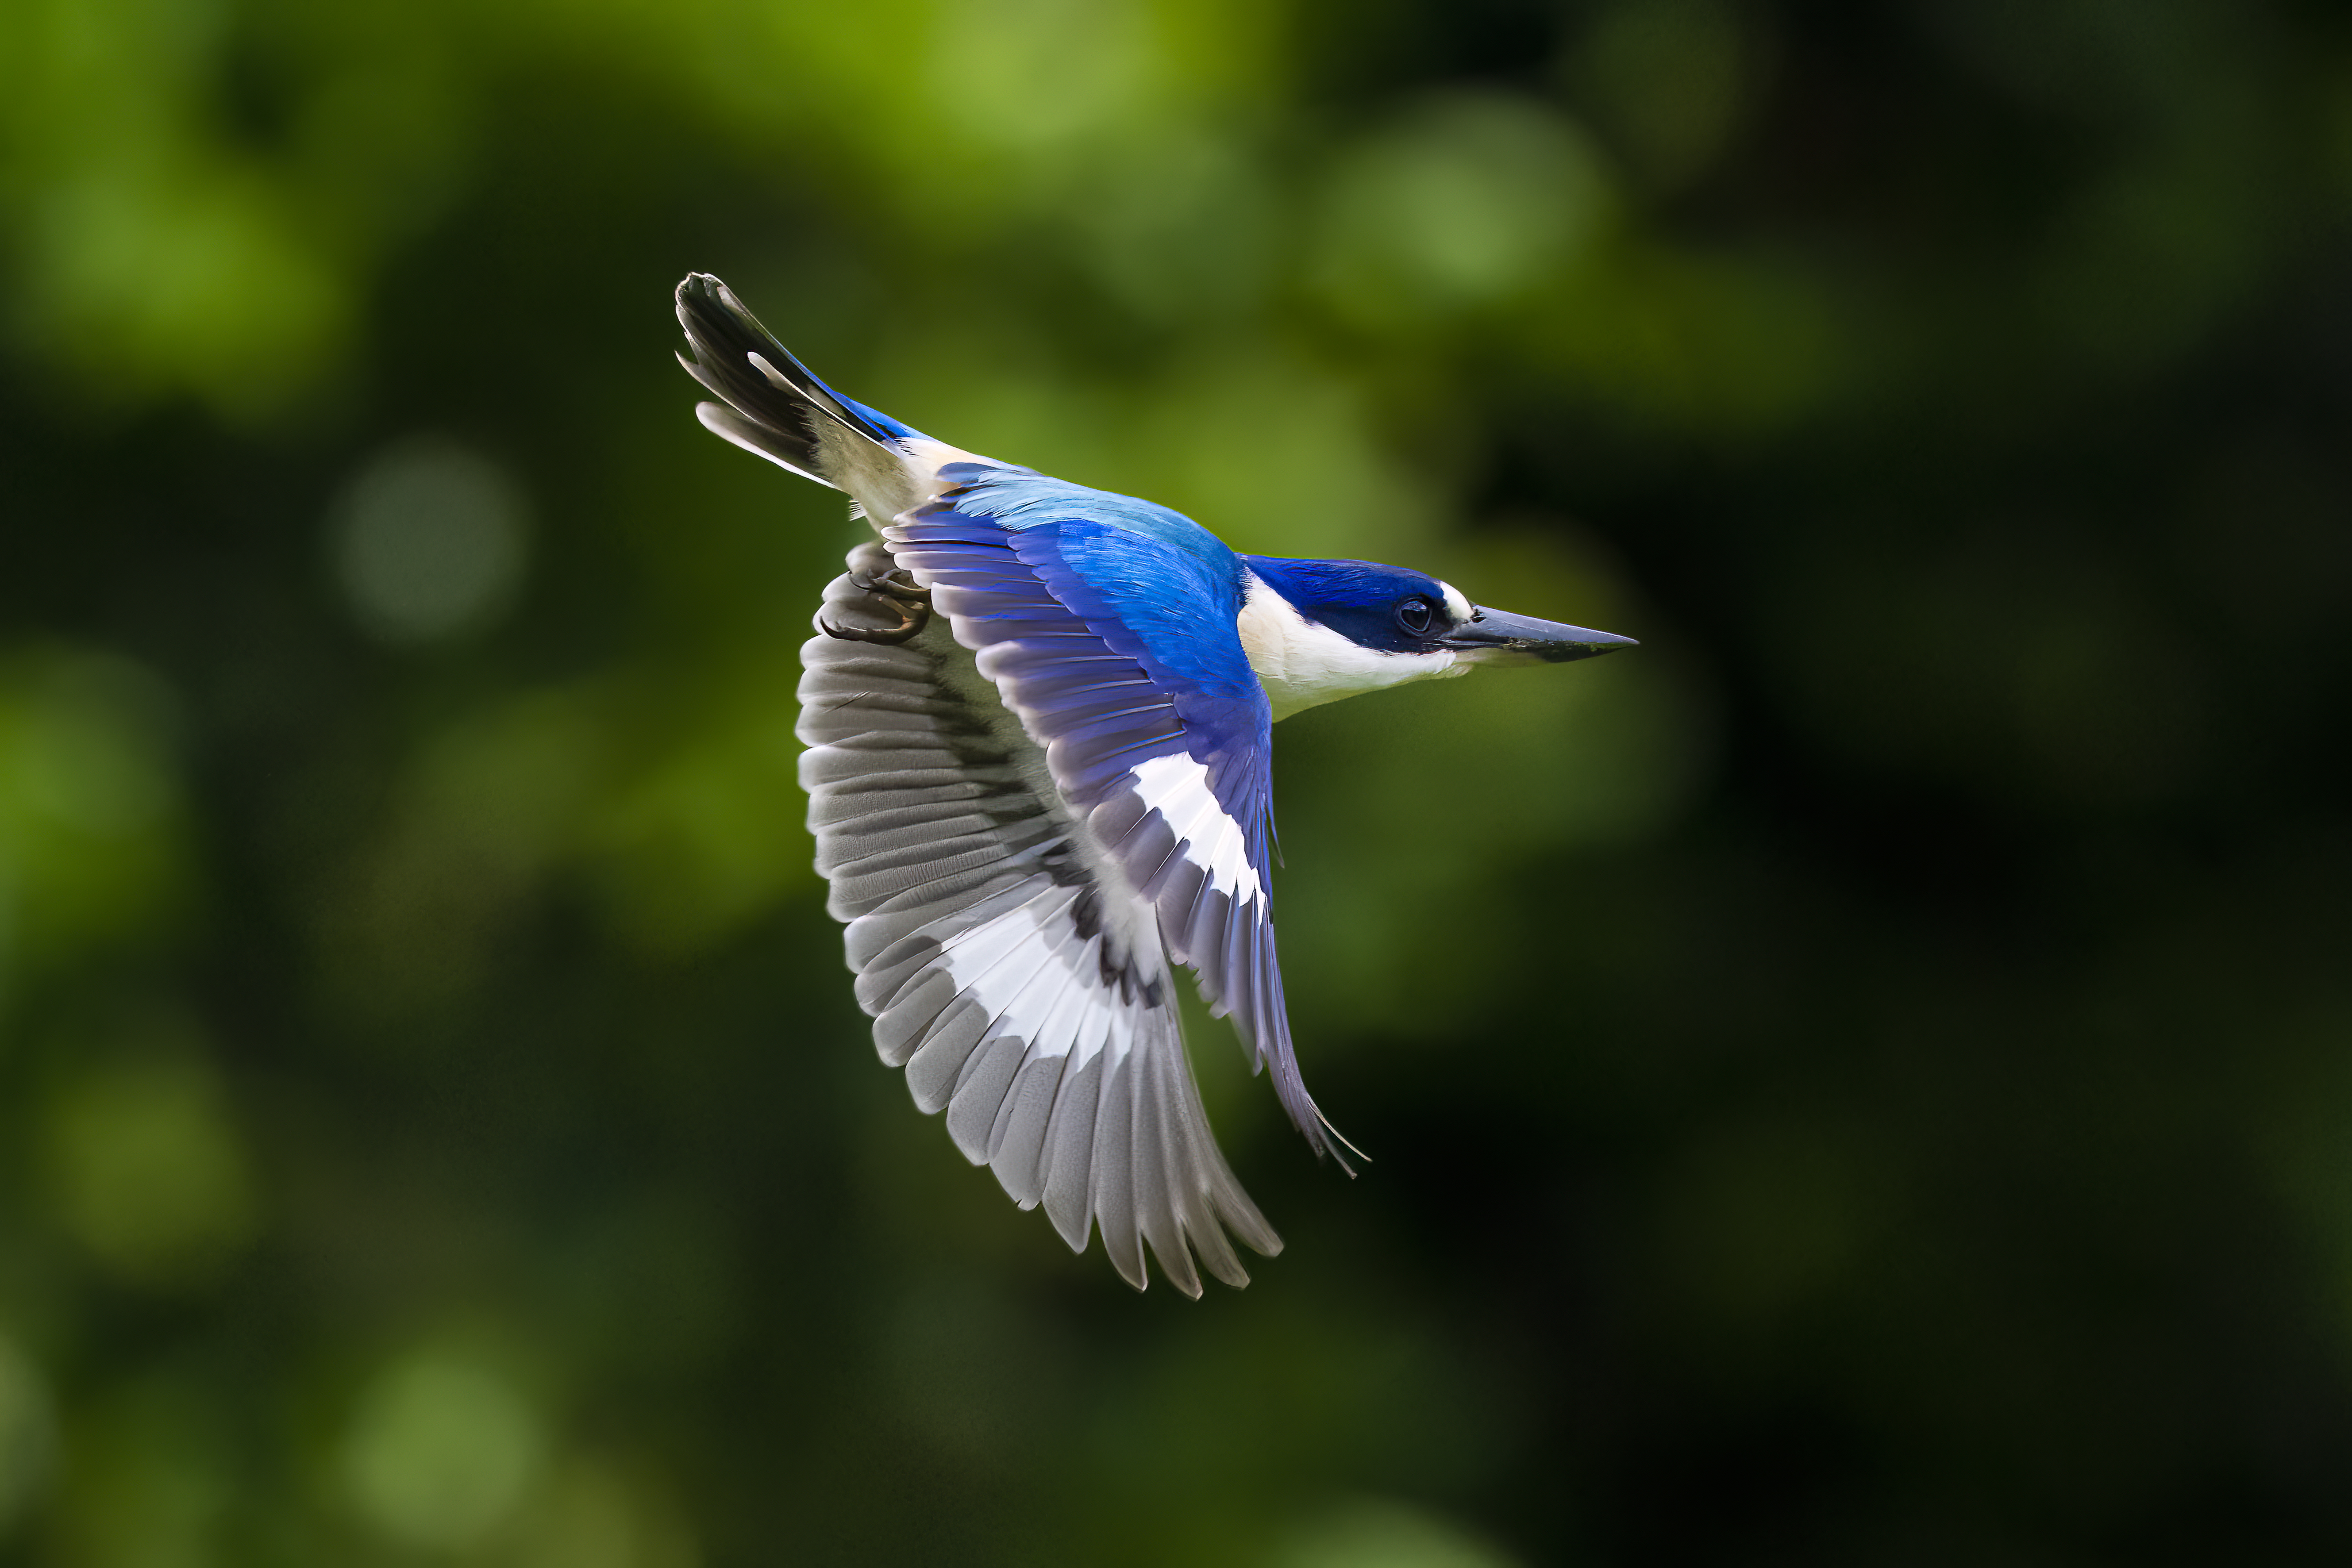
The final image. While Lightroom or Photoshop will allow you to get the same results, neither program is as easy to use or intuitive as Photo AI.
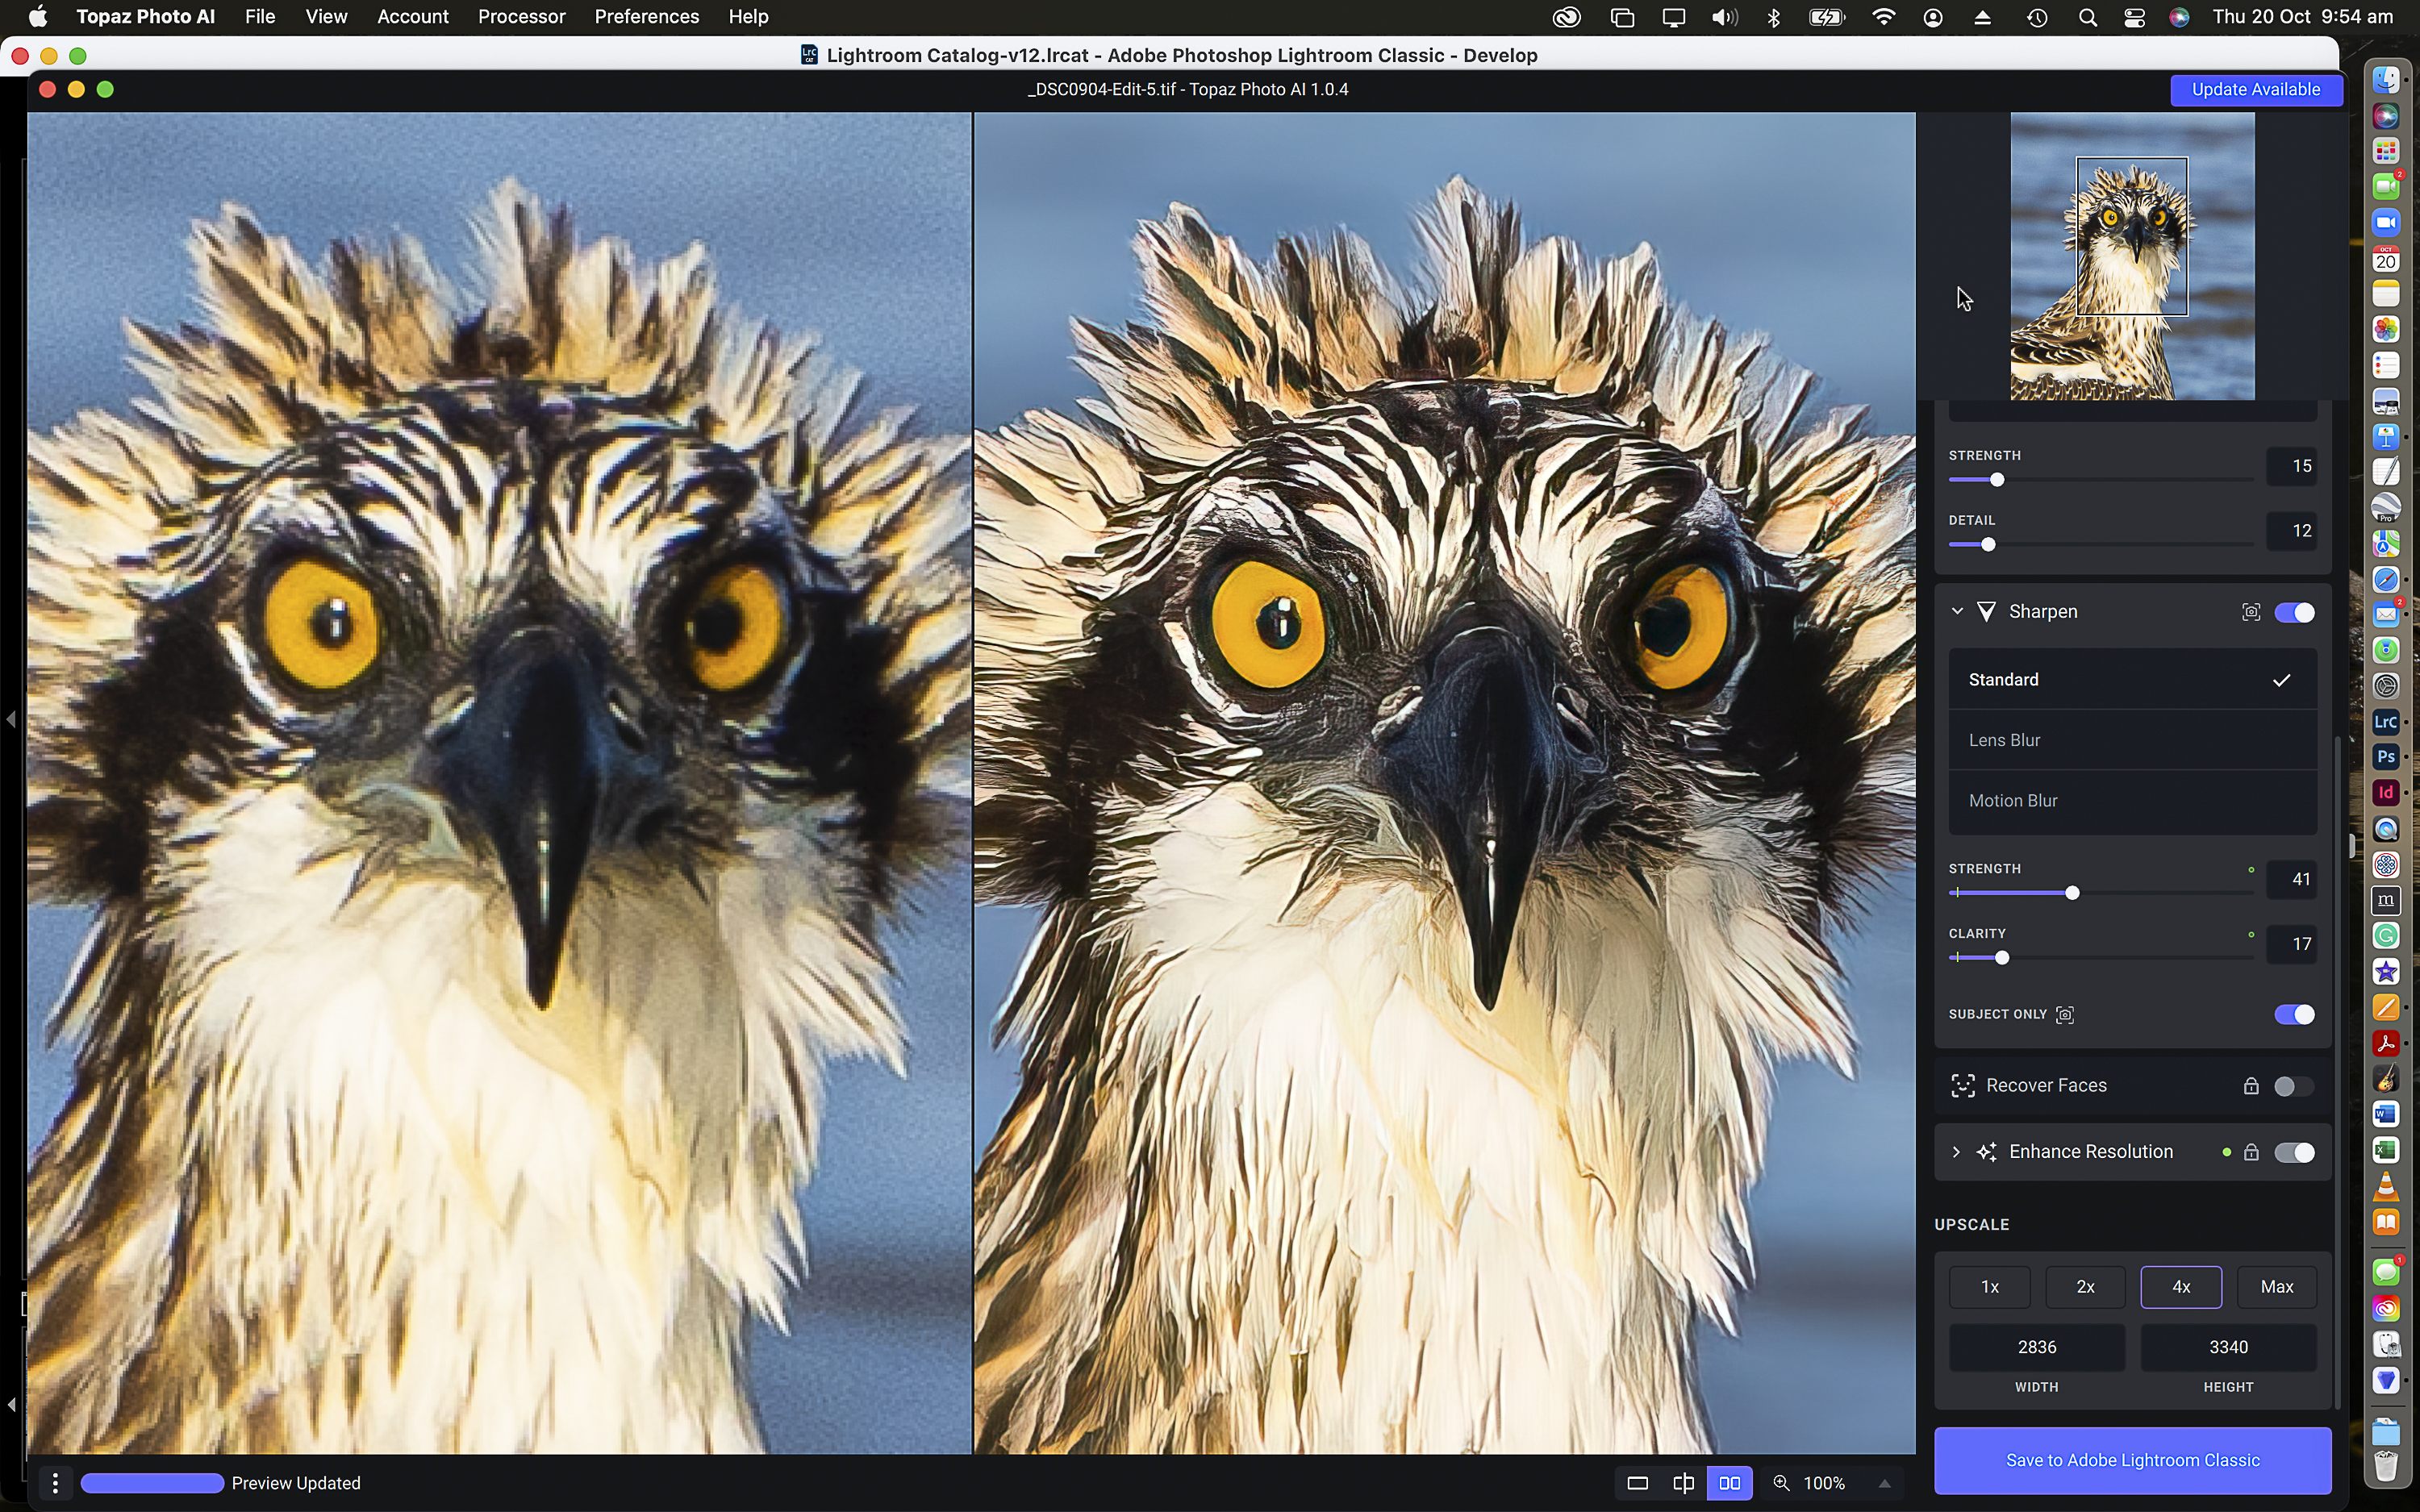
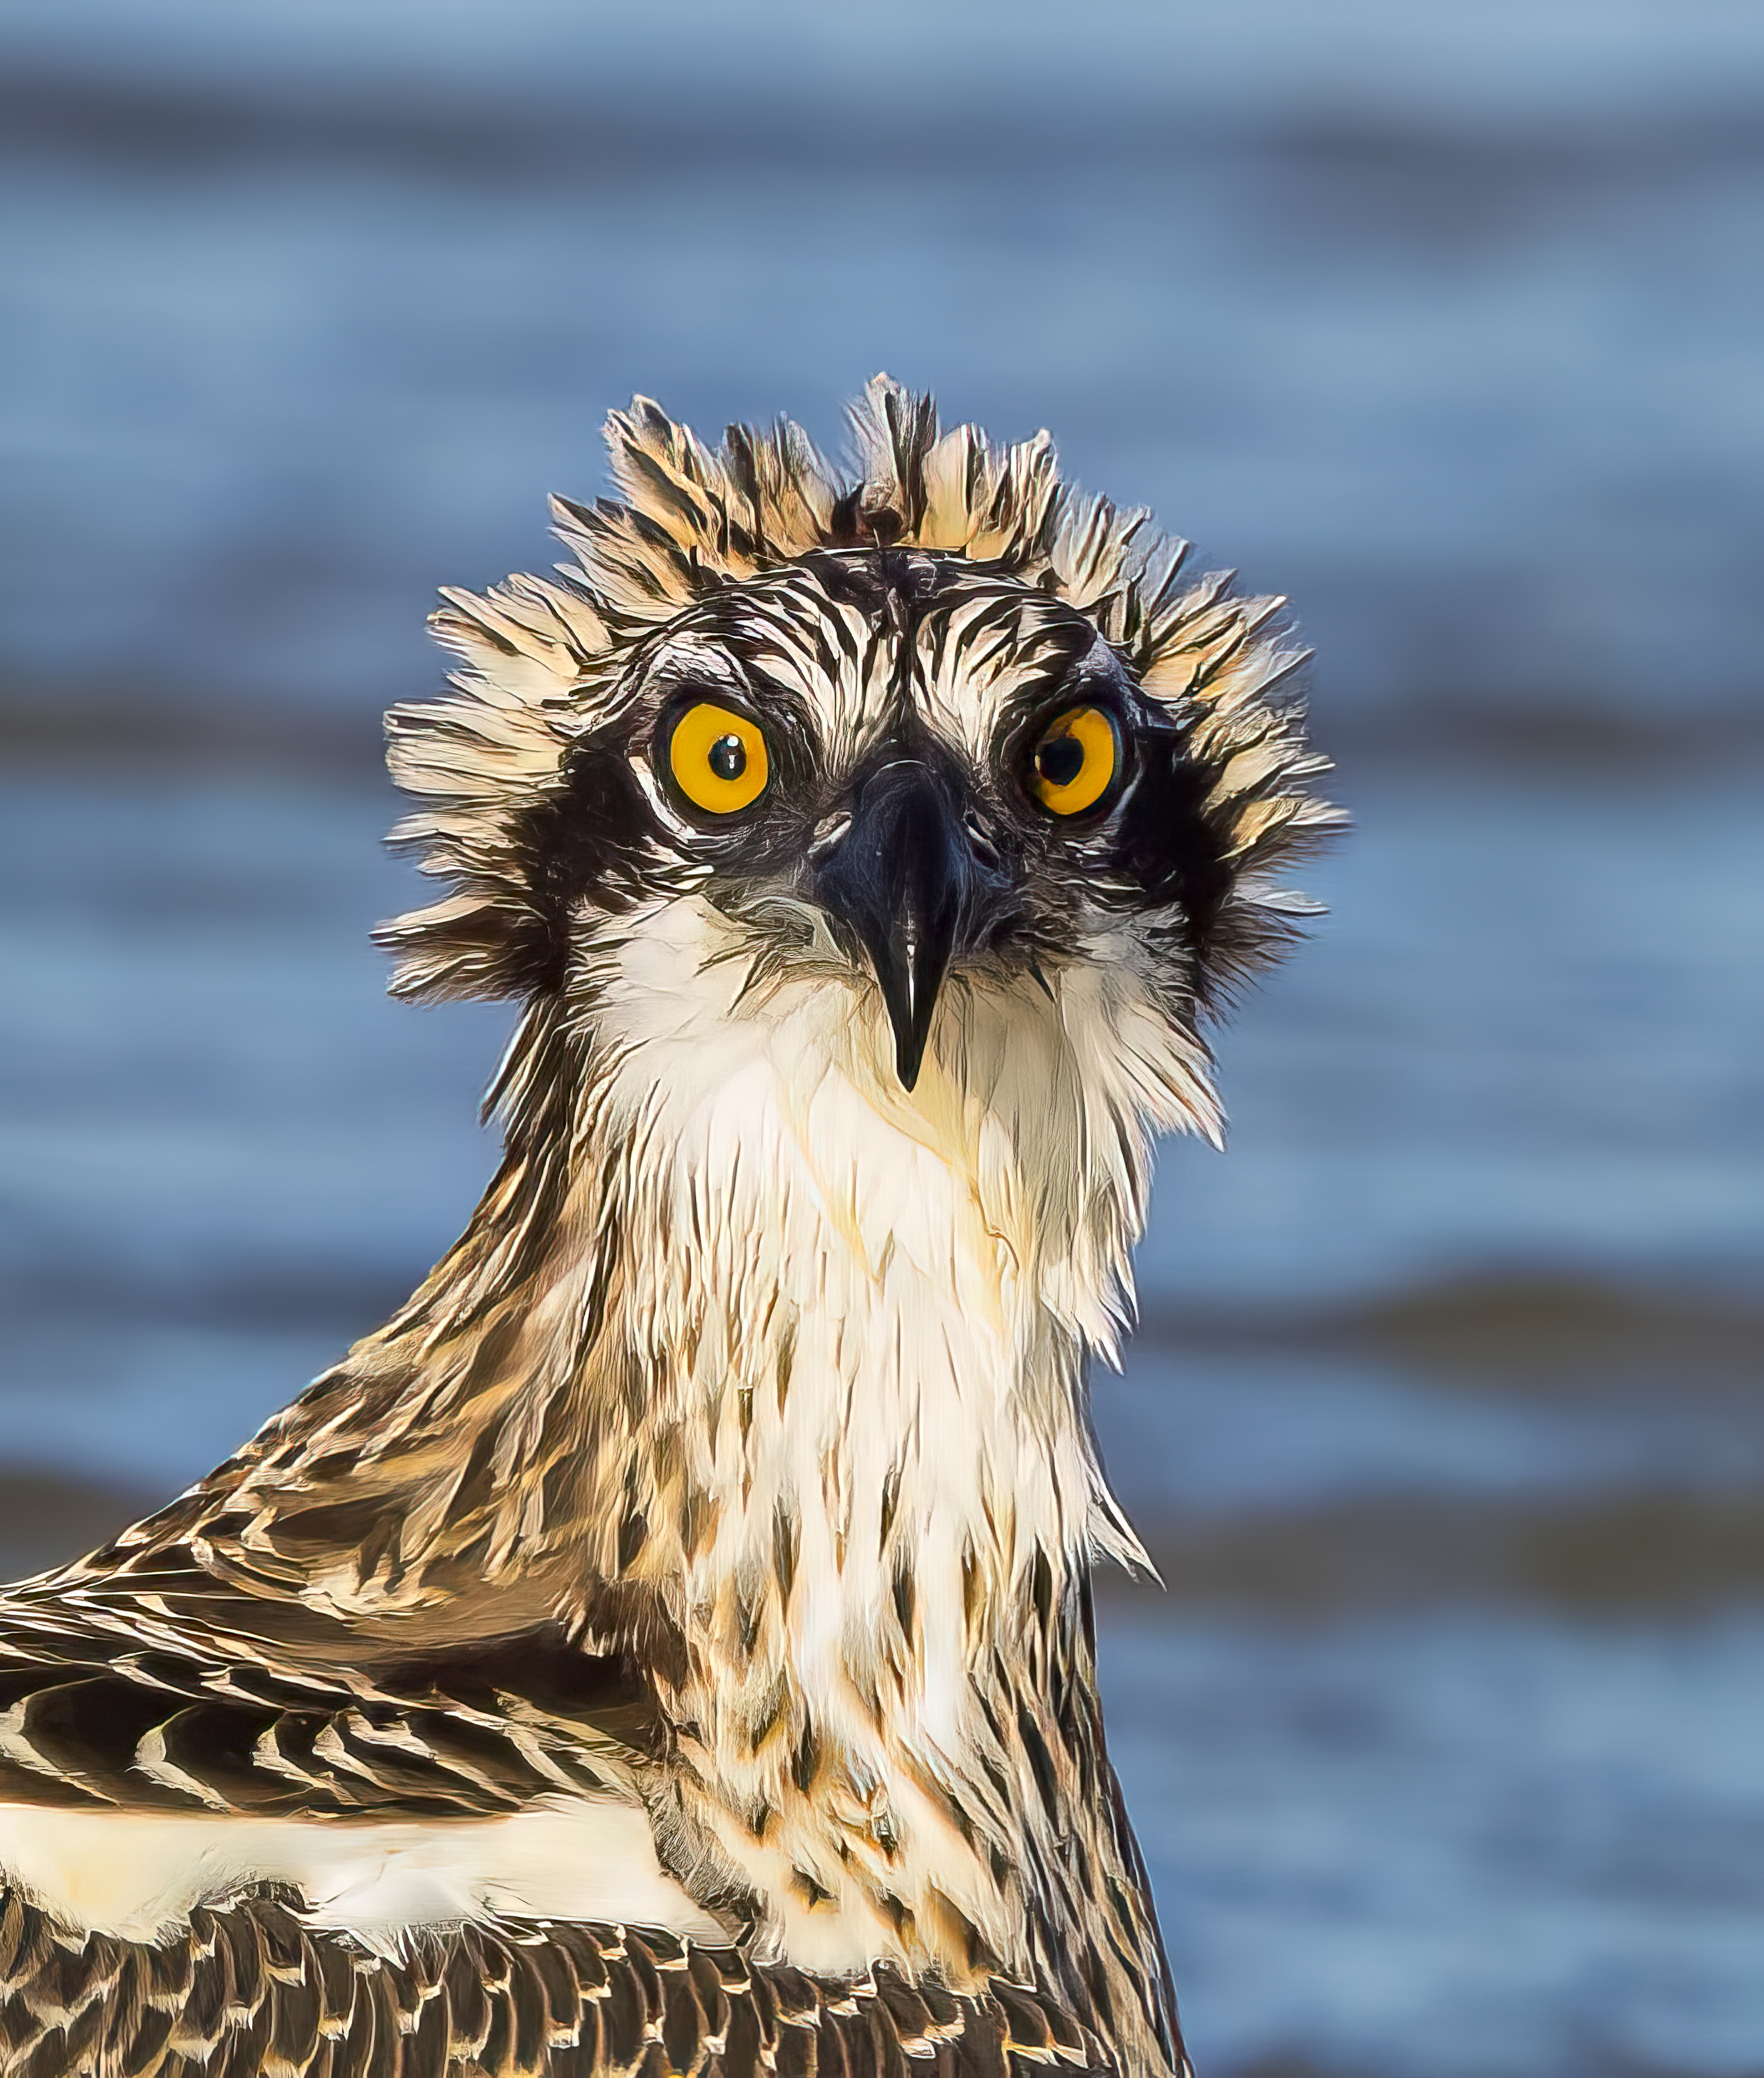
For this next example, let’s take a closer look at how effective the Enhance Resolution feature is when presented with a particularly small file – in this case an Osprey I photographed in 2022 with my 51MP Sony A1.
This young bird landed in front of me and offered a standard capture. Rather than trying to walk up closer and risk scaring it off, I decided to shoot where I stood.
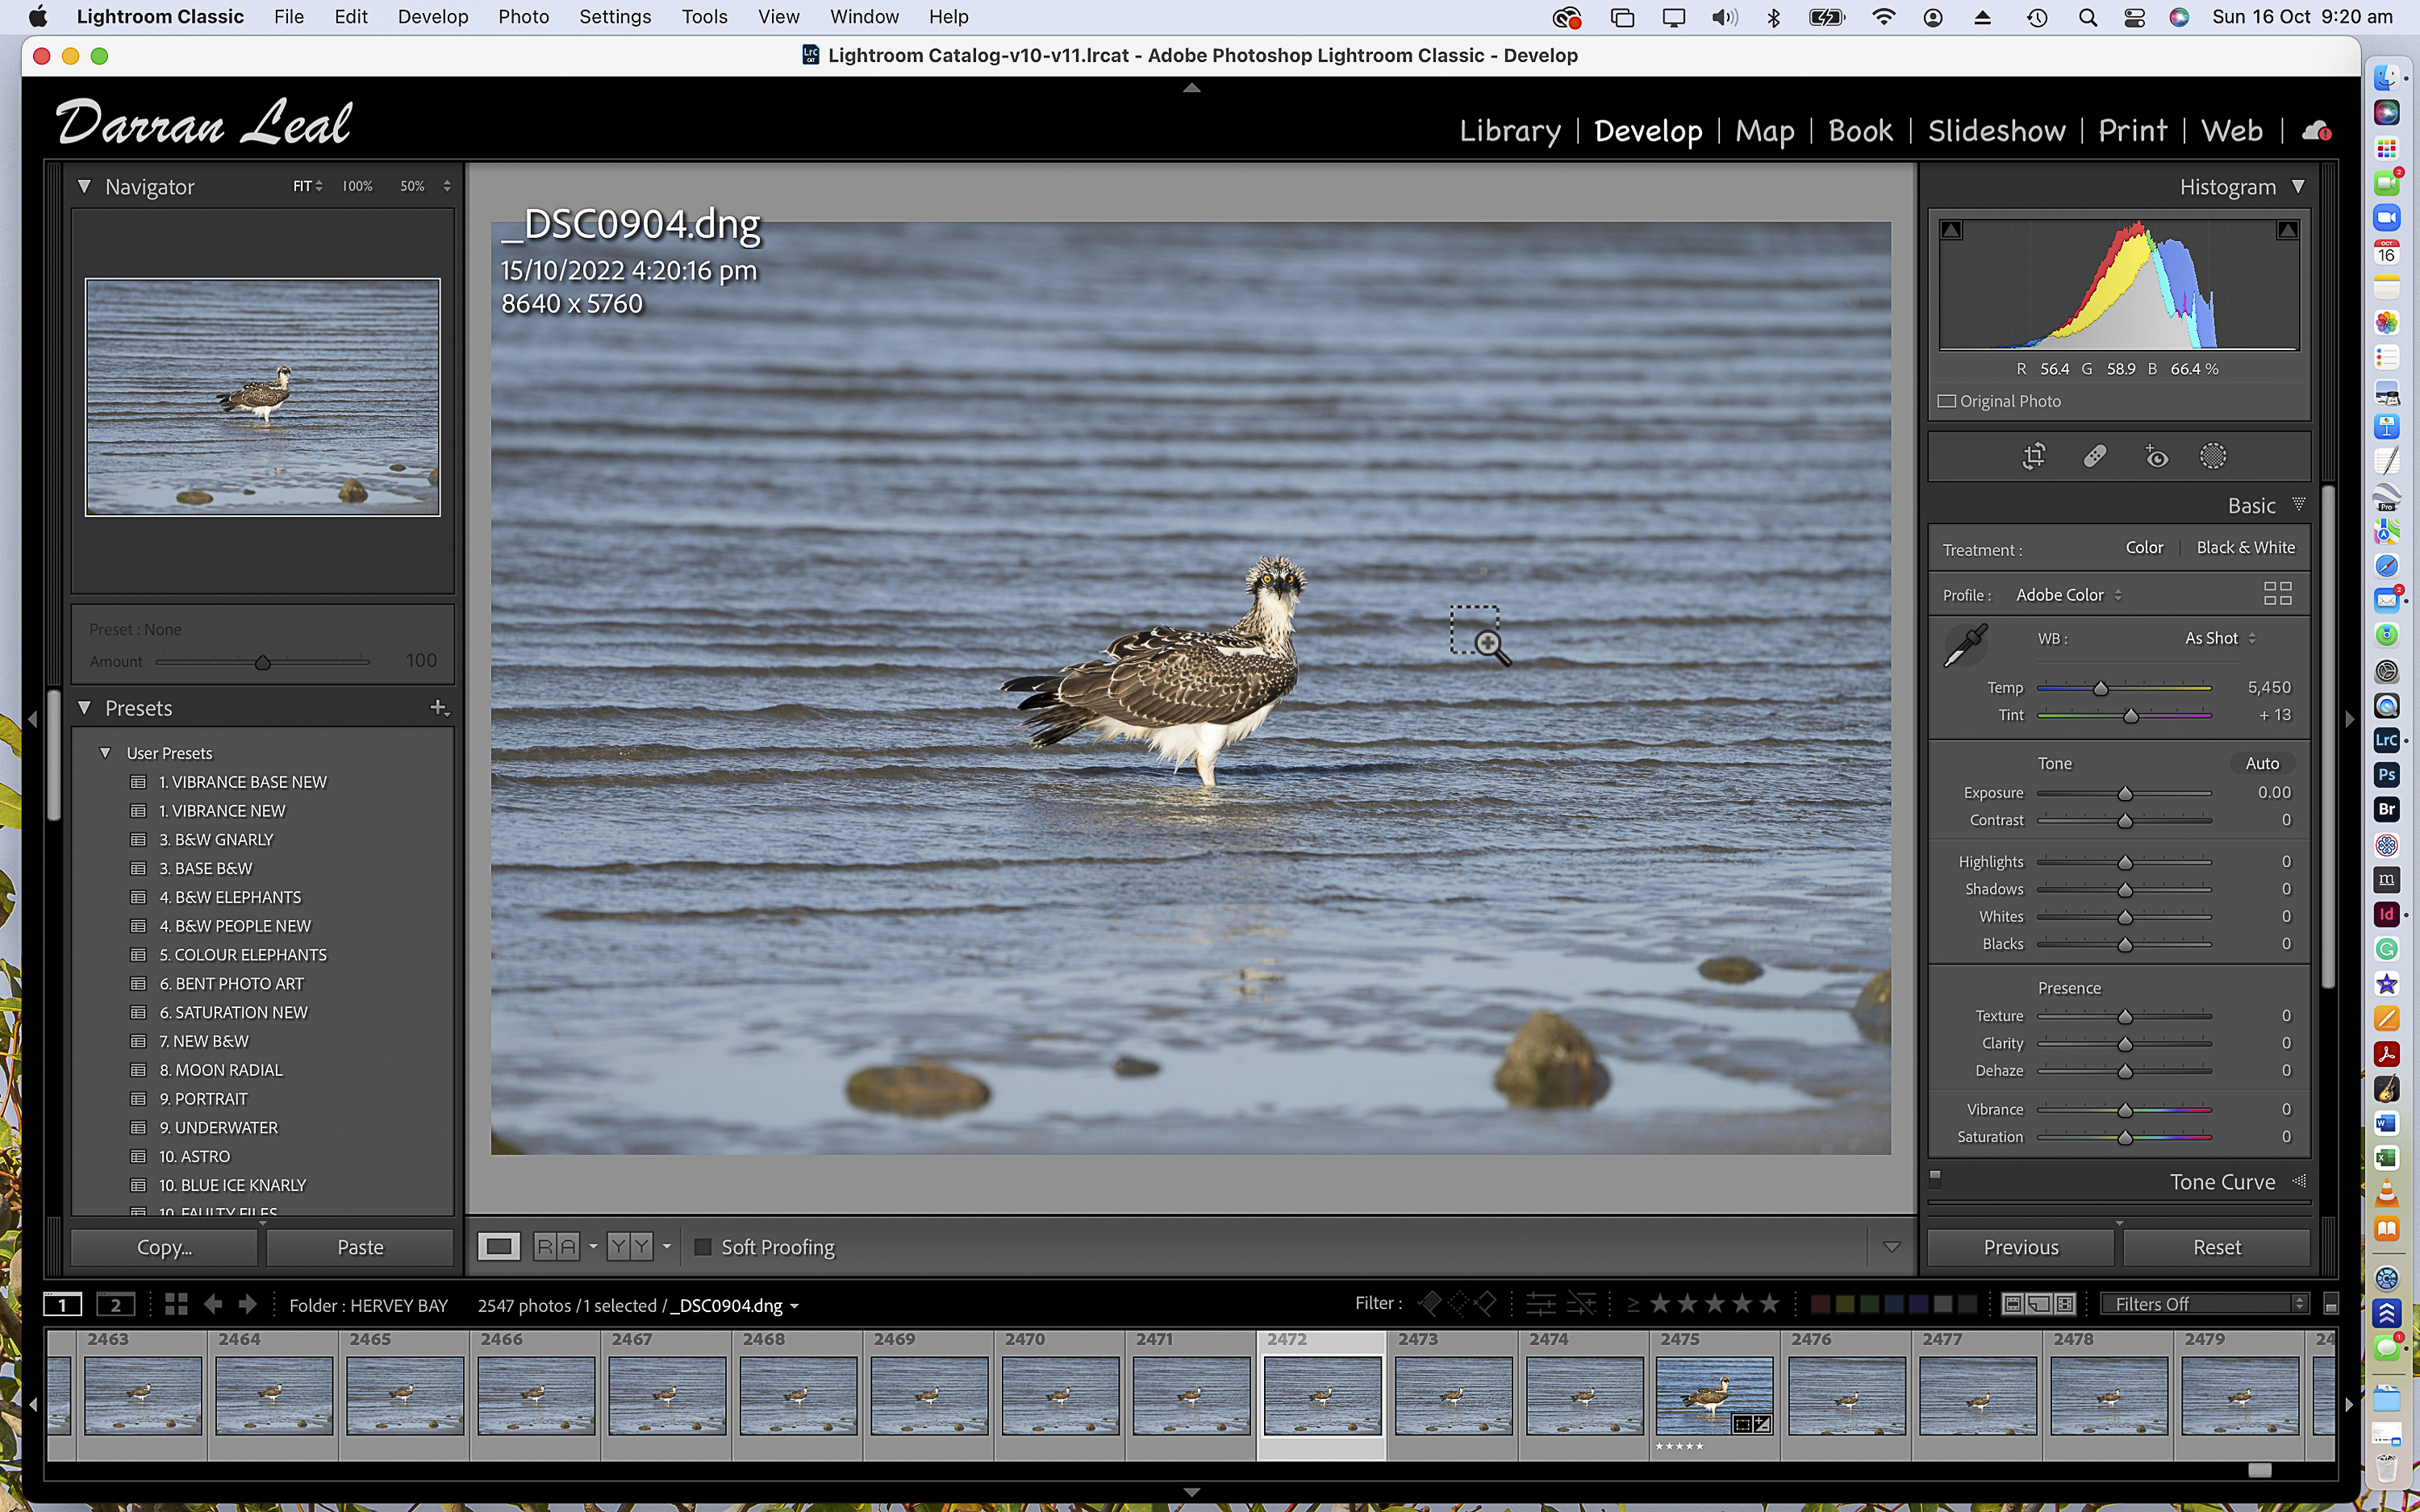
Here, I’ve cropped the shot down to just 835 pixels on the longest edge.
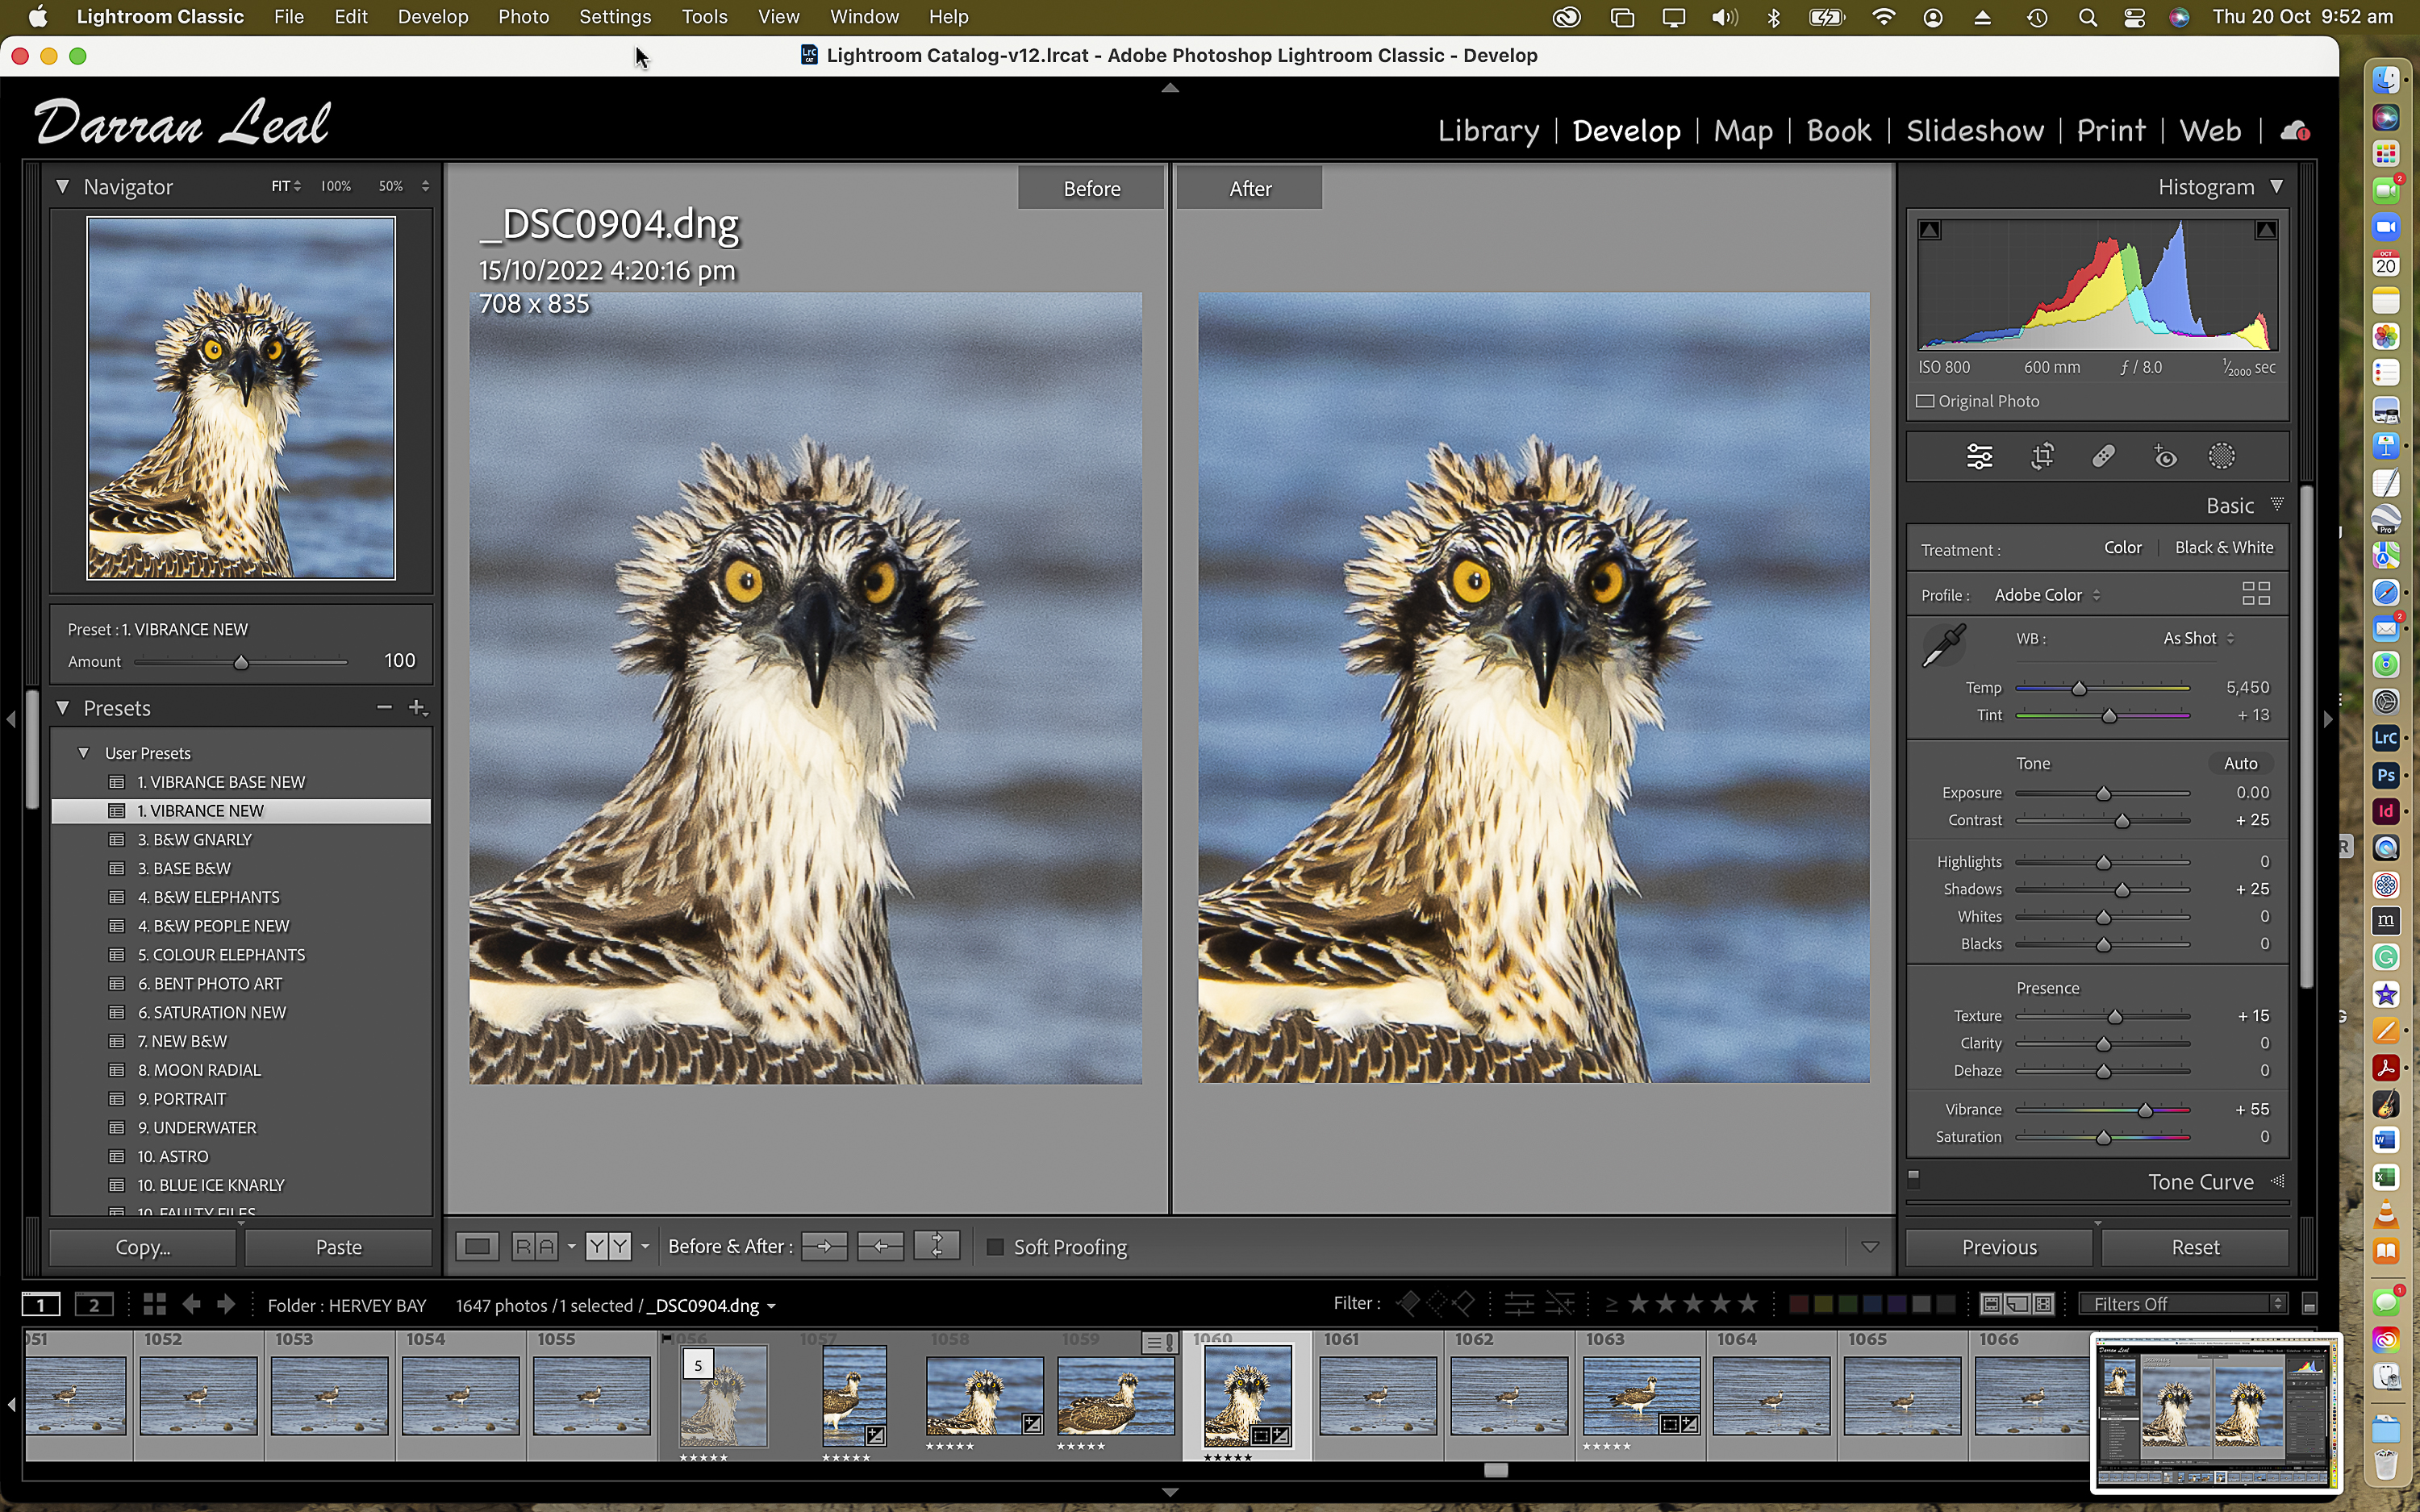
Next, I’ve relied on the auto AI settings by default, and upsized the file by 4X to give me an image 3340 pixels on the long edge, which would be suitable for A4 printing with no loss of detail. While there is limited fine detail in the osprey’s neck feathers, the results are still impressive considering how small the cropped section of the original image is.
Let's look at another example.
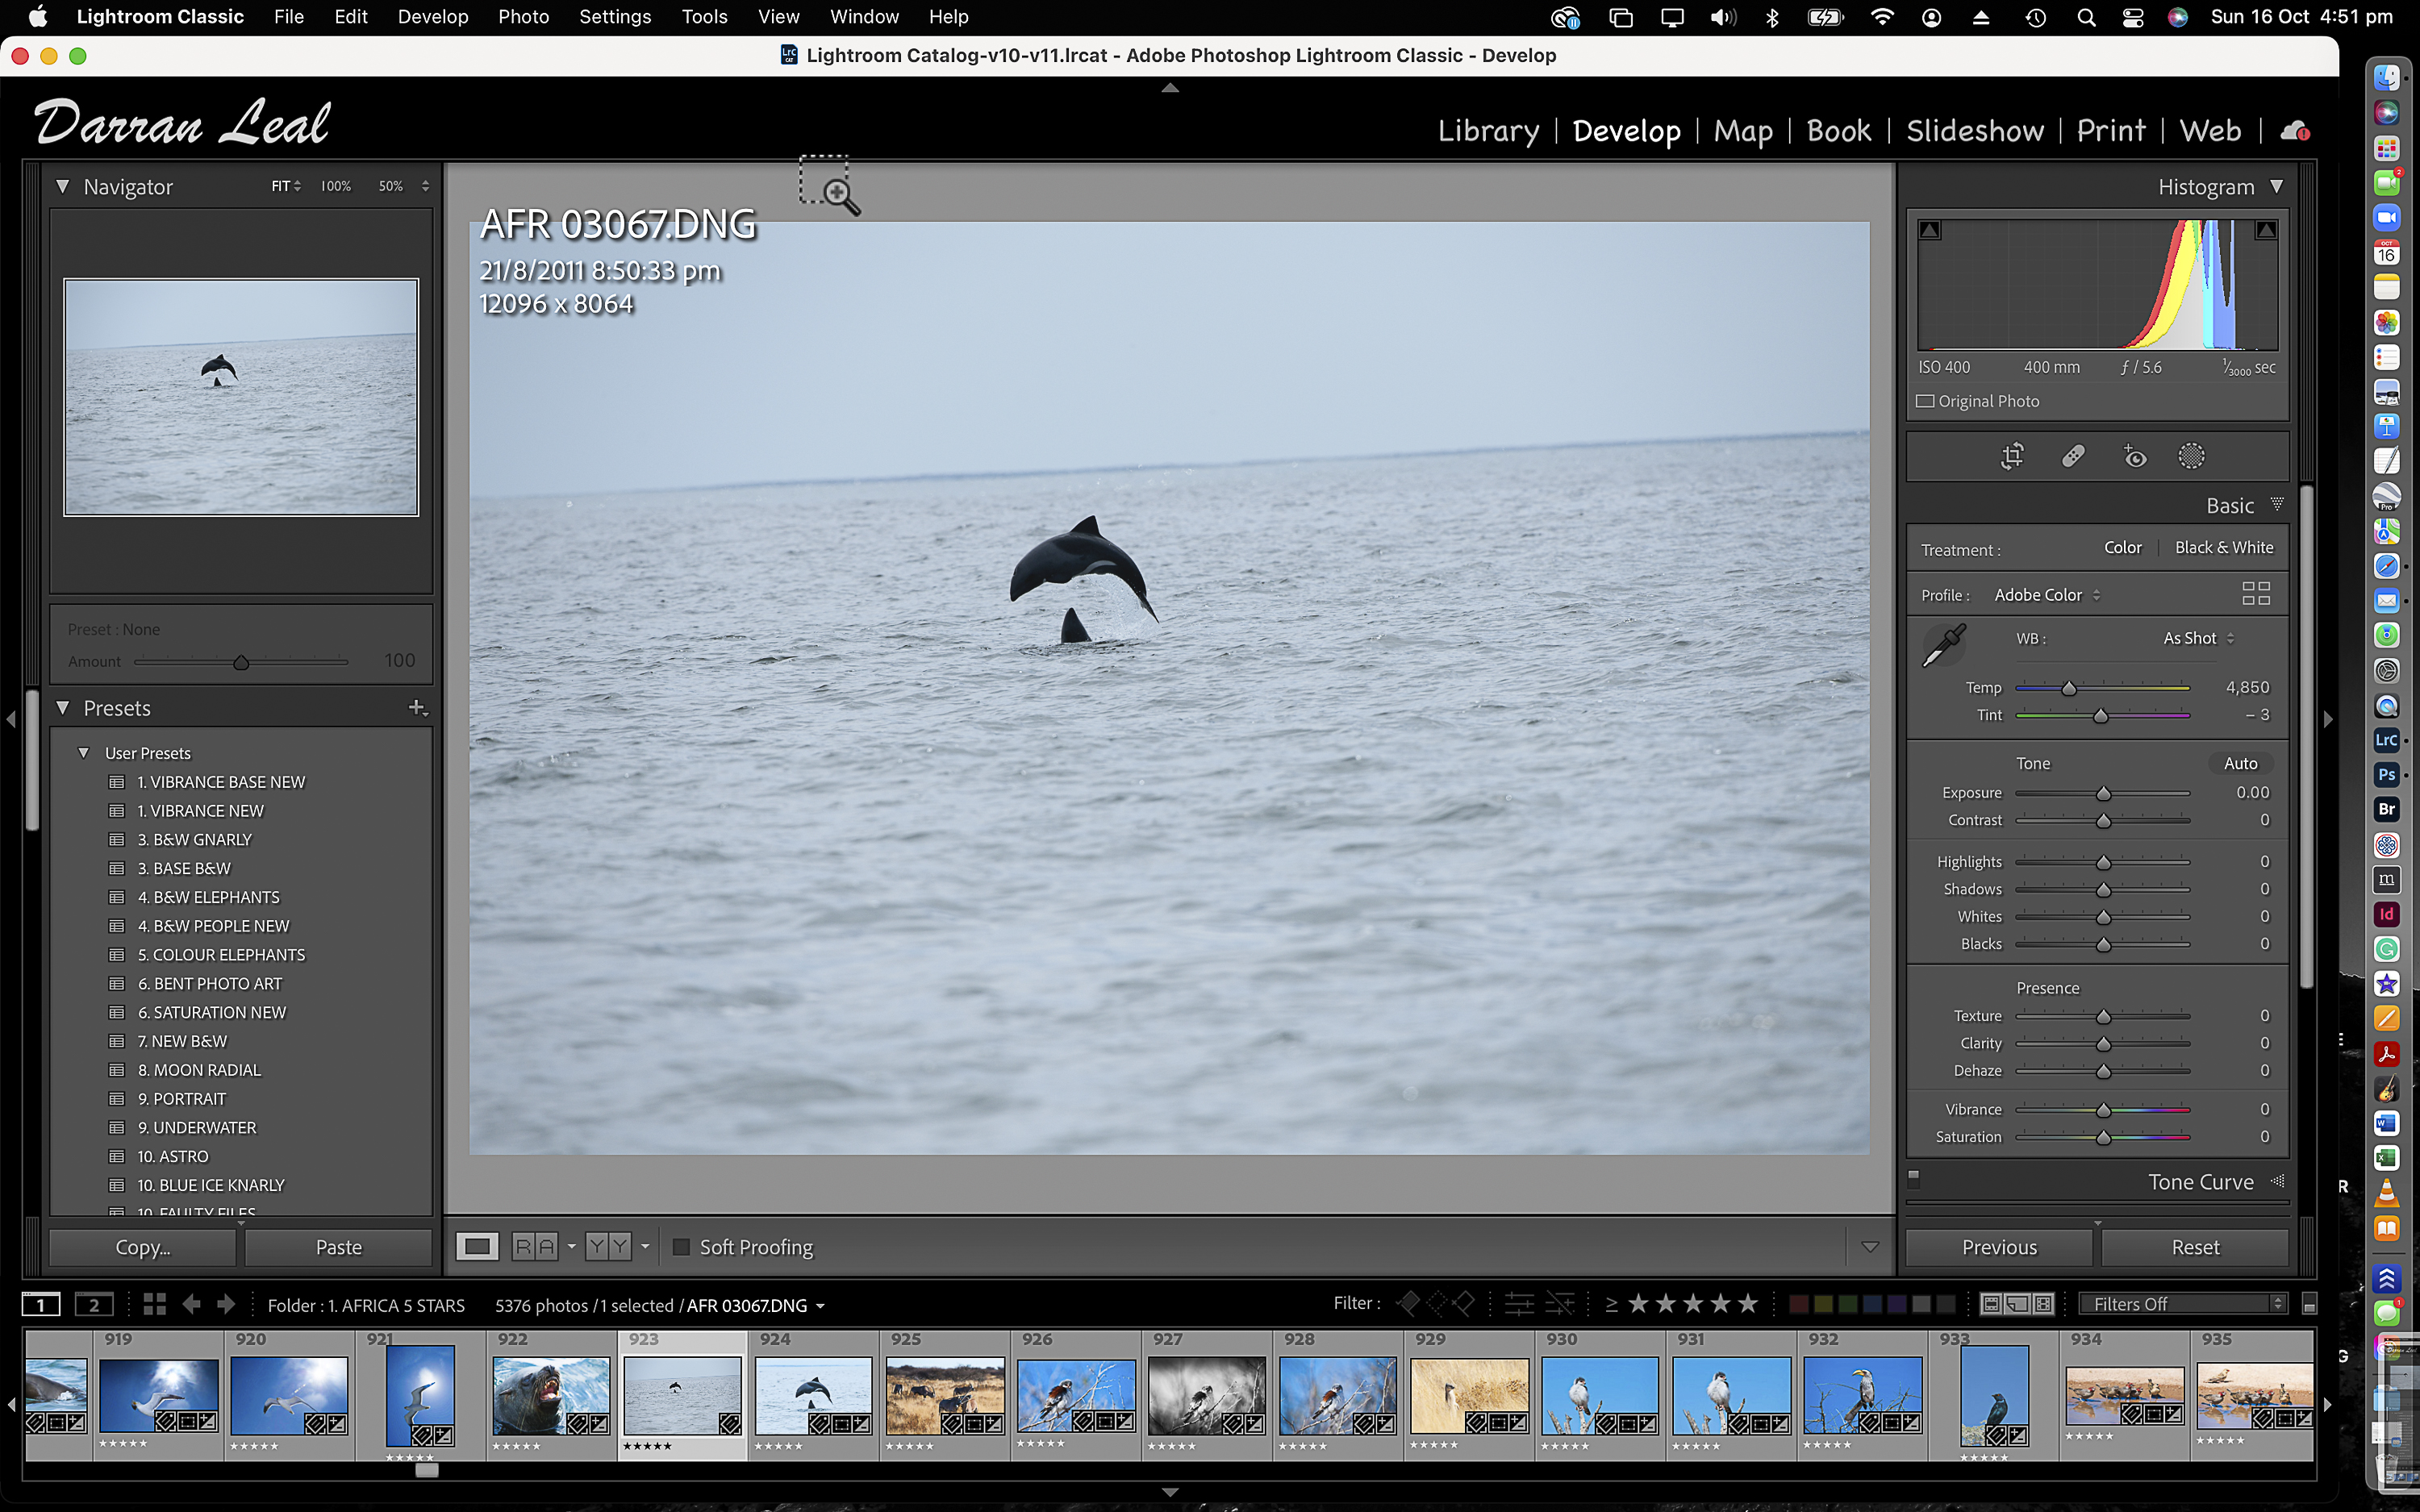
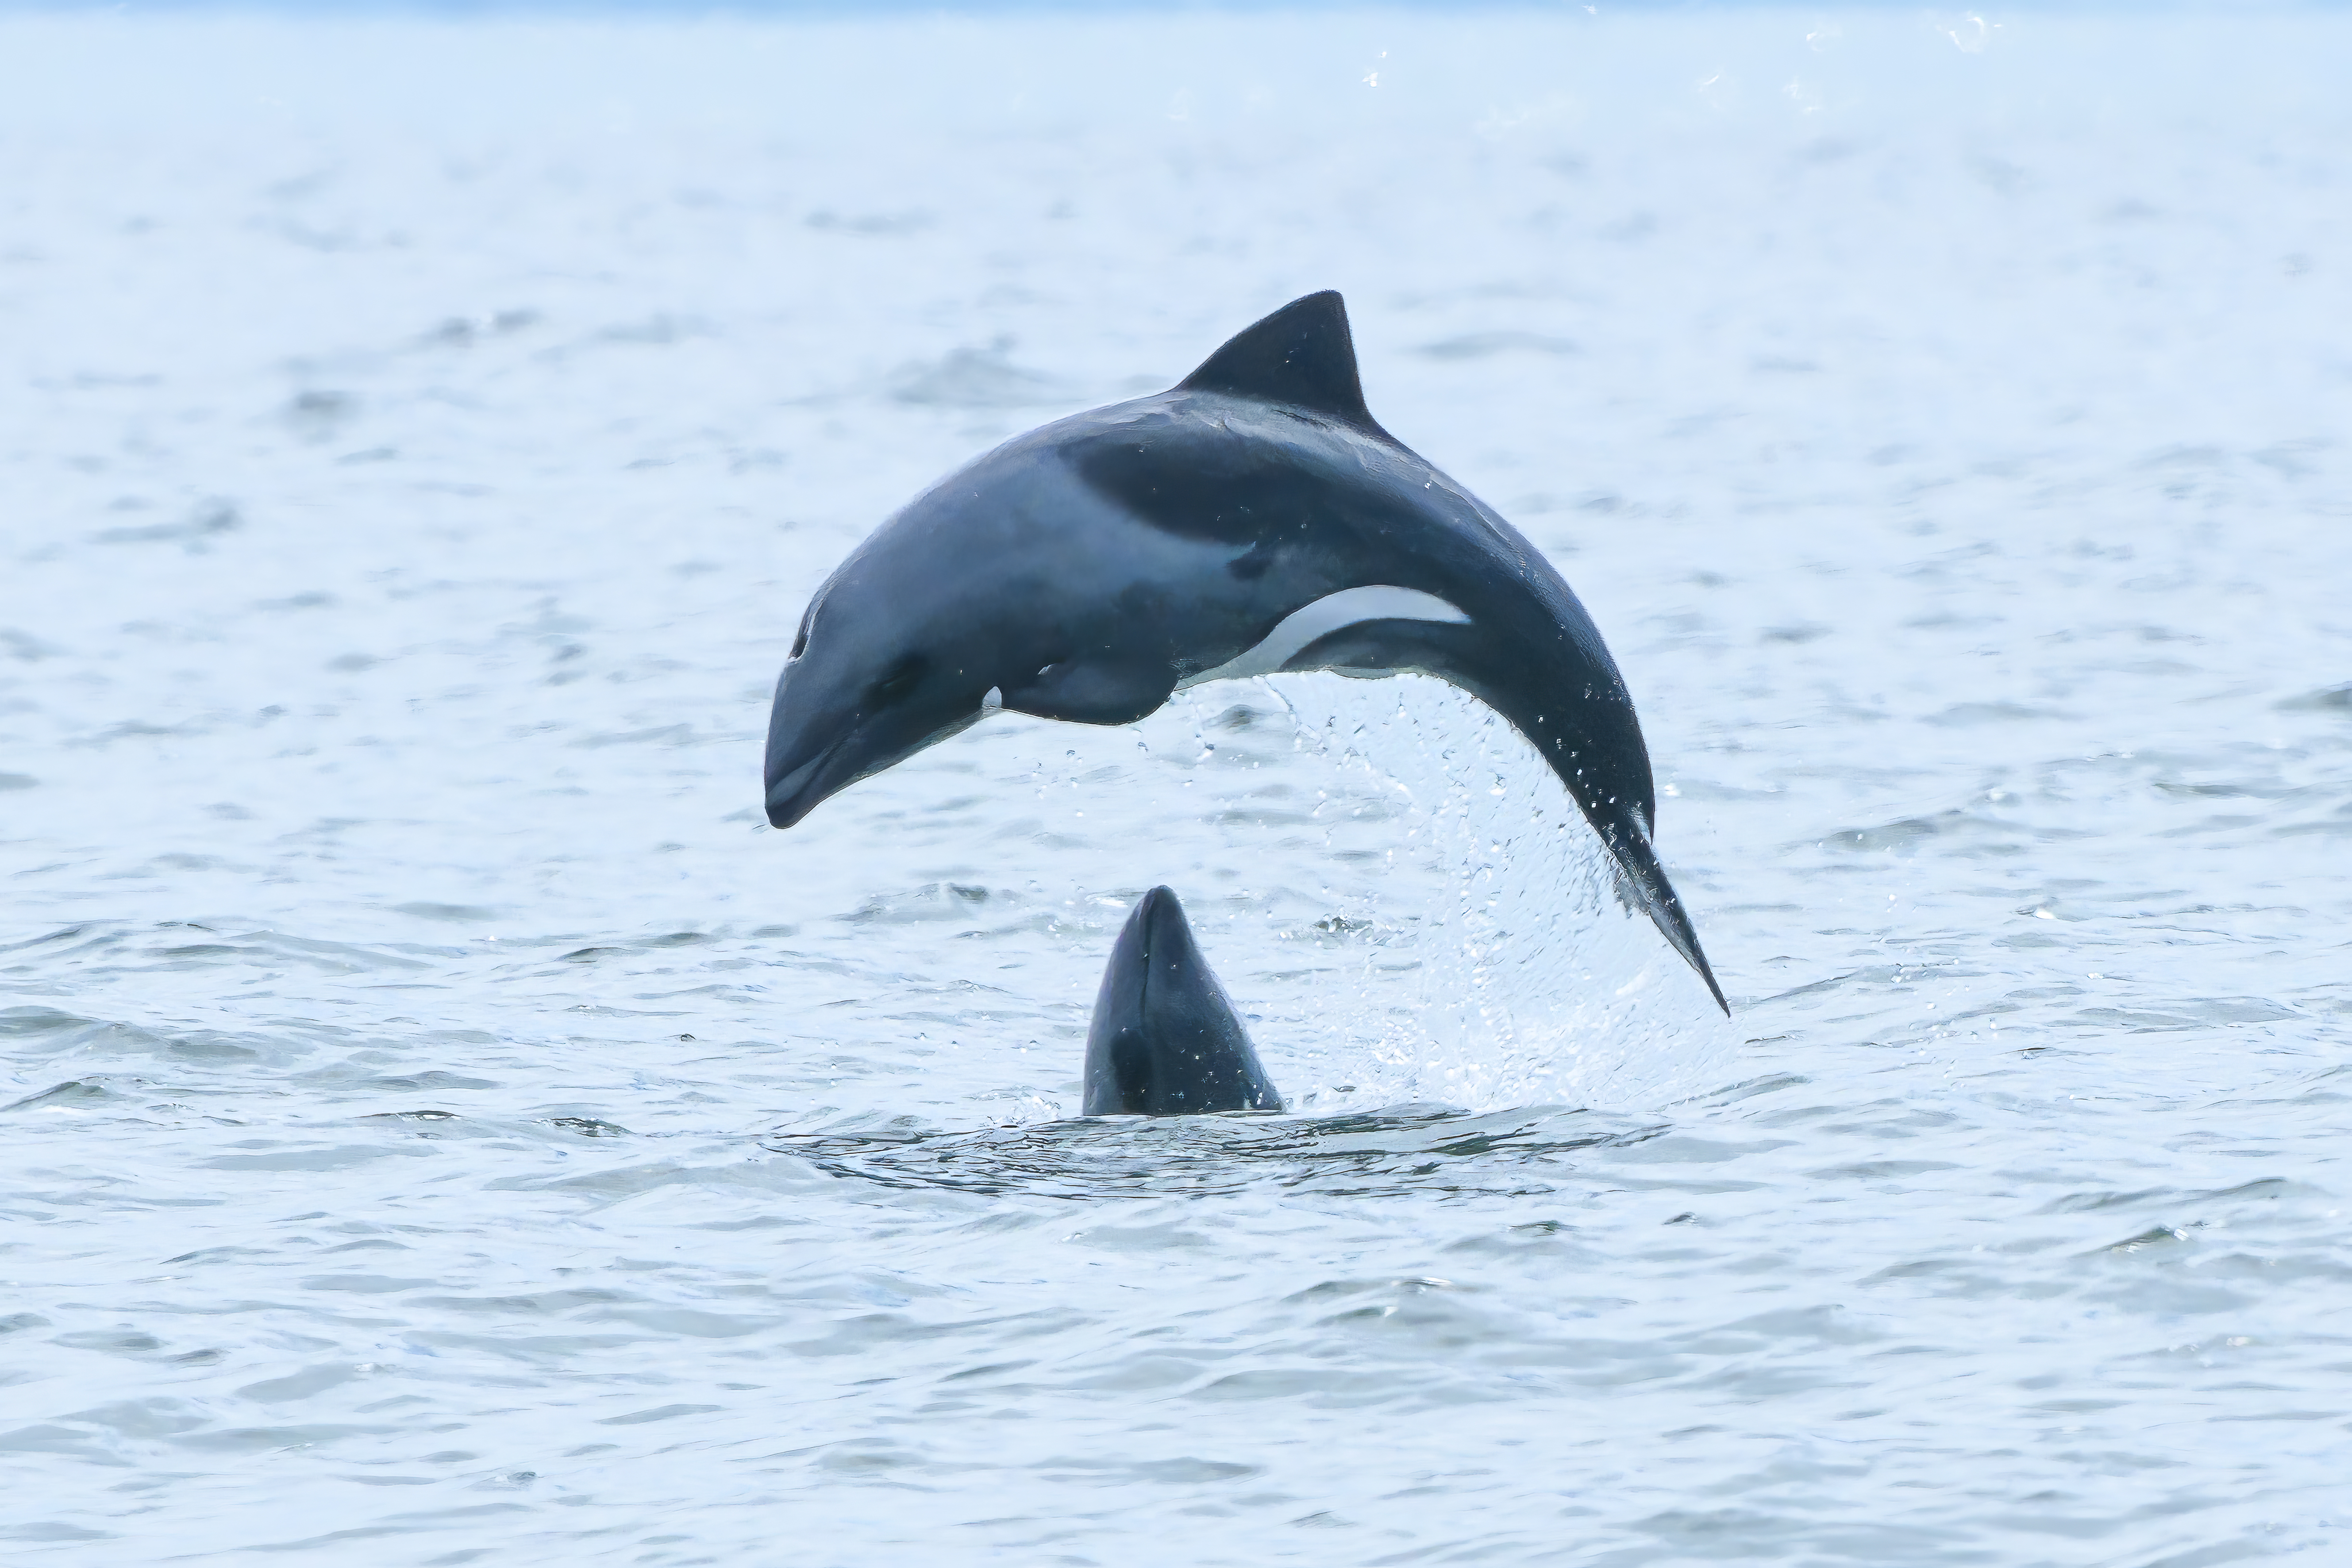
I photographed this Heaviside's dolphin in Walvis Bay, Namibia in 2011 with my Nikon D3x and Nikon 200-400mm lens. I have saved this image since 2011, unsure if I could ever turn it into something usable.
The original RAW capture was made with a 36MP sensor, and once I cropped to get into the action, I only finished with about 2.5MP of information (1971px on the long edge).
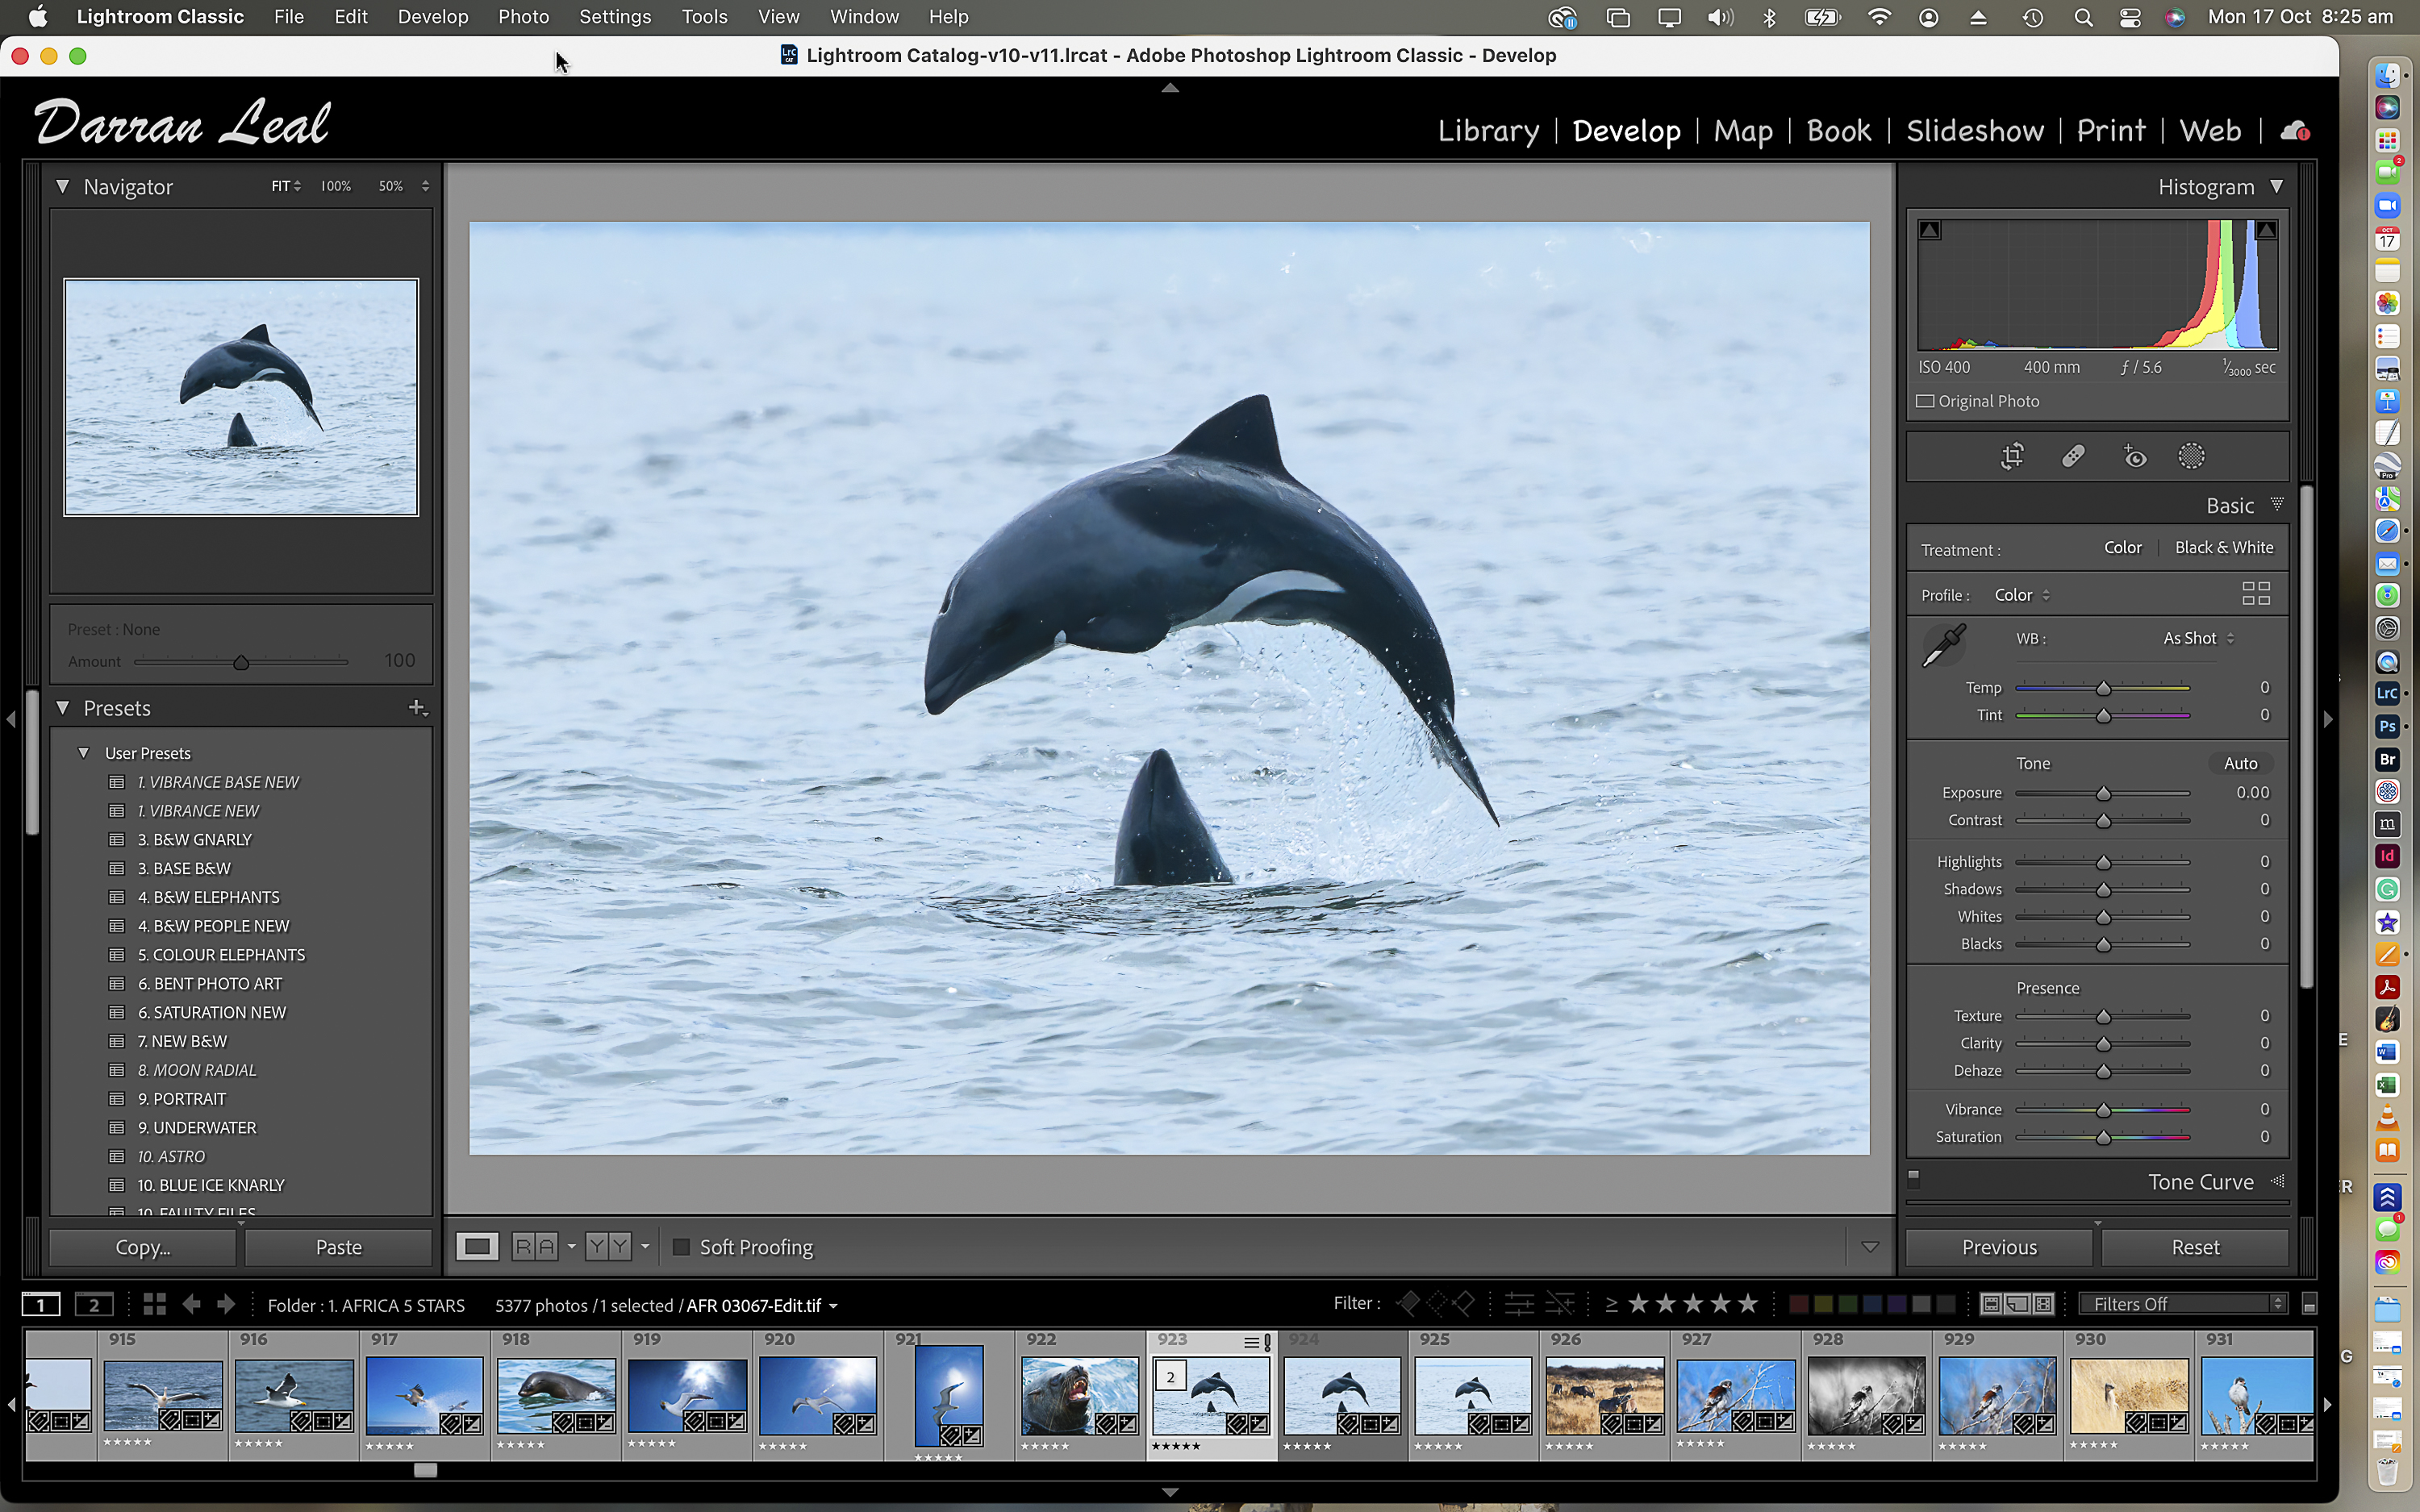
The resulting enhanced image is below. Again, this was edited with Photo AI’s default settings, and I applied a 4x enhancement following this. The result is a much bigger file (5315px on the long edge), with the addition of plenty of edge detail added to the dolphin as well.
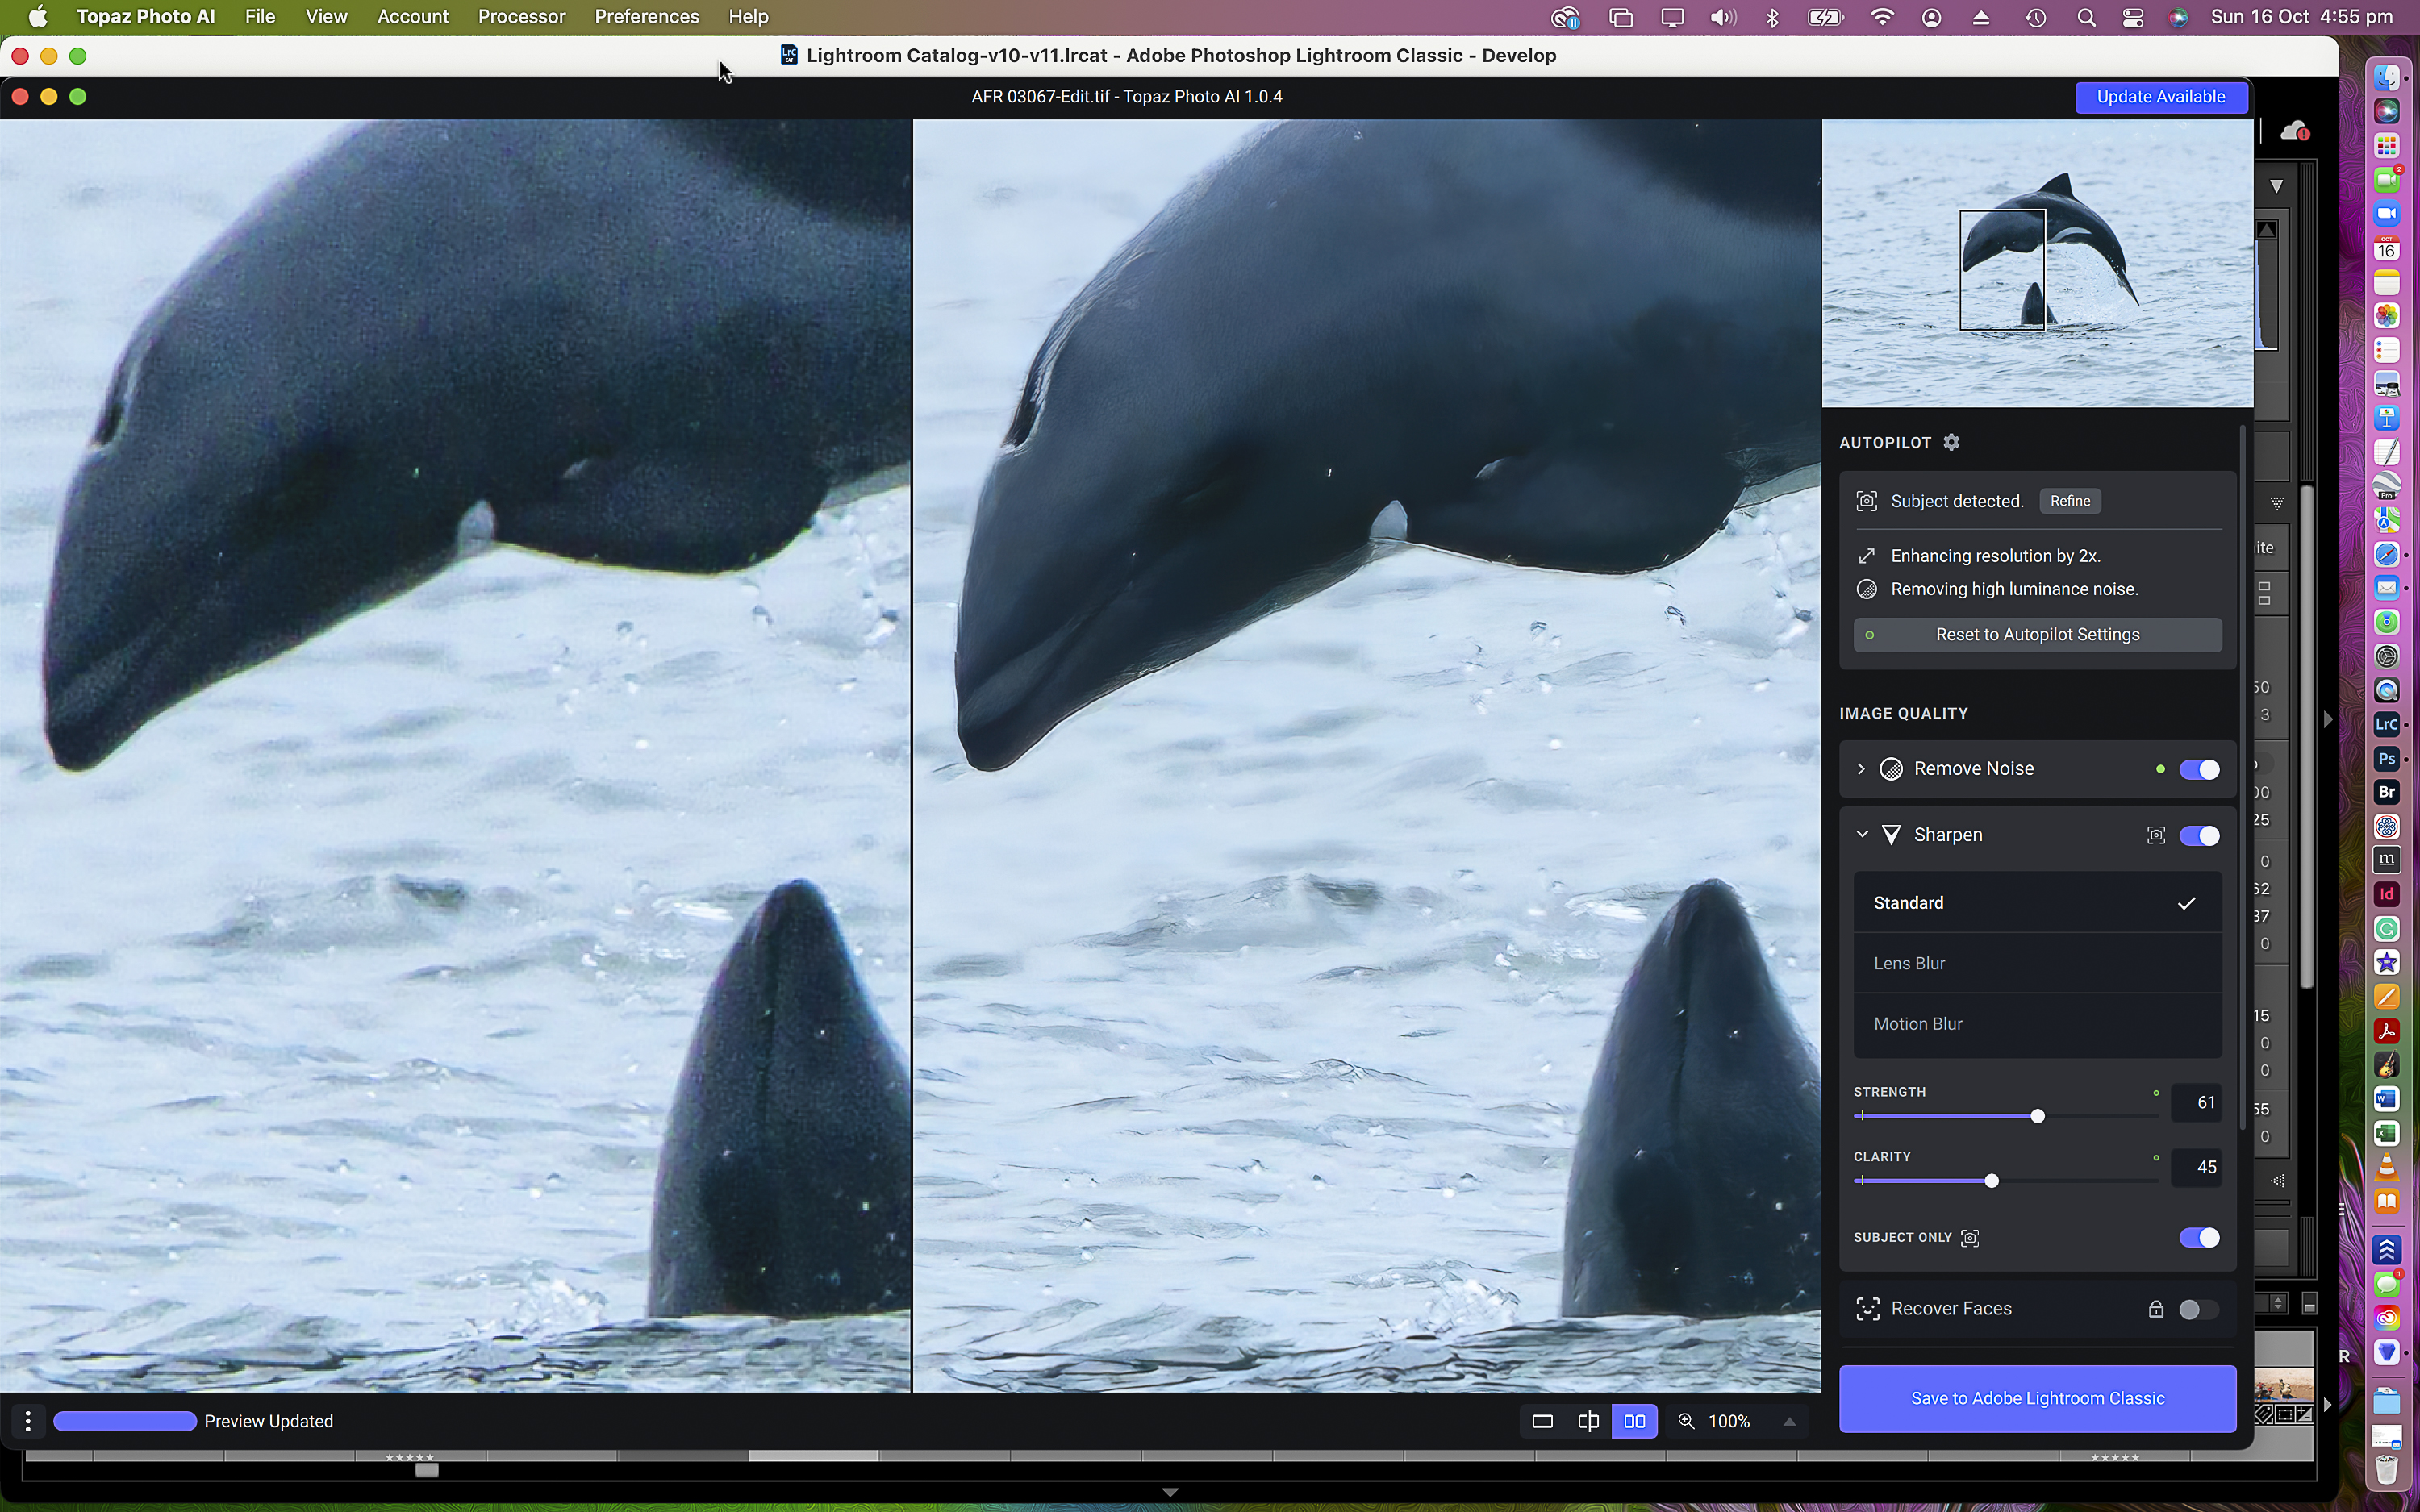
It’s impressive how the technology is also capable of identifying the layer of water on the dolphin’s skin around the flipper.
In addition, look at how it has reduced the noise in the dark parts of the body, while also subtly sharpening the edge of the dolphin against the ocean without making it look like it’s been masked poorly.
Let’s take a look at how Photo AI handles a Landscape shot.
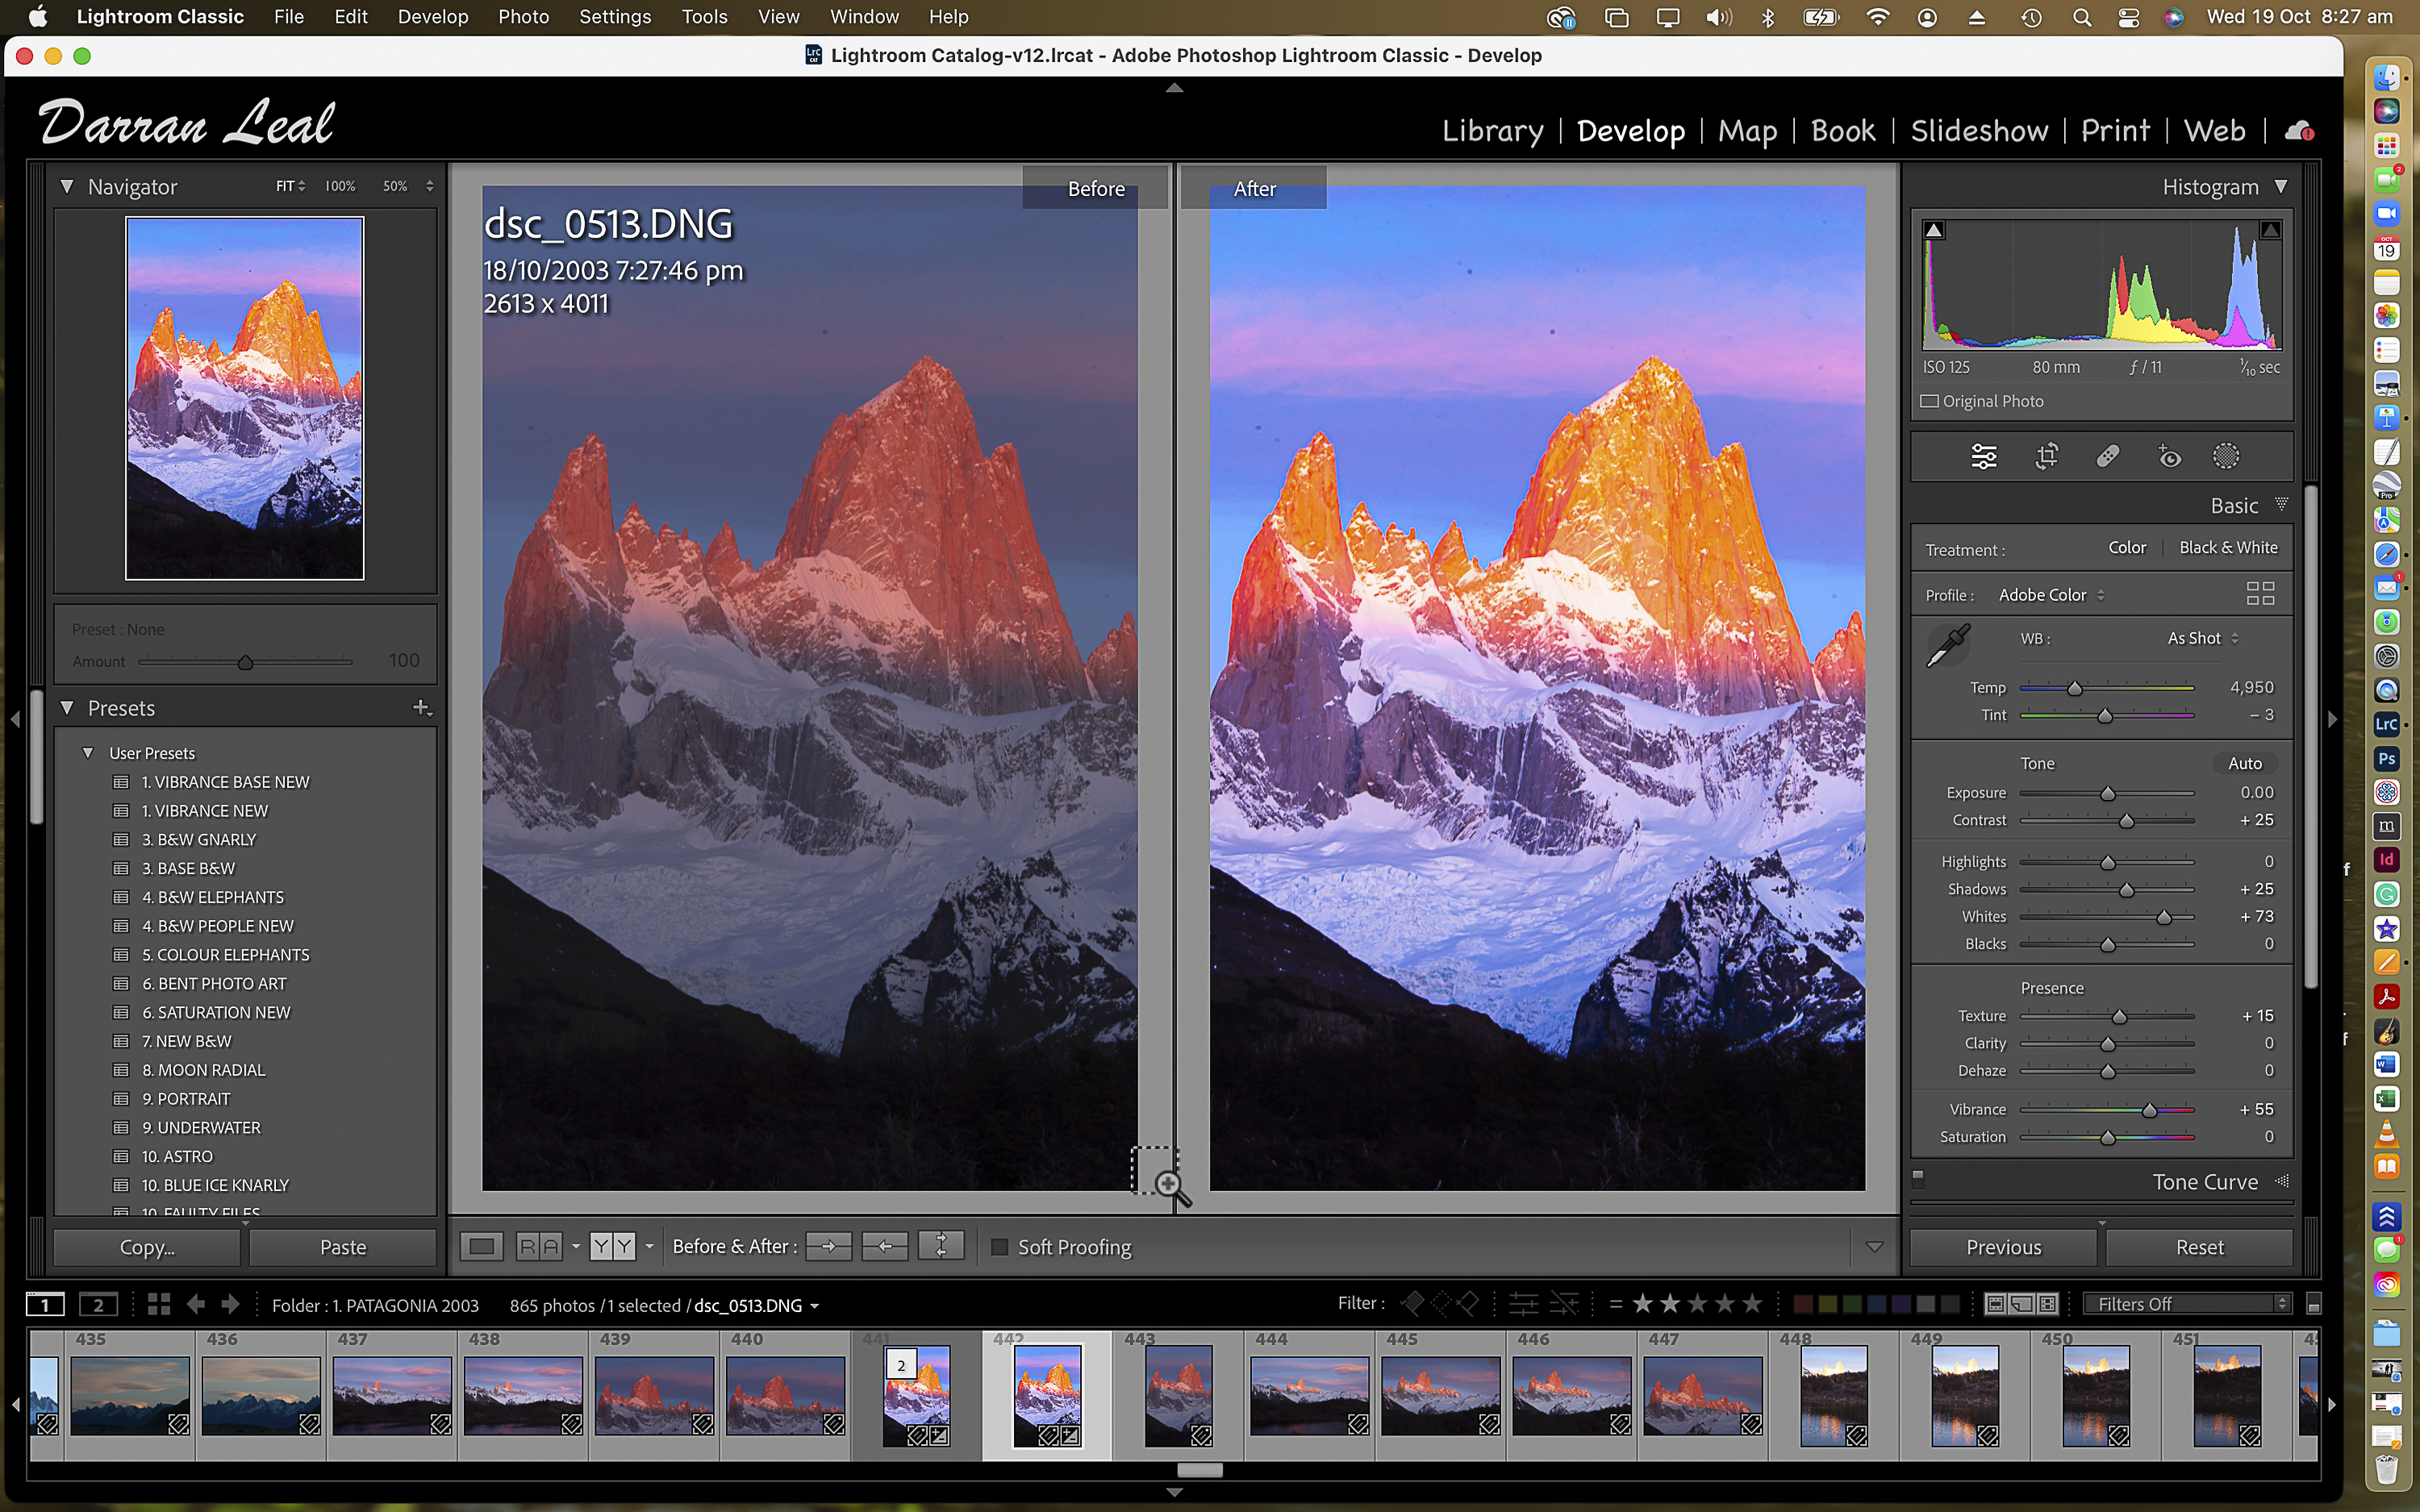
This image was captured in Patagonia in 2003 with the Nikon D1x and Nikon 80-400mm lens. For this image I’ve manually adjusted the Sharpness and reduced the Clarity, while also using the Enhance Resolution feature to double the size of the original file (2x).
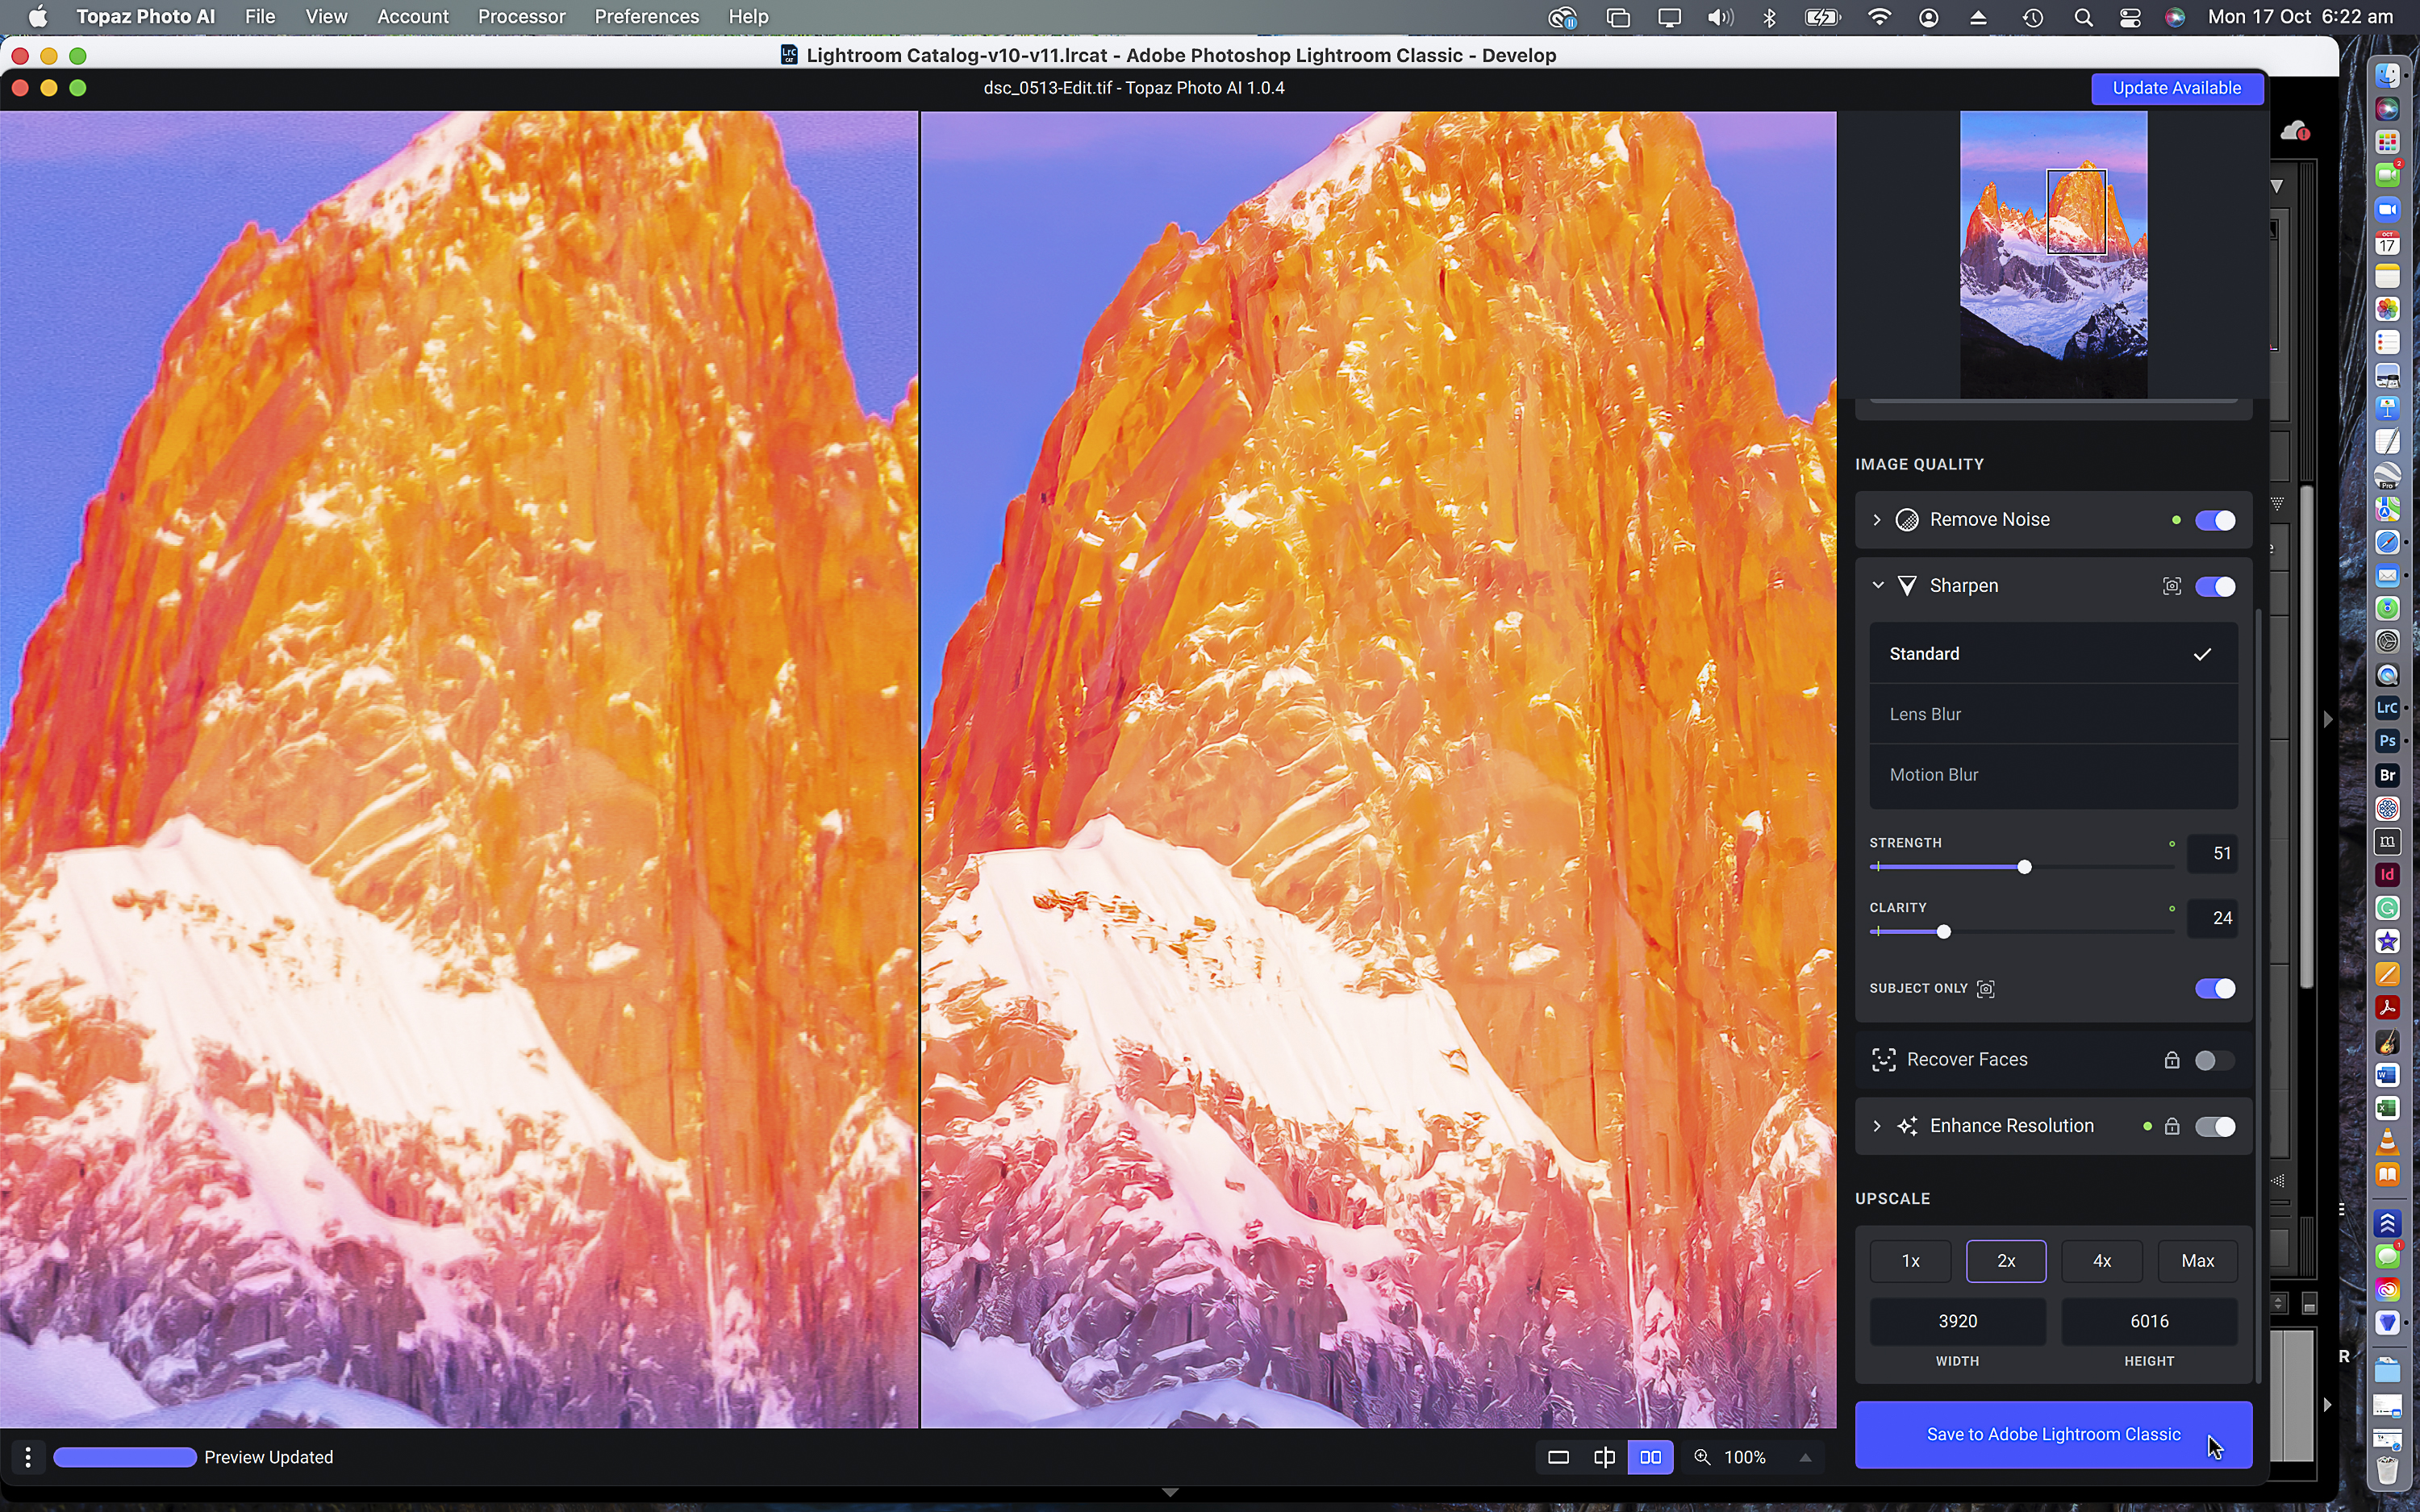
Above is a close-up of the final results. Look at how the software has corrected for camera shake (the original image was captured at 400mm) and added detail into the snow.

One use case for Topaz Photo AI is restoring or recovering scanned film photos, something I’ve been keen to experiment with.
I’ve captured many slide images dating back to 1980 that were unfortunately almost all destroyed by 2015. I had moved around so much in over 40 years that different fungi had eaten into the emulsion, despite my attempts to protect them.
Interestingly, I lived north of Auckland, New Zealand, for six years, and this did the most damage, even though I have spent most of my life in Queensland! The result is I have few captures left today from the first 20 years of my career. Let’s see how Photo AI manages them.
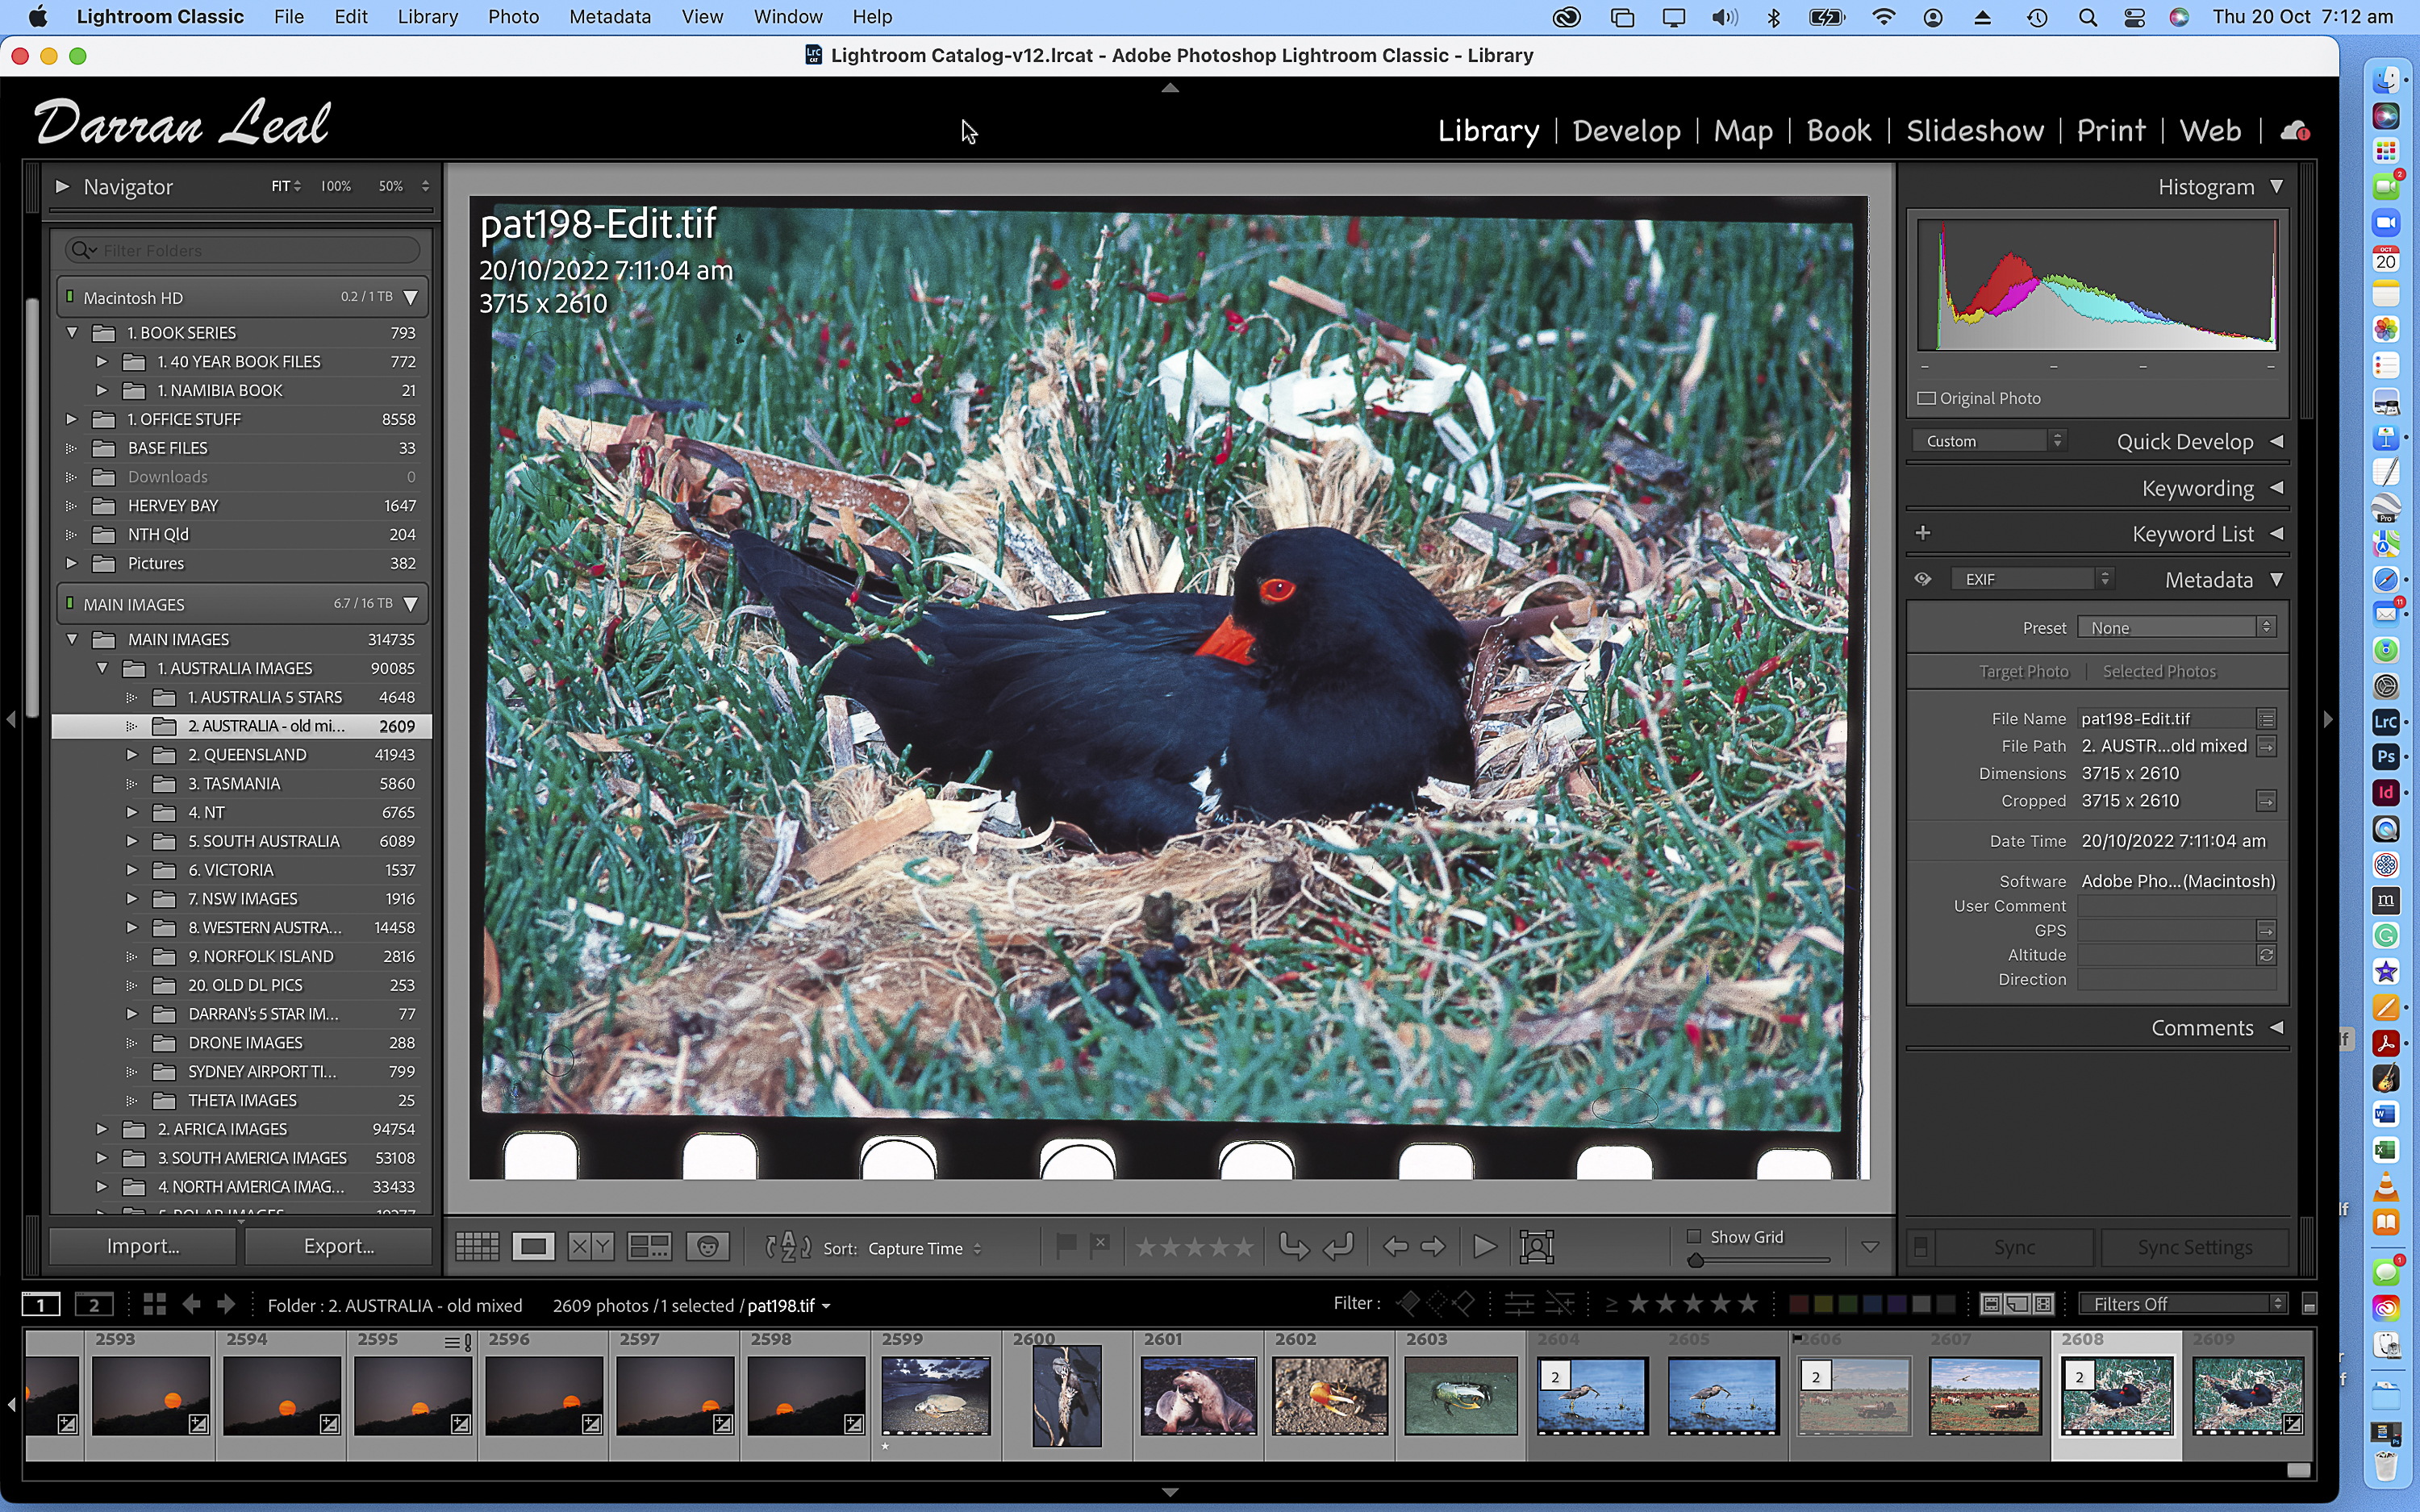
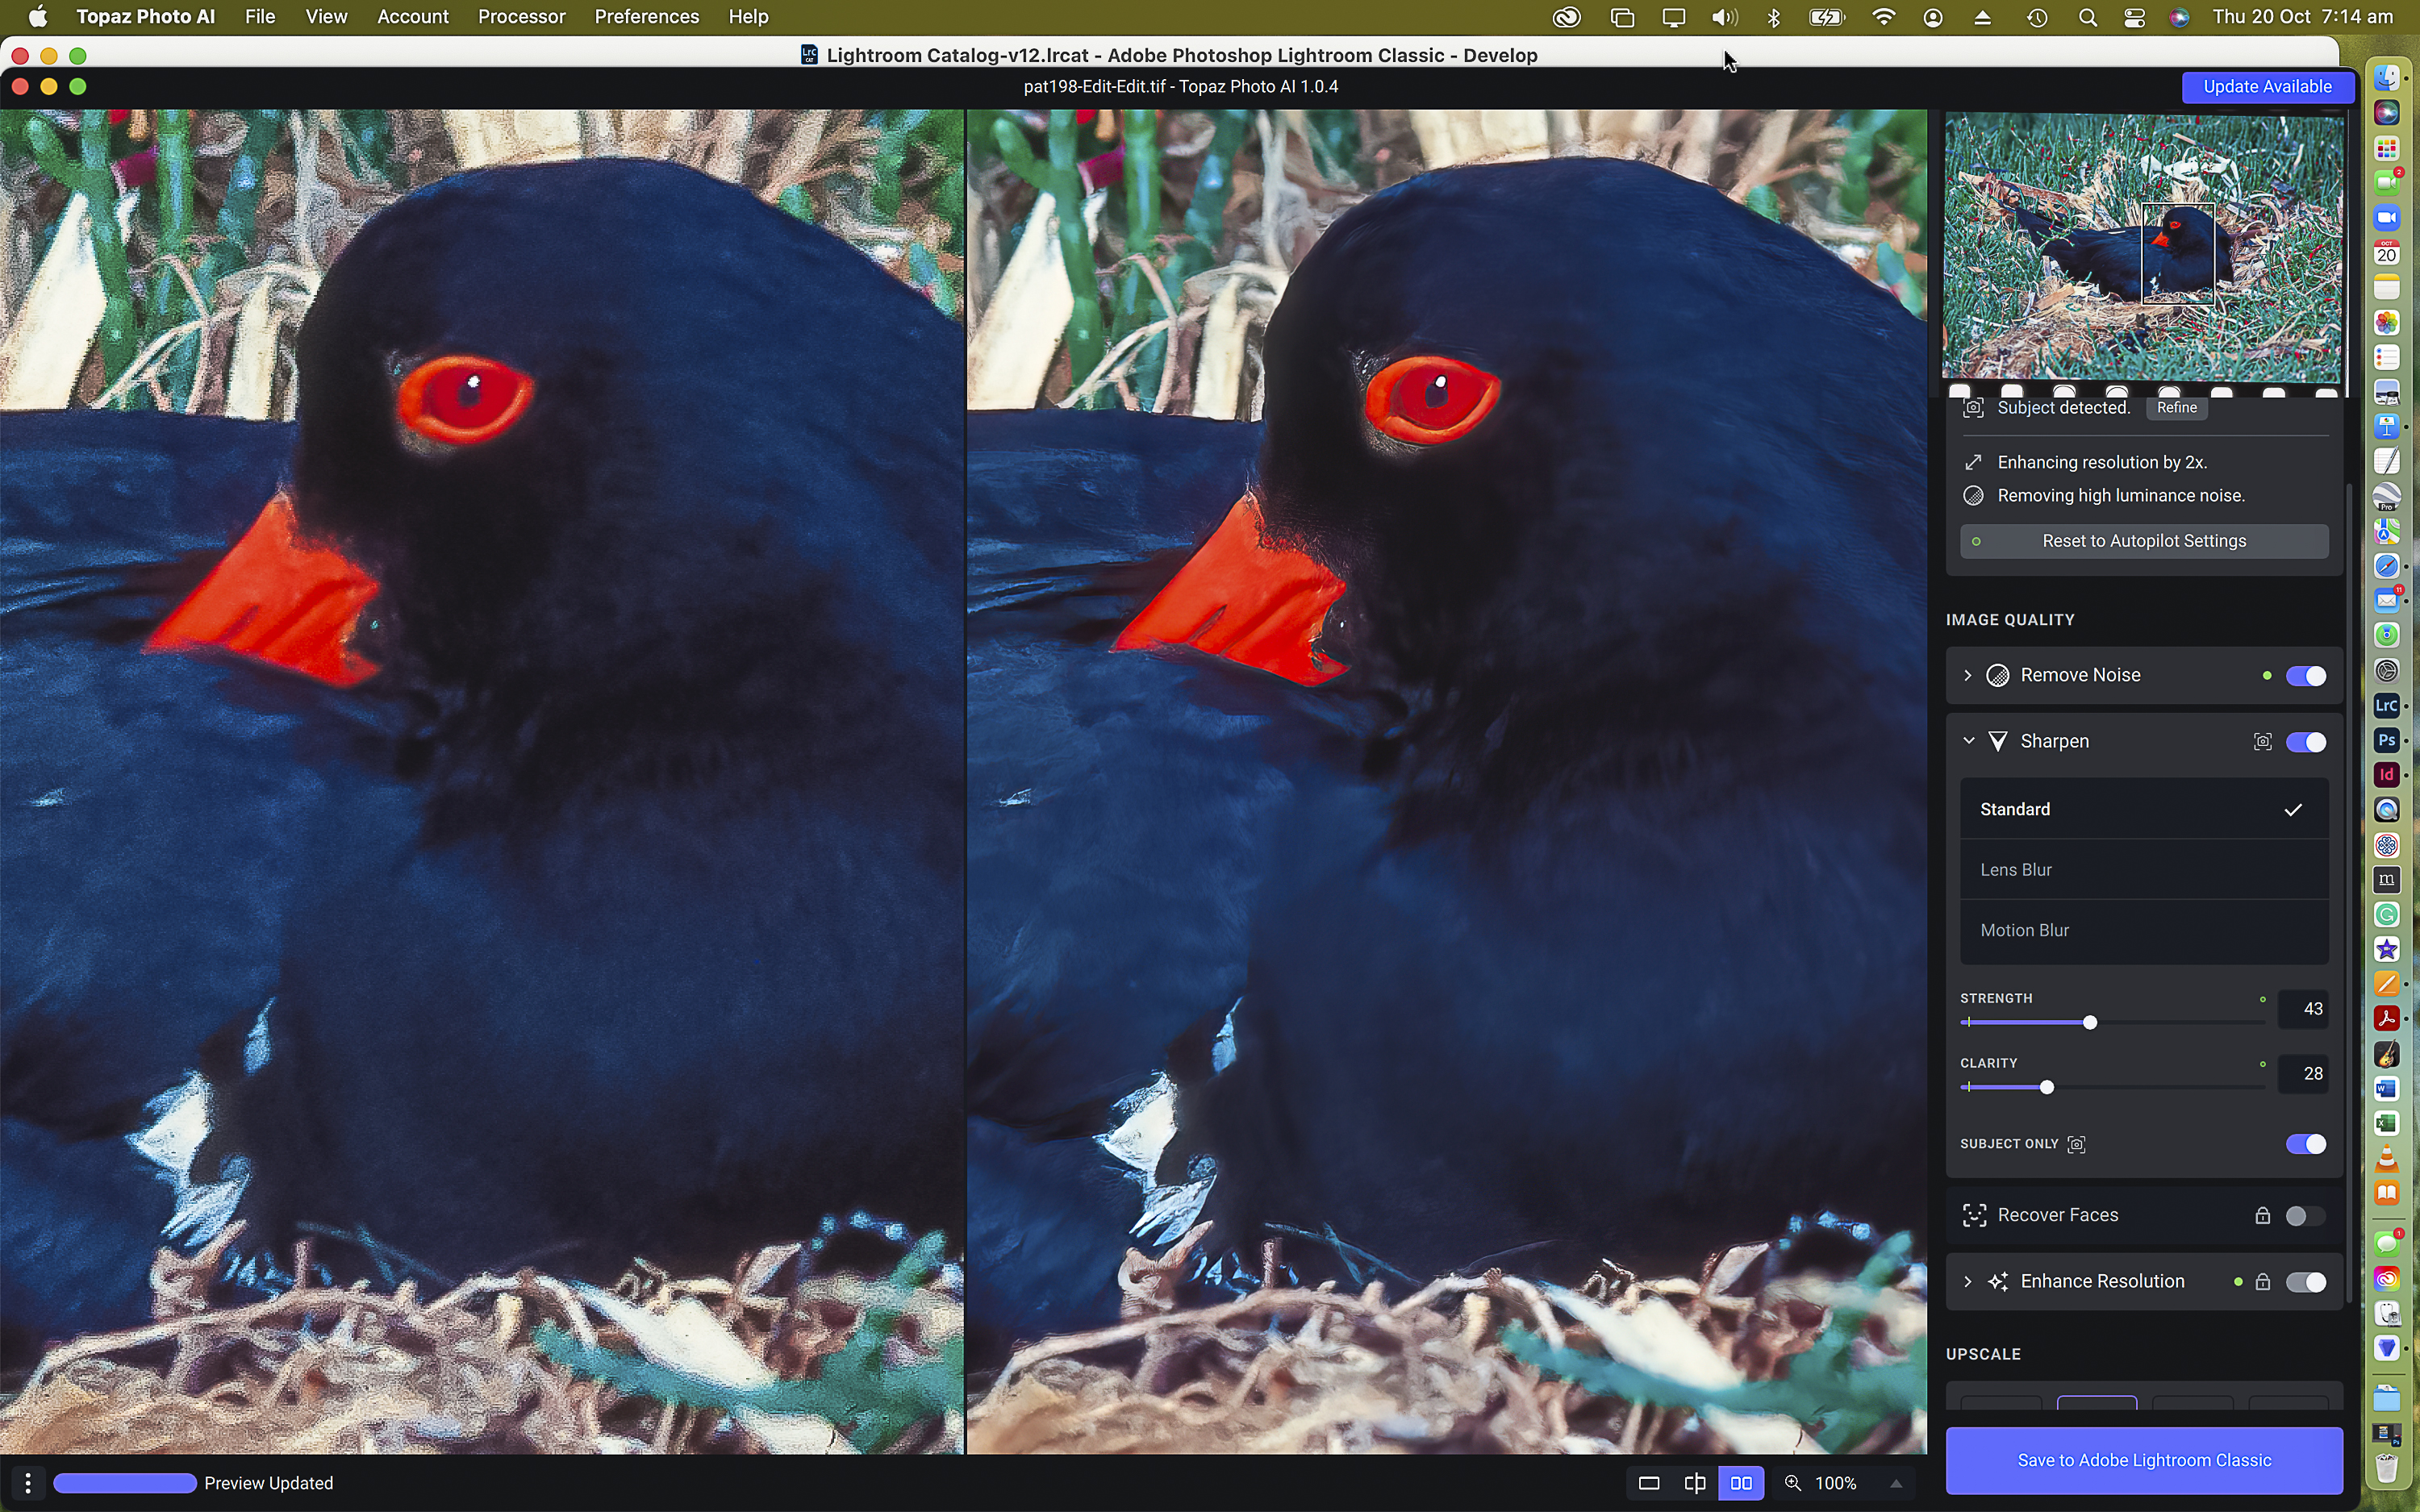
This scan of an oystercatcher was captured in 1982.
Here, I resized the file 2x, and the results are far more usable than the old original scan – just look at how much more detail has been reintroduced into the eye, all in an image that can now be printed much larger than the original scan ever could.
The wrap-up
Although this review has only touched on some of the functionality of Topaz Photo AI, it’s safe to say that in my opinion it makes a huge difference to the usability of both images captured on lower resolution sensors, and images that have been cropped from newer, bigger sensors.
It’s worth noting that for best results with Photo AI you’re going to need a computer with plenty of grunt. It is particularly hungry on RAM, graphics card and processors, and some of the actual image processing can take quite a long time.
For certain images, the default results can look a little over-processed, so you can expect to need to refine the results manually on occasion.
Too much noise reduction will over smooth the textures of your subject and look fake and unreal, while too much sharpening can also make your subject look like it’s been masked poorly, so use the default results with care.
Topaz Photo AI is also expensive considering it doesn’t replace any existing software you likely already own.
Instead, you should think of it as something that augments your current editing programmes like Lightroom and Photoshop. I’ll continue to use Adobe Lightroom Classic for processing and sorting, while Photo AI will mostly be reserved for images that require tweaking and saving from technical issues such as noise or sharpness.
However, for many users, $200 USD is a small price to pay to transform an image that was previously fit for the trash can, and it’s important to remember the technology is very much still in its infancy.
In the past, I have specifically saved images that are not as sharp as I would like, hopeful that one day I might be able to recover them to a better quality. Topaz Photo AI is not perfect, but it has brought that day much closer than I could have ever expected. I recommend it highly.
Rating
Value ★★★★ 1/2
Ease of Use ★★★★ 1/2
Creative scope ★★★★
Future upgrades ★★★★ 1/2