

Photoshop how-to: Making a waterfall image with a Time-Lapse Technique
Waterfalls have long been one of my favourite landscape photography subjects, yet creating a truly memorable photo of one can be surprisingly difficult. Waterfalls are constantly changing in appearance, and the surrounding terrain often limits compositional options.
As a result, producing an image that stands apart from countless others requires careful planning and a willingness to experiment.
In this article, I'll share the process behind one of my favourite waterfall photographs, from researching the location and capturing the image in the field through to the post-processing techniques used to create the final result.
Let’s get started.
Getting Familiar with the Subject
Located along the 4.2km Transit of Venus Walk in the northern section of the Blue Mountains, Edith Falls is one of three waterfalls found along the trail. Compared to many of the Blue Mountains' better-known waterfalls, Edith Falls is relatively small and often overlooked by photographers.
At first glance, it isn't particularly impressive. During dry periods the waterfall can appear quite modest, while dense shrubs around the site restrict many viewing angles.
Despite this, I felt there was potential to create something unique here.
At the base of the waterfall is a small pond that feeds a creek flowing down the valley. Most of the time the creek is calm and unremarkable, but I suspected that under the right conditions it could become an important compositional element.
A Time-Lapse Approach
1) In the Field
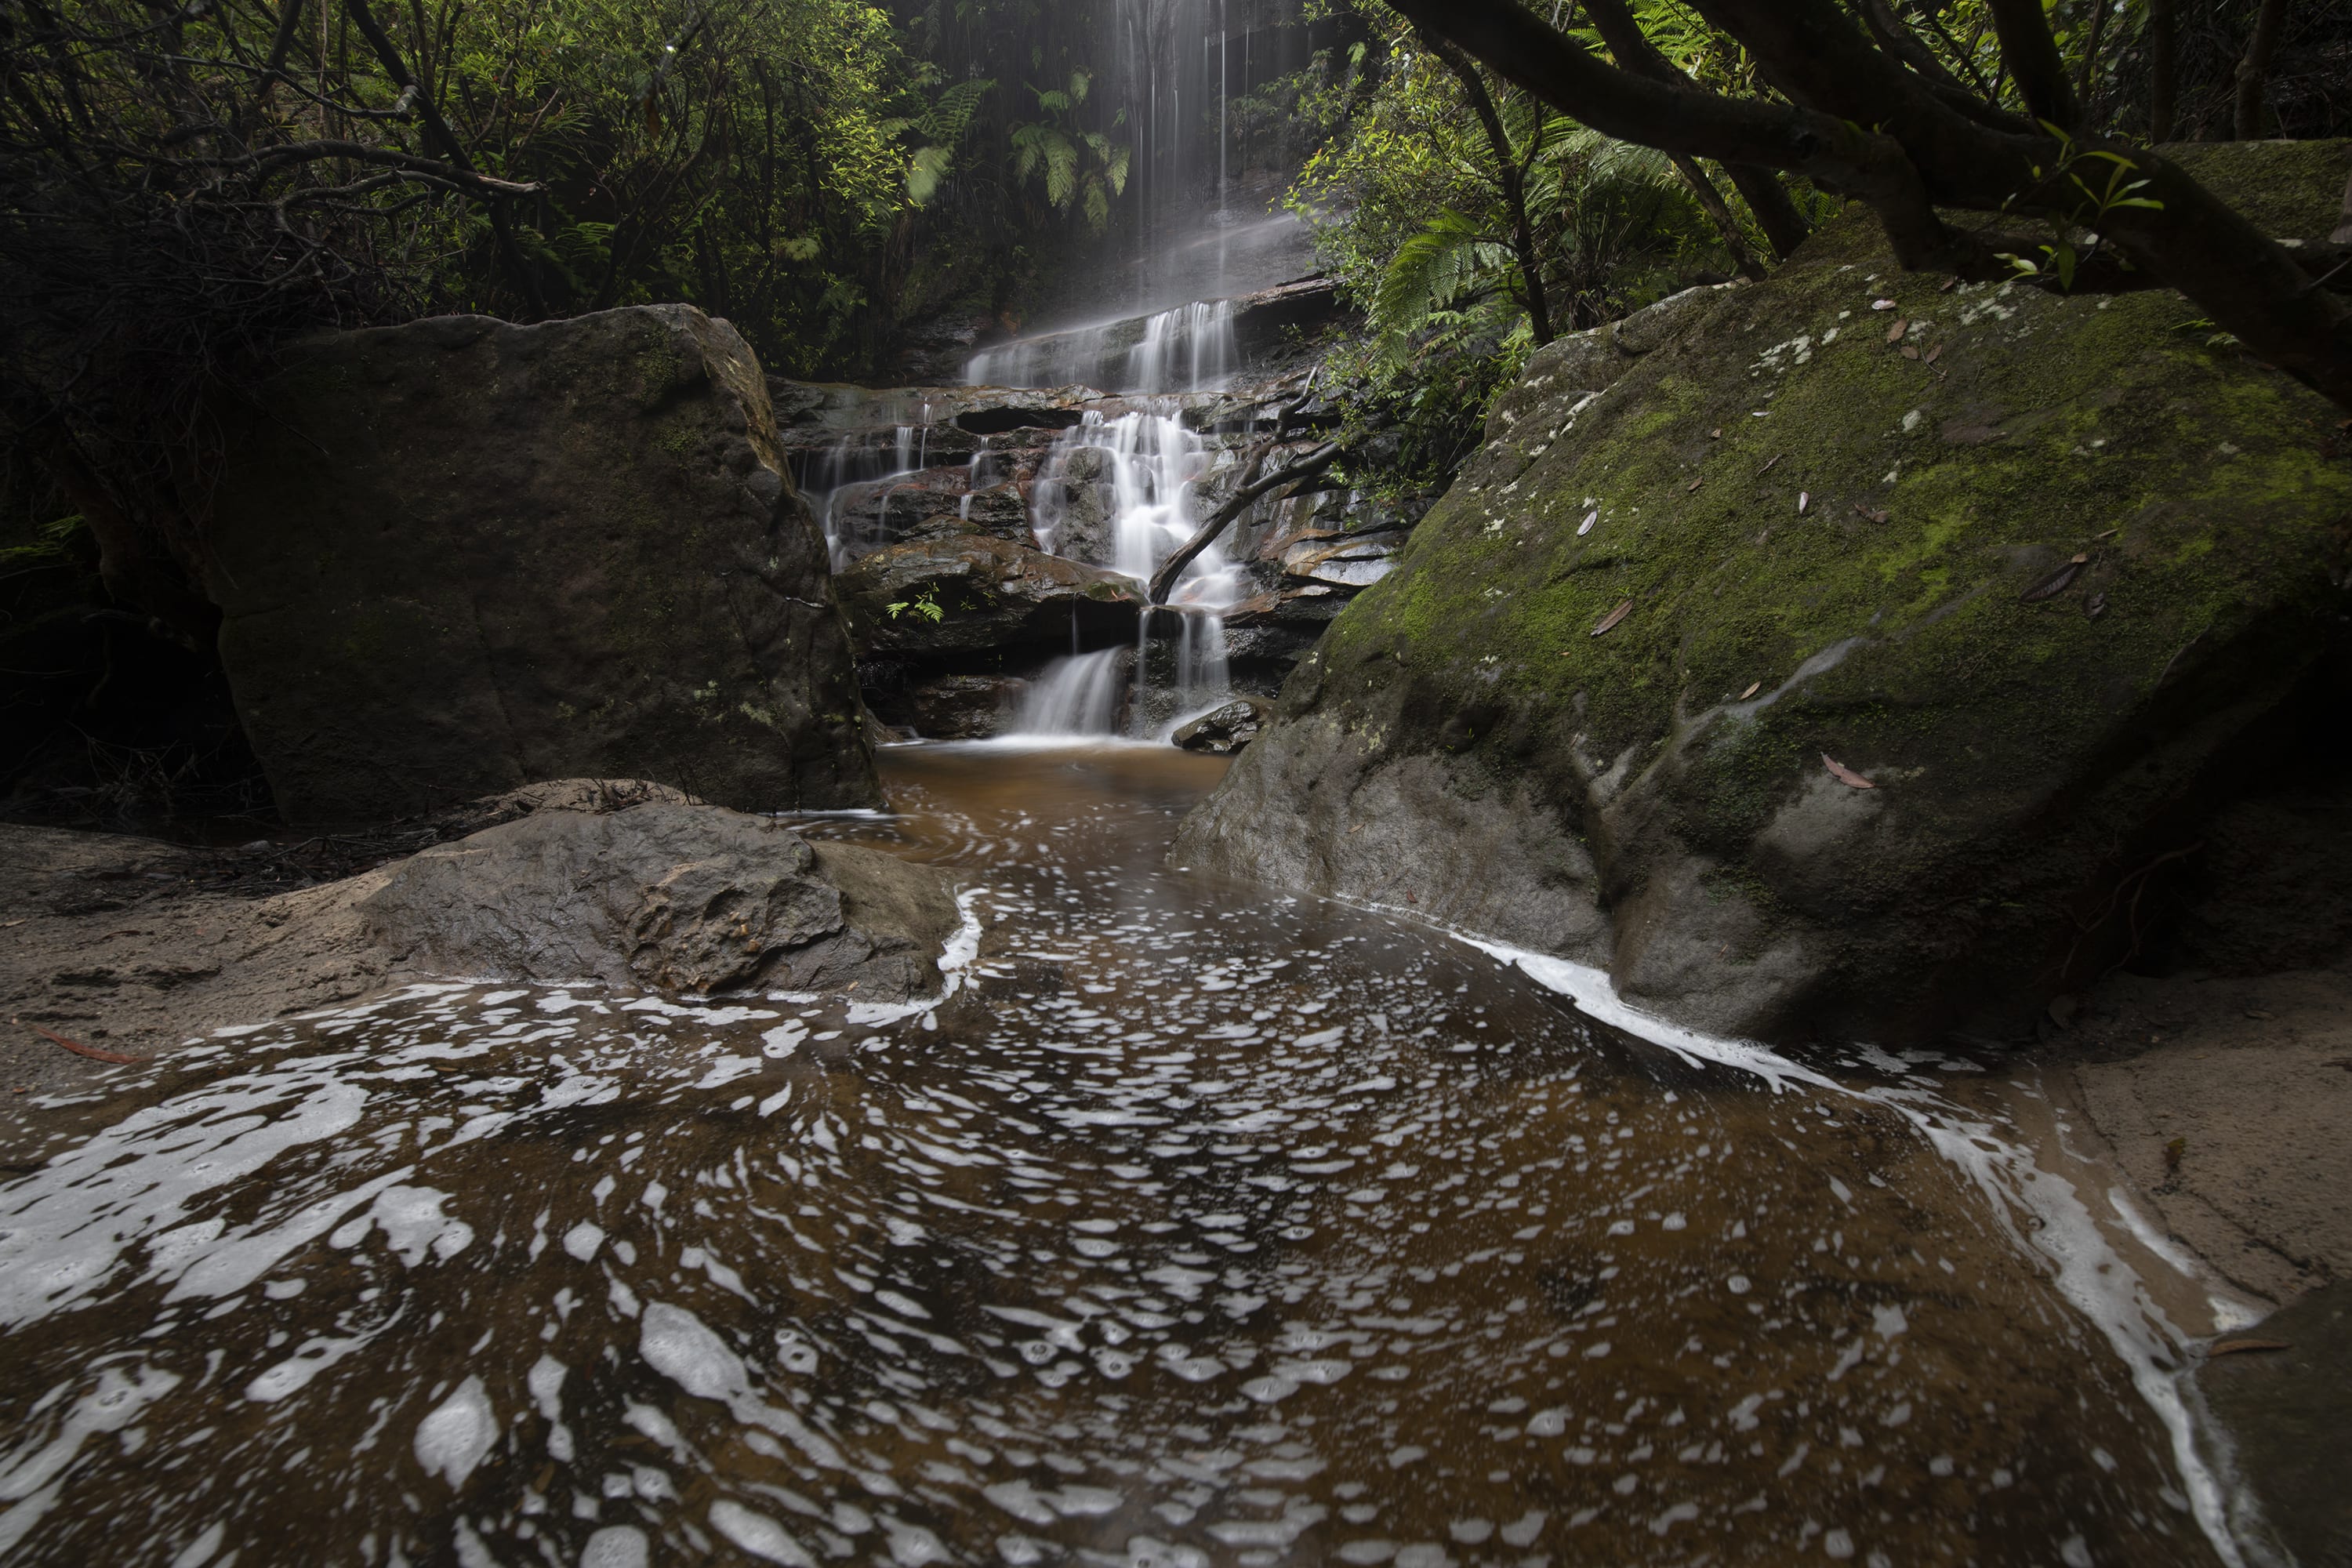
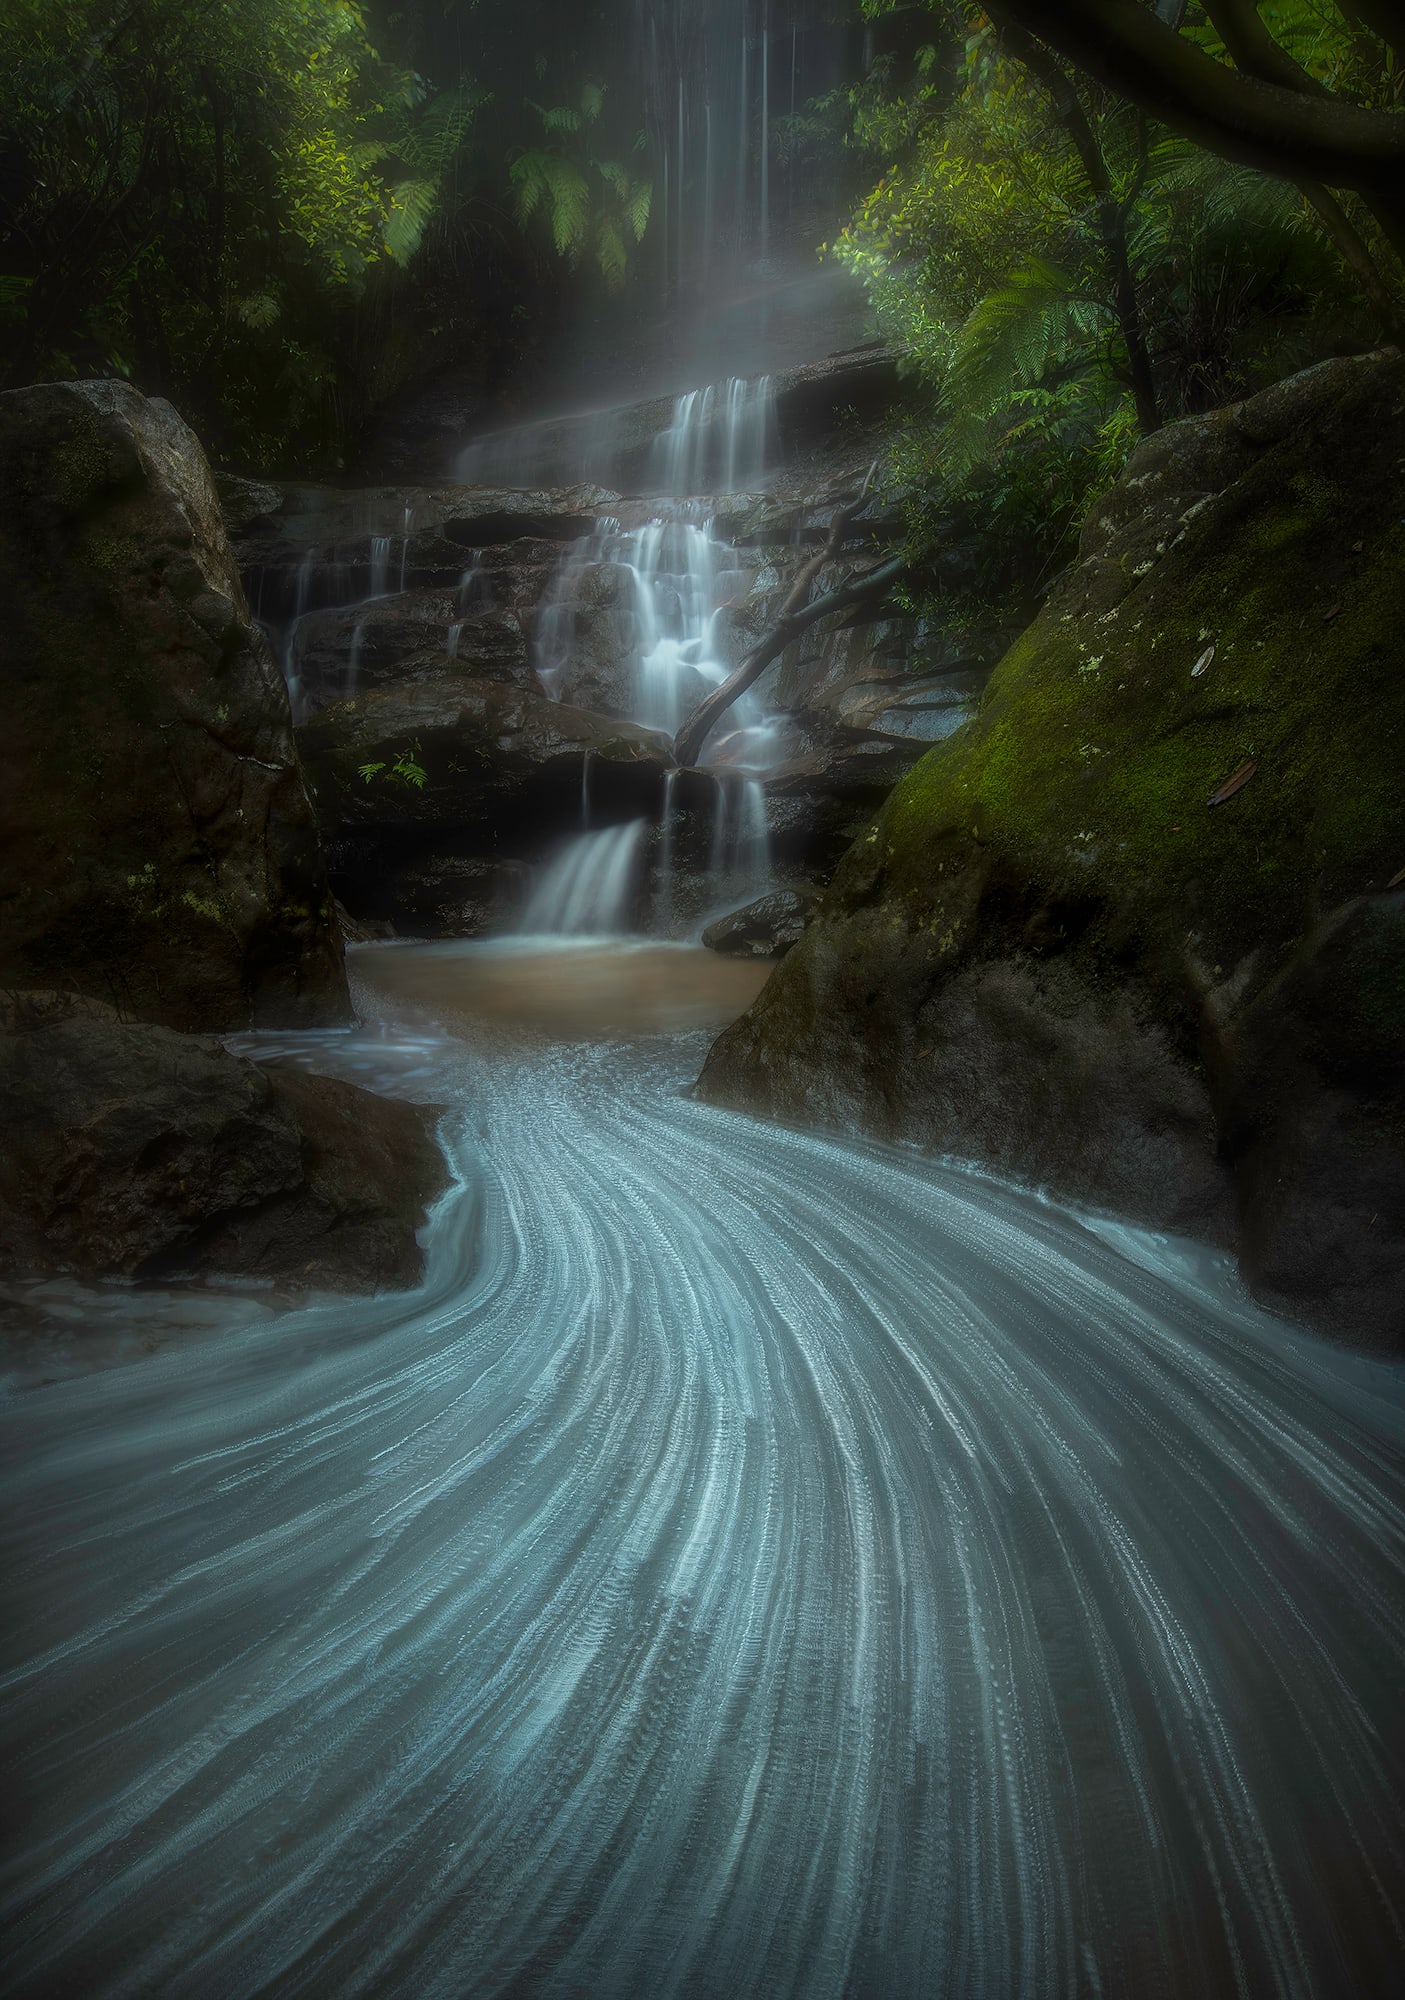
After several days of heavy rain, I returned to Edith Falls and noticed a dramatic change. Large quantities of foam had formed in the creek below the waterfall, creating interesting patterns across the water's surface.
Seeing these unusual foam patterns, I decided to use them as a foreground element in my composition.
The capture process consisted of two stages:
2) Capturing Focus-Stacking Frames
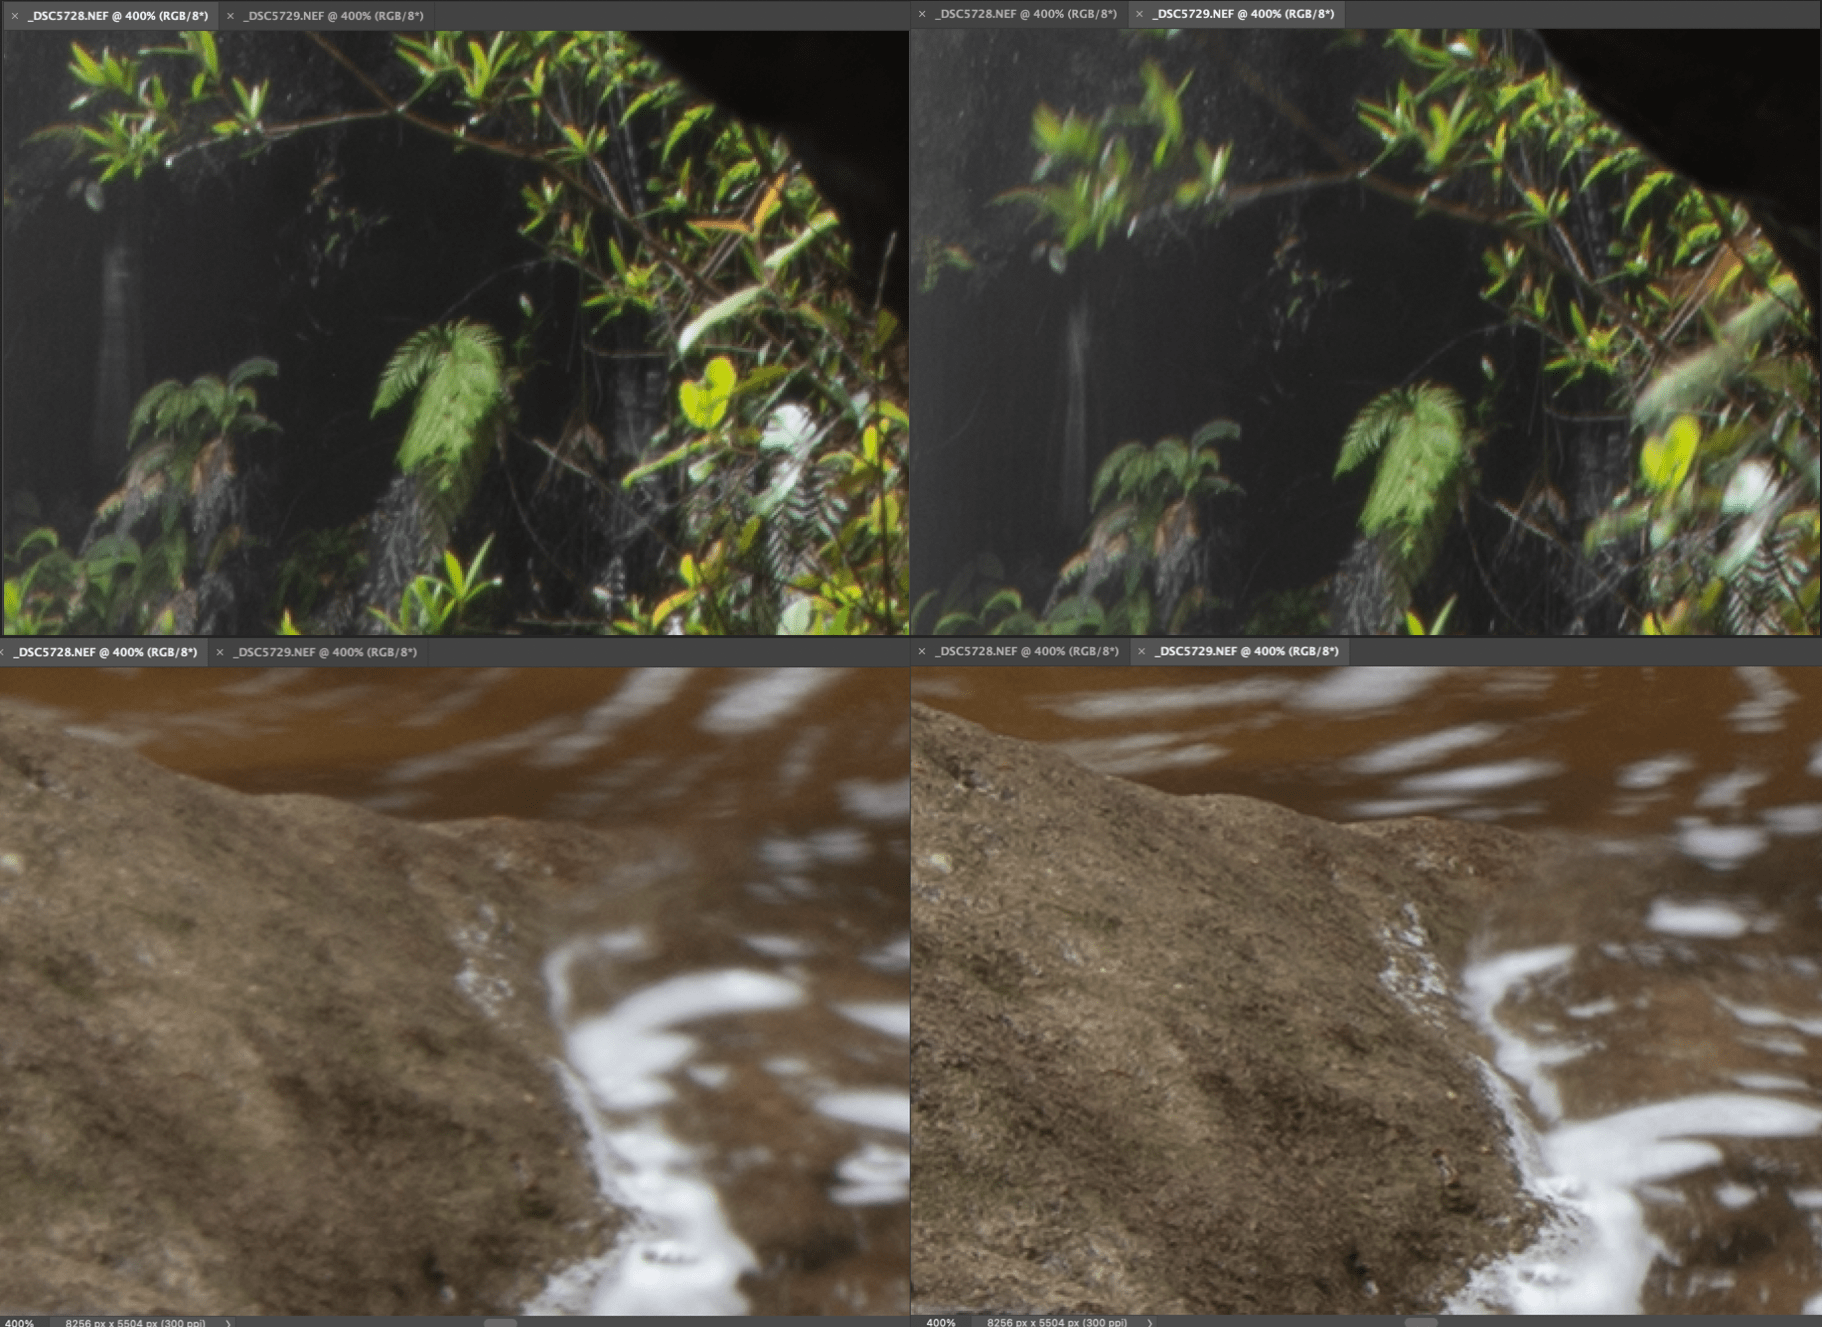
I wanted maximum sharpness throughout the image, so I captured ten photographs using the same composition while focusing on different areas of the scene. These included foreground rocks, mid-ground vegetation, the waterfall itself, and background foliage.
These images would later be combined using focus stacking to produce a final image with front-to-back sharpness.
You can see how focus changes affect image sharpness in different parts of the frame here.
3) Capturing 358 Frames for a Long-Exposure Effect
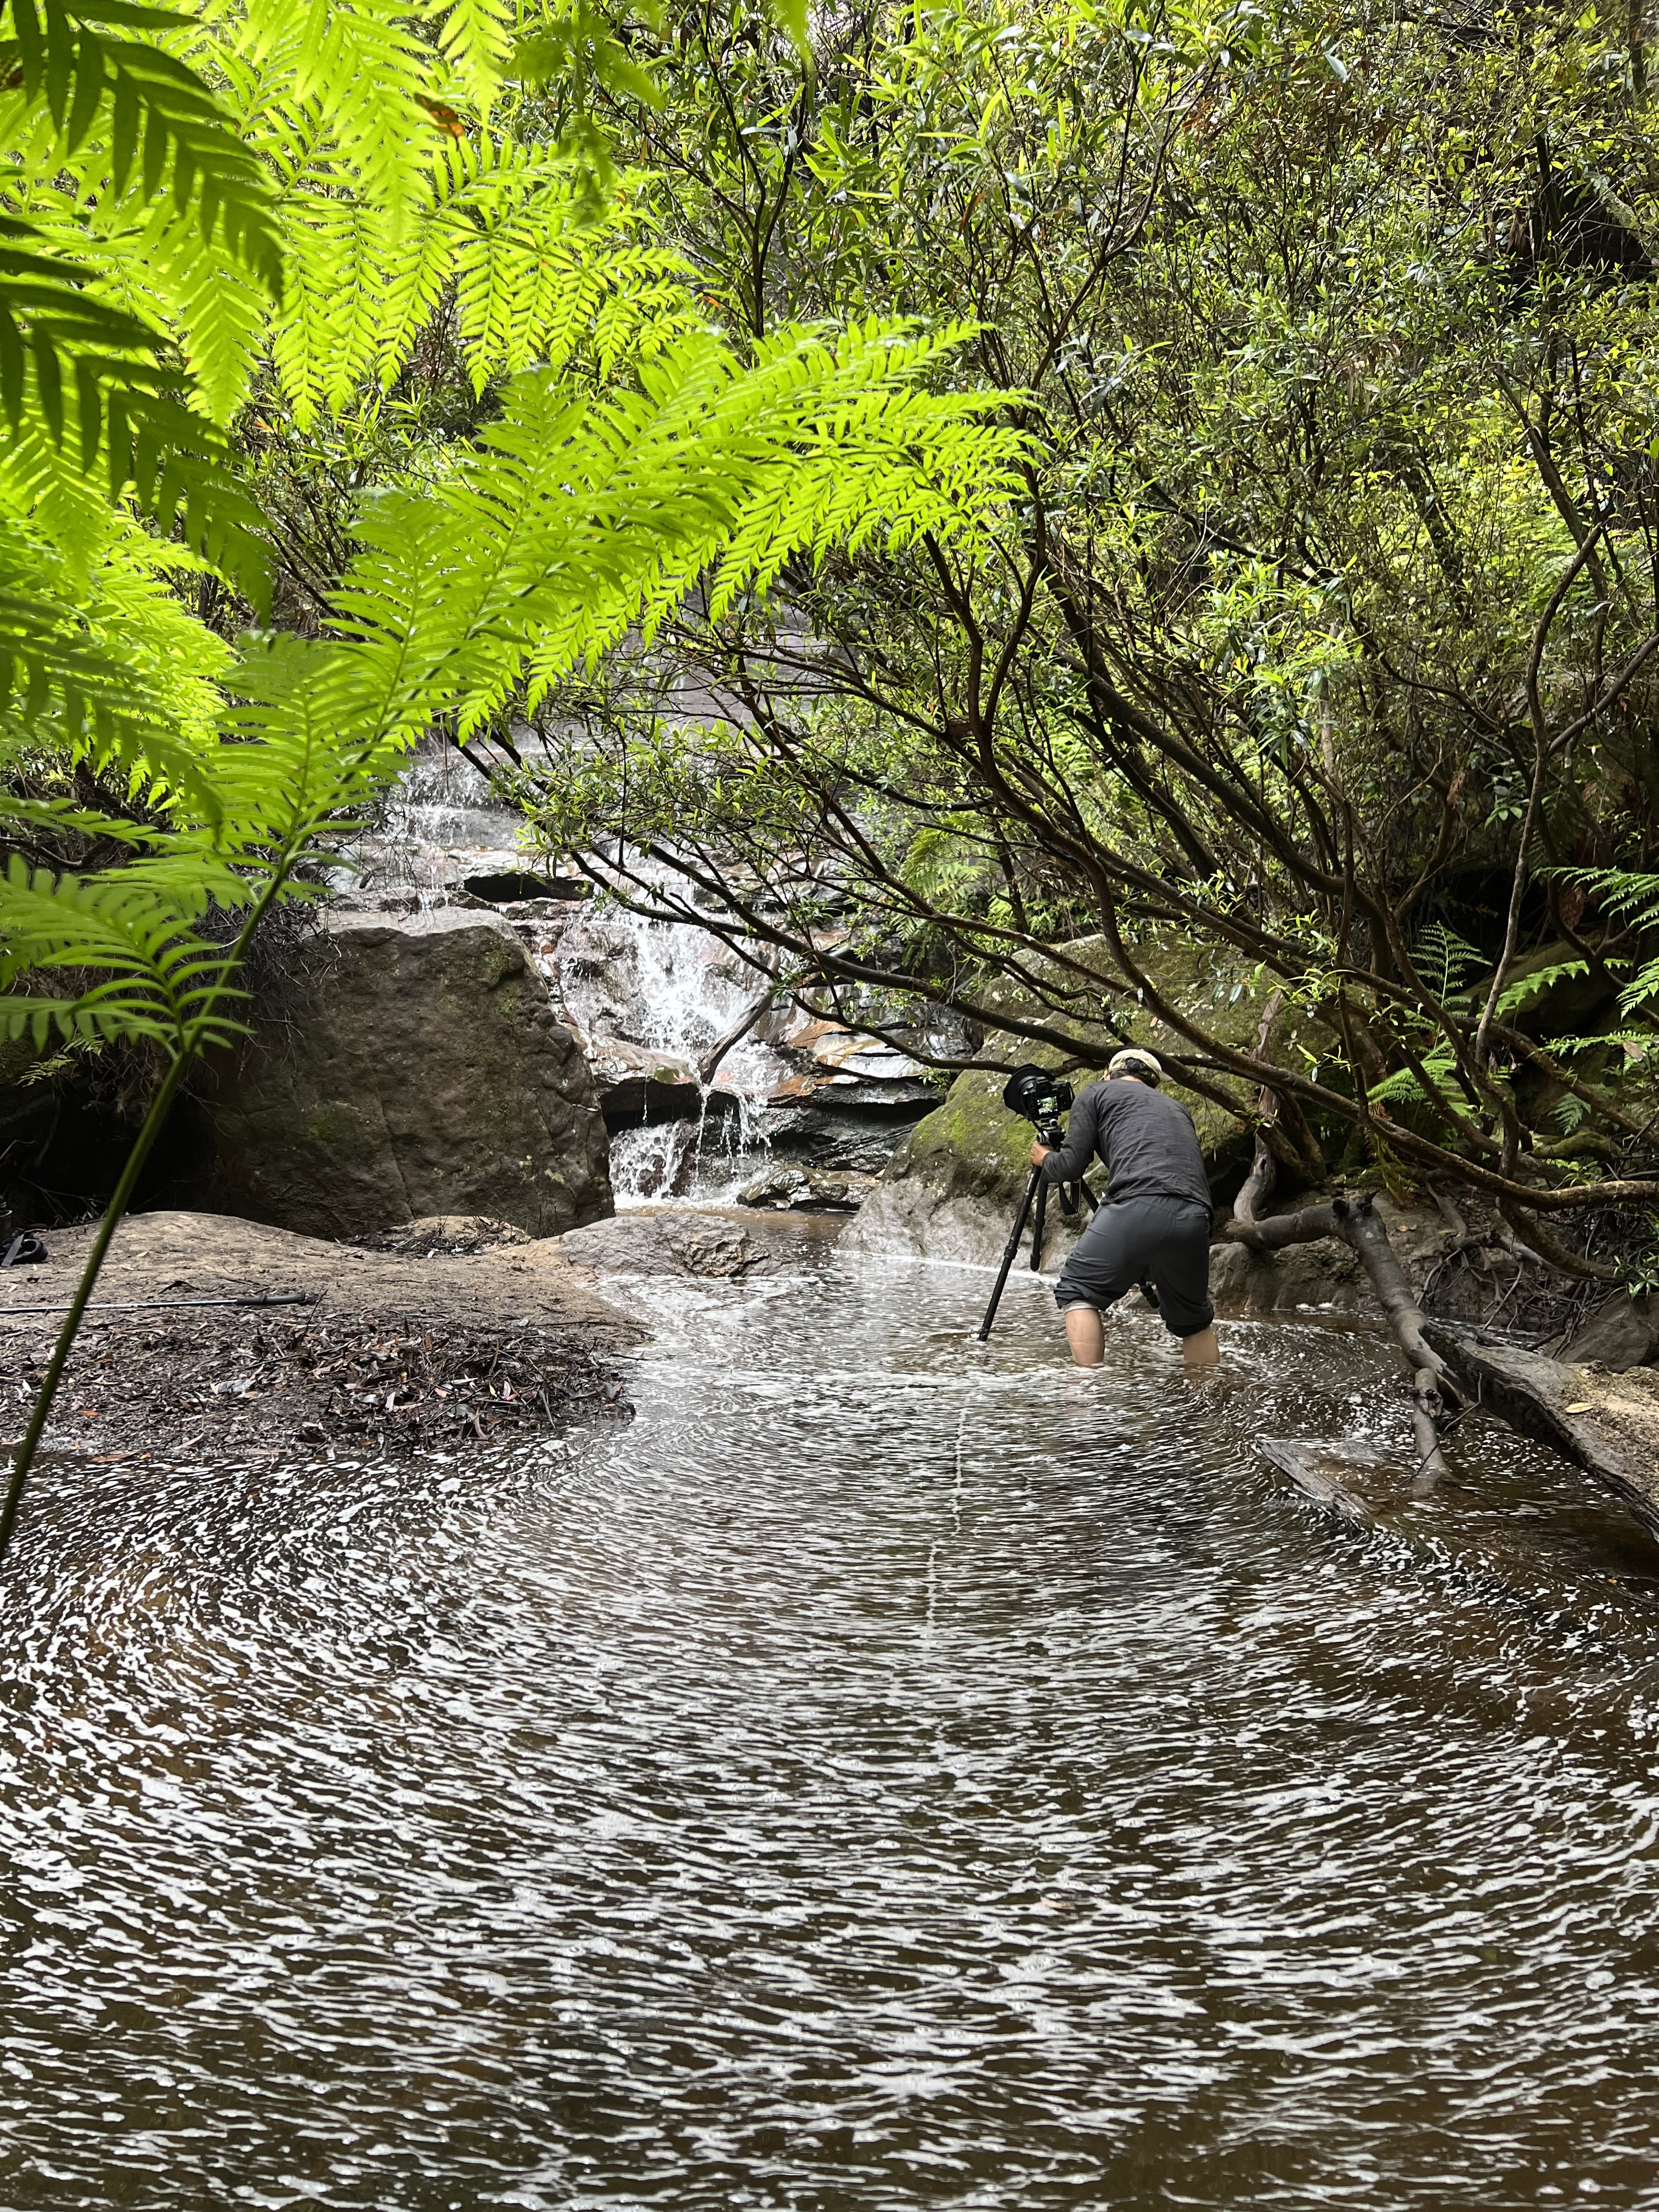
Initially, I attempted to create movement in the water using a 3-stop ND filter combined with a circular polariser. With an exposure time of one second at f/11, however, the foam moved too slowly to create the effect I wanted.
Rather than increasing the exposure time further, I switched my camera to interval shooting mode and captured 358 consecutive frames, a technique I normally use when creating time-lapse sequences.
The camera completed the sequence in approximately five minutes. By blending all 358 images together during post-processing, I could effectively simulate a five-minute long exposure while retaining excellent image quality.
Building the Final Image
1) Post-Processing: Focus Stacking
The first task was combining the ten focus-bracketed images.
Using Photoshop, I loaded all ten files and applied Auto-Align Layers followed by Auto-Blend Layers. This created a single image containing the sharpest portions of each frame.
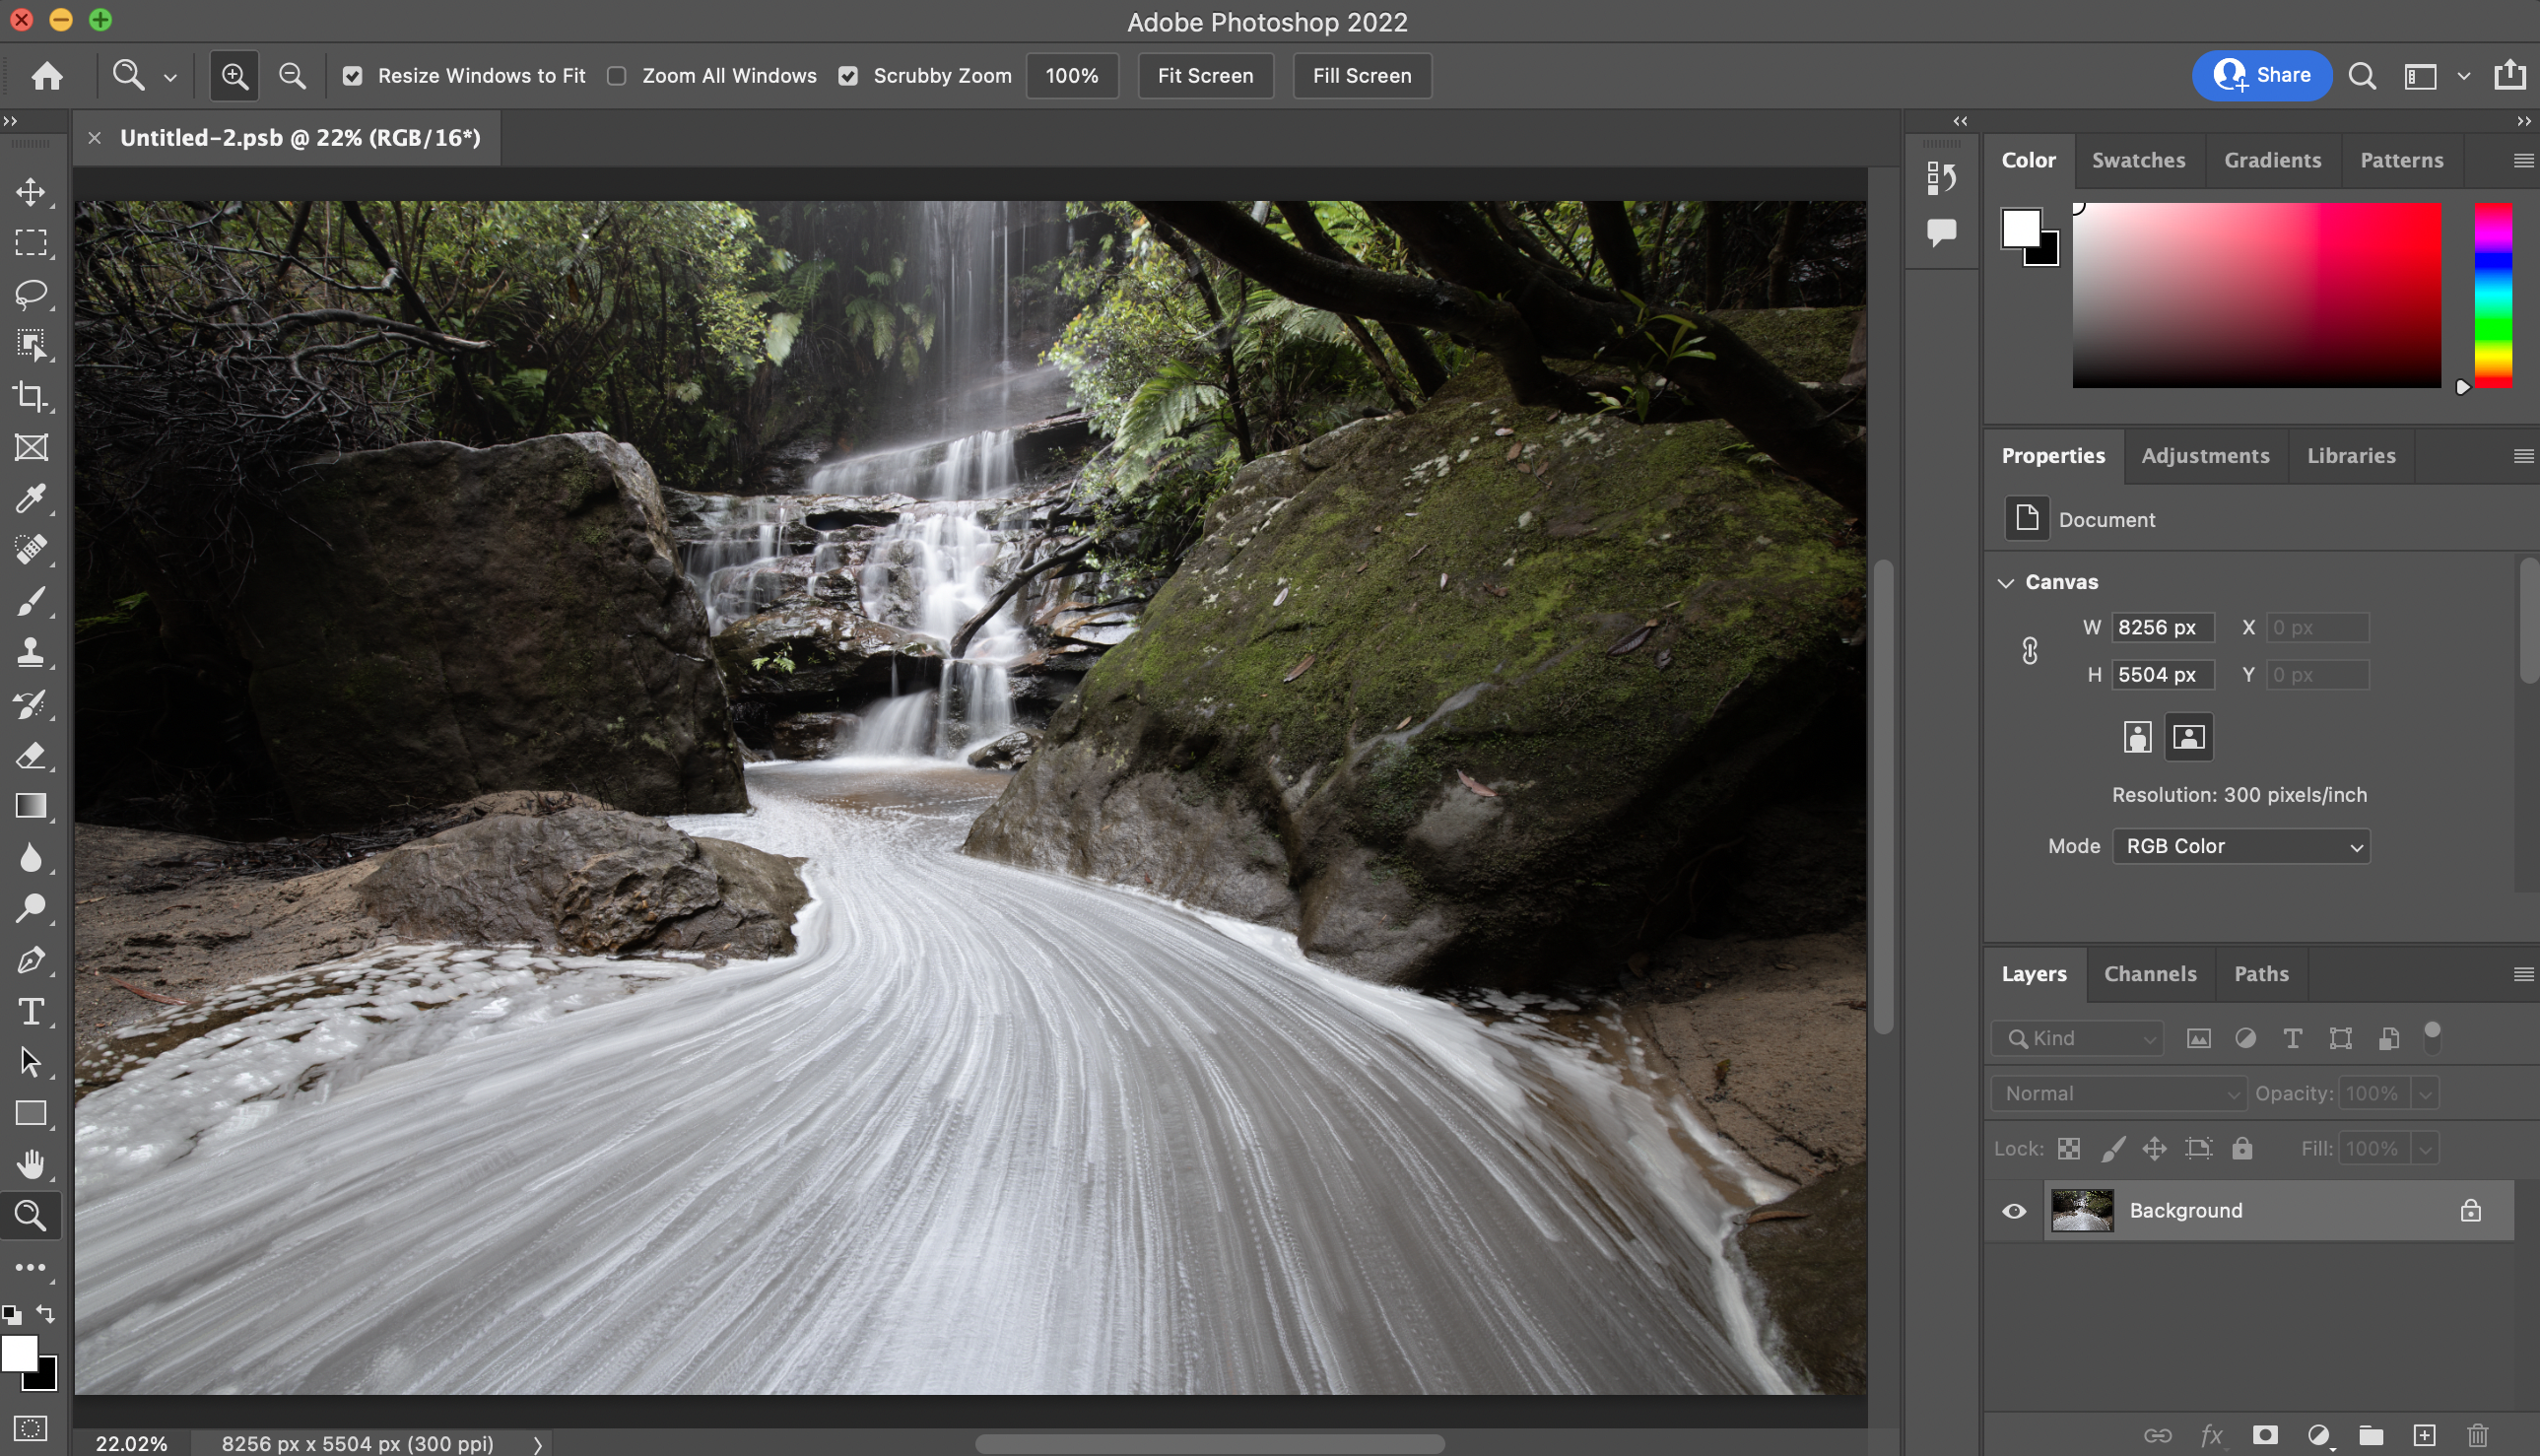
2) Creating the Long-Exposure Effect
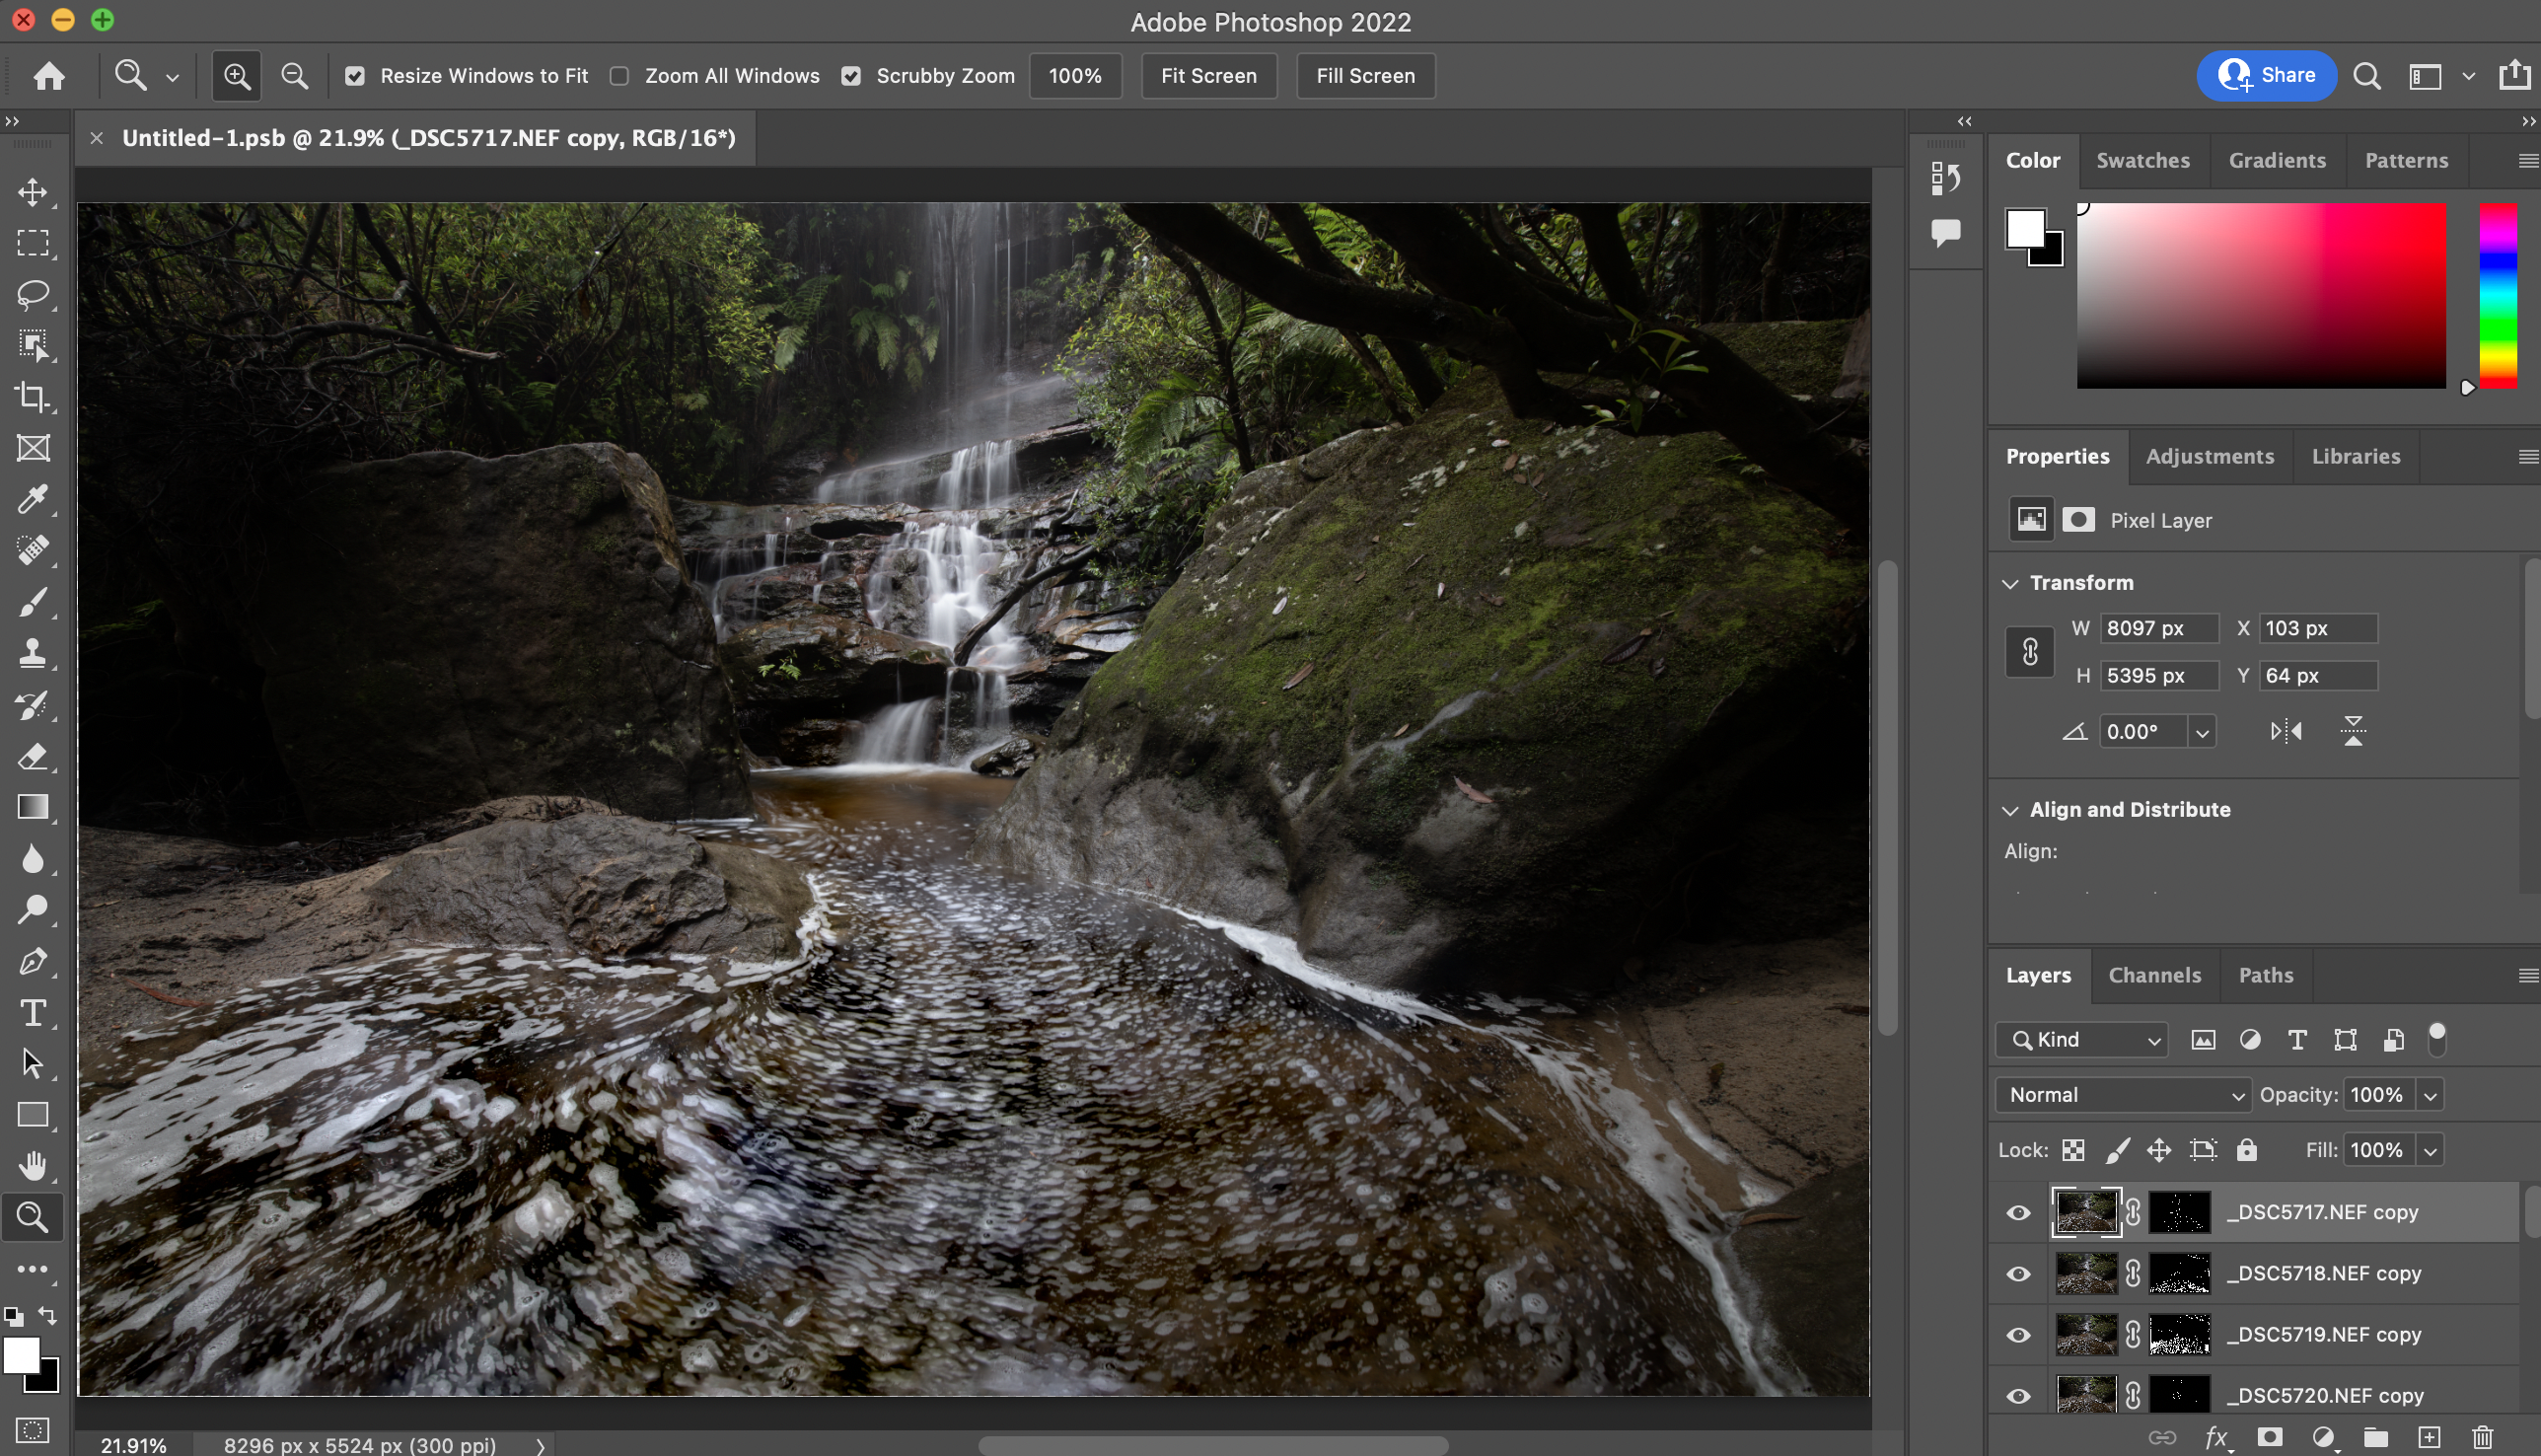
Next, I loaded the 358 interval frames into Photoshop using:
File > Scripts > Load Files into Stack
I then selected all 358 layers, changed the blend mode from Normal to Lighten and flattened the image. The result was an image with a smooth, flowing appearance that replicated a five-minute exposure.
3) Combining Sharpness and Motion
The long-exposure image looked excellent, but it lacked the overall sharpness achieved through focus stacking.
To solve this, I aligned and blended the focus-stacked image with the long-exposure version using Photoshop's Auto-Align and Auto-Blend functions.
This produced an image that combined the best qualities of both techniques.
4) Refining the Composition
While photographing the scene, I wasn't certain whether a landscape or portrait orientation would work best.
A landscape composition showcased more of the creek and foreground movement, but it also included some distracting elements on the left-hand side of the frame.
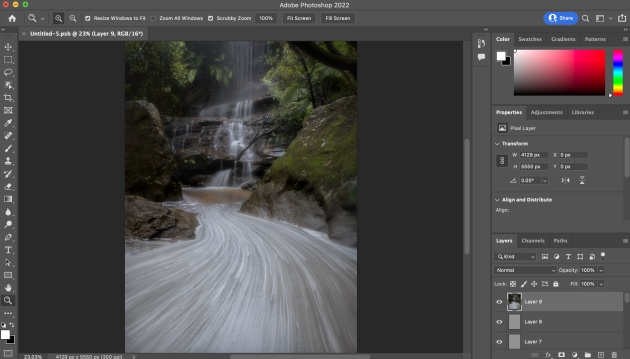
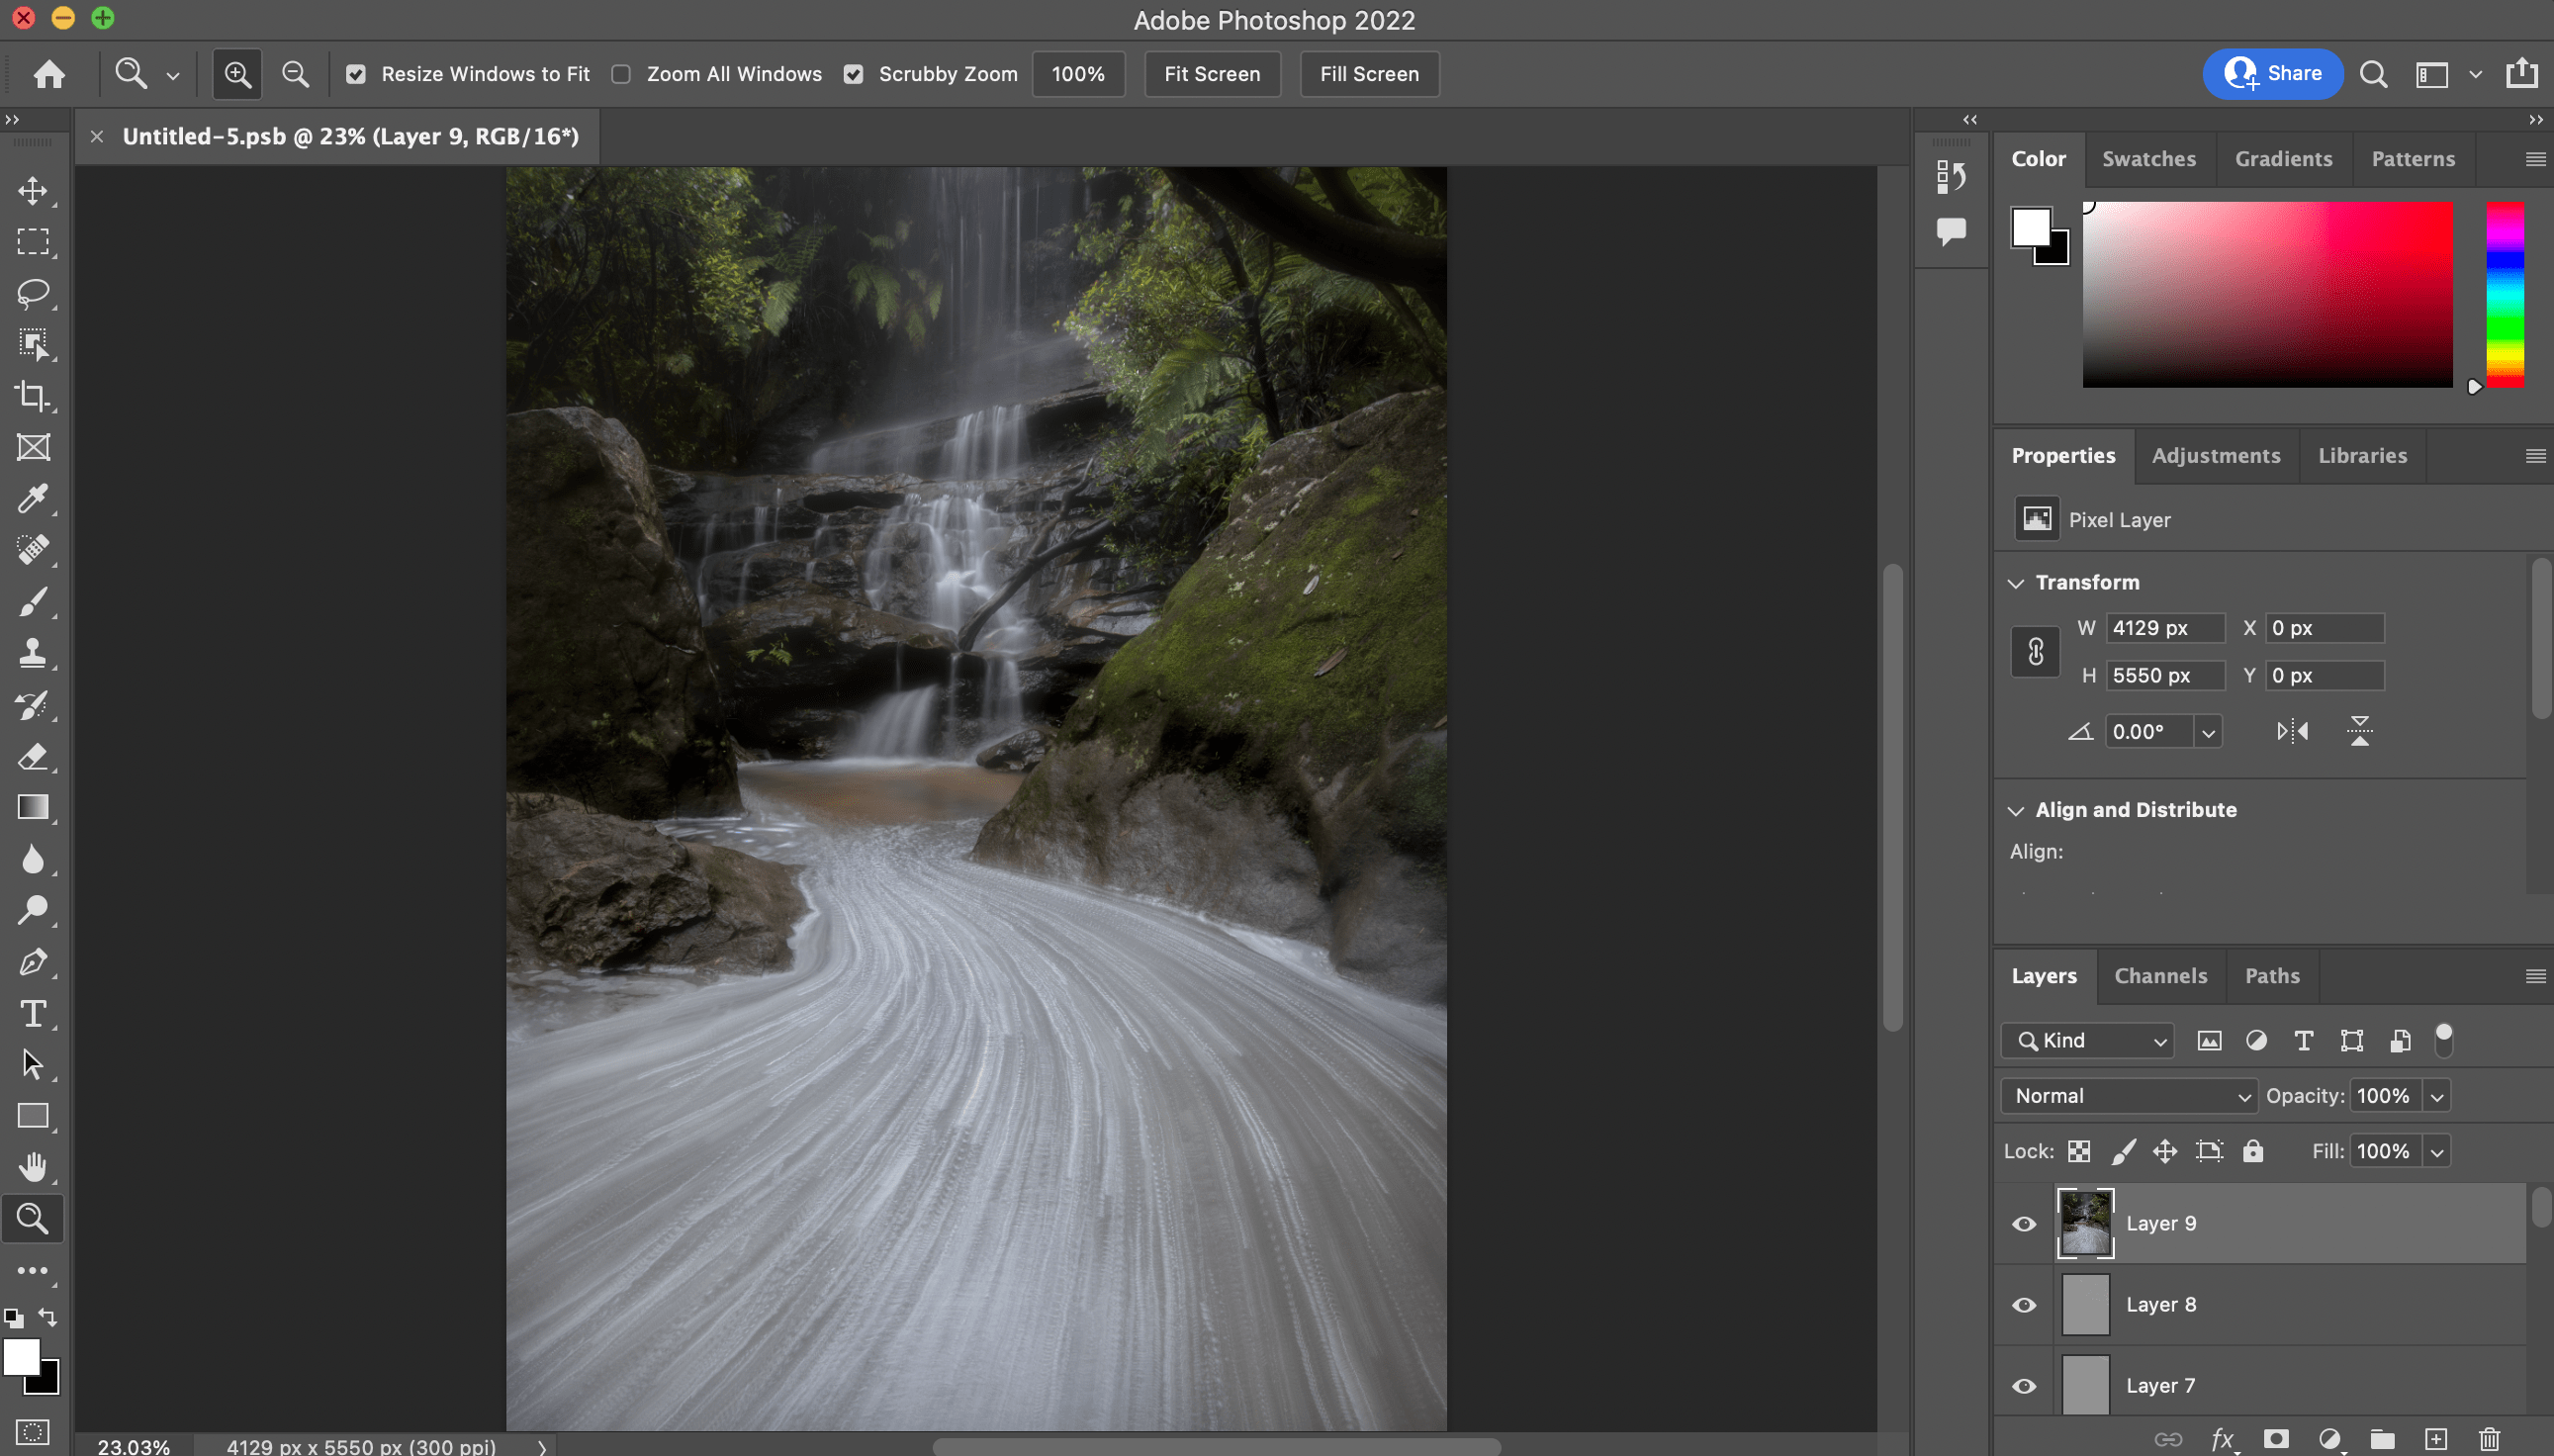
To maintain flexibility, I photographed the scene in a wide landscape format and made the final compositional decision during post-processing. After reviewing the image, I felt a portrait crop created a stronger composition by directing attention towards both the waterfall and the flowing foreground.
5) Creating Mood and Atmosphere
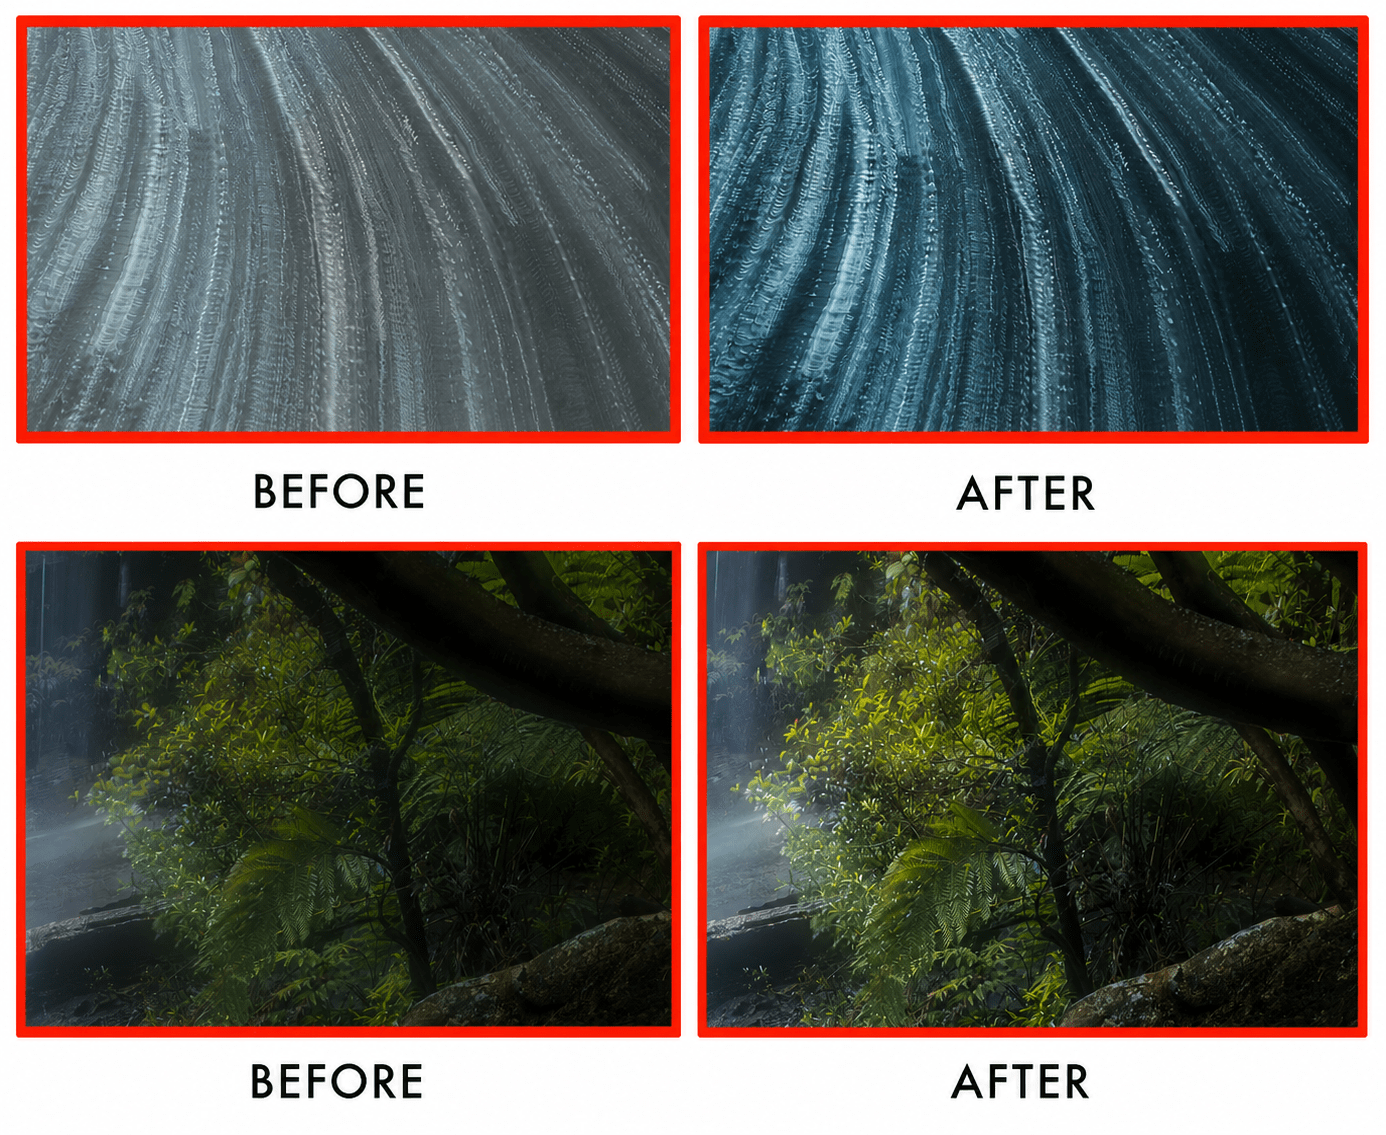
At this point I had achieved the technical foundation of the image, but I still wanted to convey the atmosphere I experienced on location. Using Camera Raw Filter in Photoshop, I made a general adjustment towards cooler tones while slightly increasing overall contrast.
From there, I focused on refining local areas throughout the image. Although each individual adjustment was subtle, the cumulative effect significantly improved the final result.
In the tree area for example, I used light-painting techniques to subtly enhance brightness and colour in the foliage. This helped direct the viewer's attention towards the waterfall while reinforcing the direction of the natural light.
I applied a similar approach to the foreground water, introducing slightly cooler tones while increasing local contrast and texture to emphasise the movement created by the foam patterns.
Final Thoughts
A successful landscape photograph begins in the field. Technical execution is important, but having a clear creative vision and a well-considered plan is equally essential.
While post-processing plays a major role in modern landscape photography, I believe the techniques themselves are relatively straightforward to learn. The greater challenge is developing a personal visual style and recognising opportunities that others might overlook.
In this case, an often-ignored waterfall and an unusual set of conditions provided the ingredients for an image that would not have been possible on any other day. By combining careful observation, time-lapse capture techniques and thoughtful post-processing, I was able to create a photograph that reflected both the scene and my experience of being there. ❂