
Photo tip of the week: 12 Photoshop tips for beginners
Photoshop is the gold standard when it comes to image editing. Sure, there are plenty of other programs on the market that can produce great quality results, but that is like searching using Bing instead of Google. It’s simply the best image editing software and if I can’t achieve what I want in Photoshop, it’s because I haven’t learnt how to do it yet, not because Photoshop can’t do it!
But it is this limitlessness and complexity that seems to deter photographers from giving it a go. They fumble around clicking all sorts of things and creating horrible messes of work, leading to failed results that ultimately turn them away from ever using the program again.
Here’s a little test for all those people that don’t want to use Photoshop because it’s too hard: pick up a musical instrument you’ve never played before and try to belt out a passably good tune. Can’t do it? If that doesn’t surprise you, don’t expect to be proficient at Photoshop without some practise first.
To help you get started, here are 12 things you should focus on learning and understanding on your journey to creating masterful photographic works.

1) Camera Raw
If you’re opening a RAW file from Adobe Bridge, it will first open in Adobe Camera Raw. This is a staging area before Photoshop and if you’re familiar with Lightroom already then this virtually the same thing. Although Lightroom is designed to be a slender version of Bridge, Camera Raw with a sprinkle of Photoshop combined. Camera Raw gives you the chance to make a few tweaks to the image before getting into the artistry of Photoshop.
Fix your exposure and white balance, lens corrections, add gradient and radial filters as needed or even split toning and colour adjustments. You could do all your editing here if need be and save straight to JPEG but where’s the fun in that? Typically I’ll only focus on minor exposure corrections and pre-sharpening in Camera Raw and save everything else for Photoshop as I have much more control there.

2) Photoshop Interface
Opening up Photoshop for the first time can be confronting with icons and menus everywhere. You won’t be using everything there as the program is also used by graphic designers, digital artists and others, not just photographers. To simplify things right from the start, I recommend changing the workspace to something more useful for us. In the menu bar select Window>Workspace>Photography. Everything here can be moved around and customised as you need it but this is a good place to start. The Panels that I frequently use are Histogram, Navigator, Info, Adjustments, Properties, Layers, Channels, Actions, Tools and Options. We’ll cover these later.
All the icons in the Tools panel come in handy at different points and it’s worth familiarising yourself with the names and symbols. There is so much more that can be customised throughout Photoshop and these can be found in the Edit>Preferences menu.Too much to cover in a single article and you will probable adapt these as you need them. Clicking menus and tools all the time can be tedious and slow your workflow right down. Photoshop is full of shortcuts like “B” for the Brush tool or using “Space” to toggle to the Hand tool. You can even make your own. Make an effort to learn as many of the shortcuts as you can and your experience will be much more fluid.
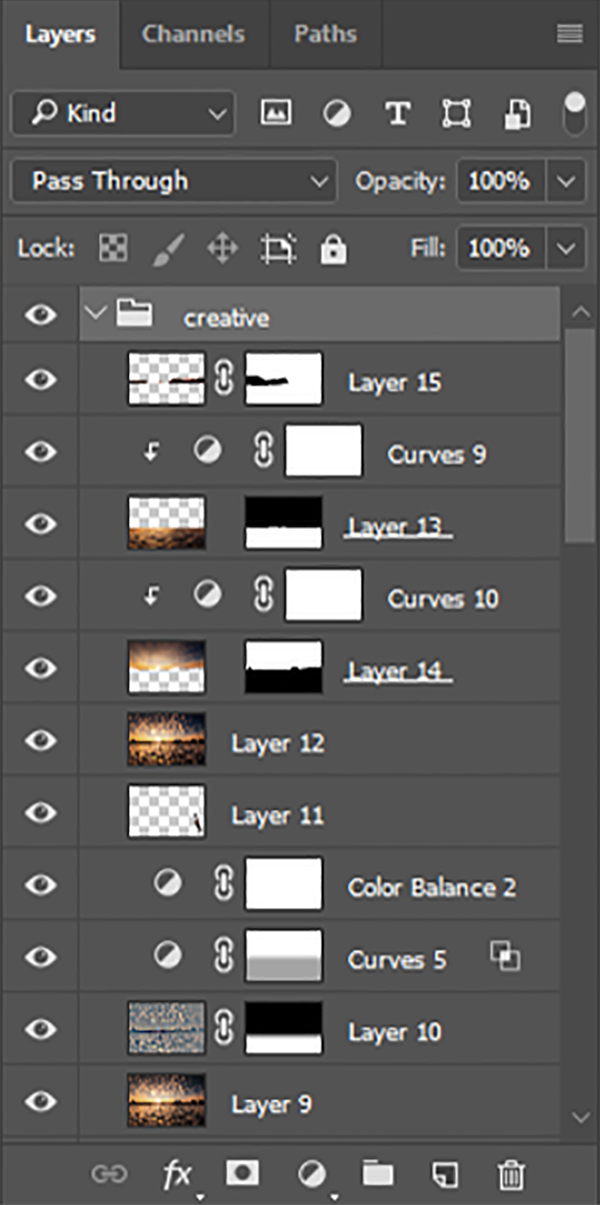
3) Layers
Layers are what make Photoshop so great to work with. You are essentially building your final image on the foundation of your original exposure. This analogy is quite apt because if you start with a bad foundation, you’ll most likely end up with a bad final product. Get it right in camera first! Each new adjustment and layer is stacked on top of the previous ones. This allows you to change the order in which adjustments take place, as well as being able to go back to previous adjustments and fine tune them after further alterations have been made.
Some images can be finished after a couple of adjustment layers, others can have dozens if not hundreds. Dozens of layers describes my final work rather than hundreds, but the fewer layers I can use to achieve my goal the better. Don’t overcomplicate things here and use groups and rename layers to keep everything organised and tidy.
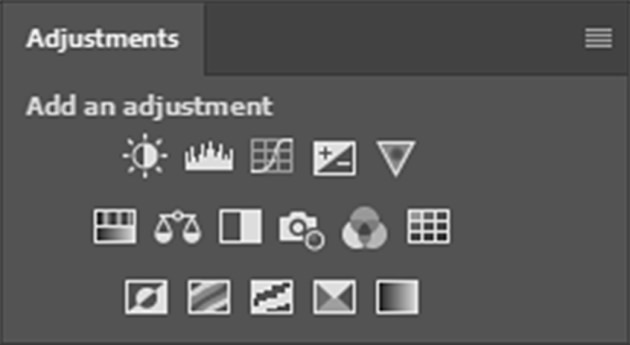
4) Adjustment Layers
Adjustment layers are inbuilt tools in Photoshop for performing certain tasks. These include things like Curves, Levels, Hue/Saturation and Selective Colour. These layers let you make changes to luminosity and colour in various ways. These are great because you can come back to them at any time to edit the settings. You can also use Layer Masks to selectively apply these adjustments.
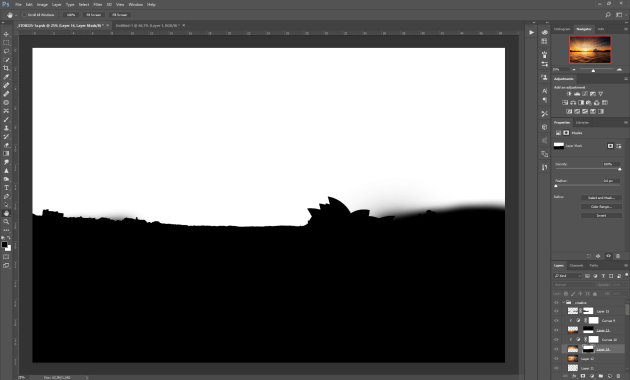
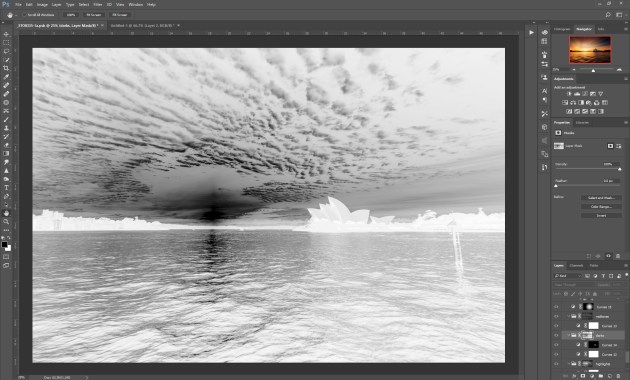
5) Layer Masks
Sometimes you only want to add contrast or sharpening or saturation to a specific part of your image, not the entire thing. Layer Masks are your way of selectively choosing which parts of a layer are active and visible. These are little boxes attached to each of your layers, or they can be added manually. An all white Layer Mask means the entire layer is active, an all black Layer Mask means none of the layer is active.
Gradients and shades of grey can be used to blend in adjustments. Try using your Brush tool with a Layer Mask selected to fine tune where your adjustments are taking place. These can be made super accurate by making selections with the Lasso, Marquee or Quick Selection tools and applying those selections as a Layer Mask.
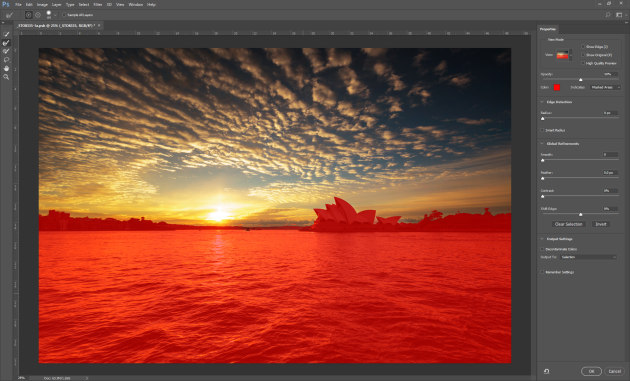
6) Selections
Selecting what part of your image you want to adjust can be done in multiple ways. The Marquee tool allows for geometric shapes such as boxes and ellipses. The Lasso tool lets you draw a selection free hand. My favourite is the Quick Selection tool which does a pretty good job of working out what I’m trying to select, combined with the Select and Mask function gives even higher accuracy. You’ll get a moving dashed line or “marching ants” to show the boundary of your selection. This is very useful for creating Layer Masks.
7) Luminosity Masks
A hot topic when it comes to Photoshop and sometimes a subject of confusion. They are seen as a complicated technique to make and use and are a popular selling point for custom action panels that you can purchase. They are just Layer Masks that target the shadows, midtones or highlights of your image. There are more specific variations but once you understand what is going on, they are not that difficult to use.
You basically start with a greyscale version of you image and set that as a Layer Mask.Because the bright areas are white and the dark areas are black, this is a Layer Mask that will focus on your highlights and taper off towards your shadows!
Create an inverse of this mask and you have your dark areas white and your light areas black, a shadows Layer Mask! Select the whole image and subtract your highlights and shadows masks and you’re left with a selection of your midtones!
You won’t always have to use these but they can come in handy. For example, you may want to brighten up your shadows without making your highlights any brighter. I have simple Youtube videos that show you how to make these and use them effectively.
8) Filters
This is a very big topic and contains so much possibility for creativity that I can’t cover everything. The most useful tools for photographers in here are the blur and sharpening effects. Combined with Layer Masks to apply these effects in a highly selective manner gives you so much more control over the sharpness/softness of your photo than you probably ever use.
The Liquify tool is amazing for portraits when it comes to flattering subjects. Keep it subtle though, a heavy hand with the Liquify Tool can lead to cringe worthy results.

9) Nik Collection
This is a free download from Google. A great add on for Photoshop and Lightroom. There is plenty to play around with in these tools including whole image enhancements, noise reduction and Black and White photography customisations. Very popular with photographers and it’s free! It can be a little more destructive than Photoshop but simple to use and produces good results when used in moderation.
10) Spot removal
The amazing engine that is Photoshop has got so good at removing unwanted objects that in most cases you can simply paint over something with the Spot Healing tool and it disappears seamlessly. Bigger objects can require a little more finesse, but there is nothing that cannot be removed when you combine the Healing, Patch and Stamp tools. Do all these removals on a new blank layer and you won’t even damage your base image.
11) Frequency Separation
I’m a landscape photographer so Frequency Separation doesn’t come in handy all that often in my workflow. However, it is incredibly useful for retouching of faces. The idea being that you create two layers to work on, one with the fine details of the image, the other with the larger areas of light and colour. This way you can smooth out patchy areas of redness or even fix some lighting without destroying skin texture.
You can also remove blemishes and spots without changing the colours in the area. This is a little more complicated to set up but once you get the hang of it you can really understand how useful it can be for beauty retouching and spot removal. Create an Action to set up these layers and it’s even easier.
12) Actions
Once you start editing all your photos in Photoshop, patterns start to appear. You start using the same techniques over and over to achieve your style of photography, or you just use techniques that require multiple tedious steps. If you find yourself doing this, record it as an action. It’s a matter of pressing record, going through all those tedious steps of setting up adjustment layers or creating luminosity masks or frequency separation layers or dodge and burn layers or all of them, then pressing stop.
Now when you click play once on that action, all those steps are done for you. Start simple by recording multiple adjustment layers such as curves, levels and saturation to your image. Take it further by recording the resizing, sharpening and adding of a watermark before sharing online. One click and it’s ready for Instagram or Facebook.
Kieran Stone is a professional landscape photographer based in Melbourne. See more of his work on his website or on instagram.