
Lightroom tips for wildlife photographers (Part two)
This is part two of a two part series on editing wildlife images. You can see part one, from last week, here.
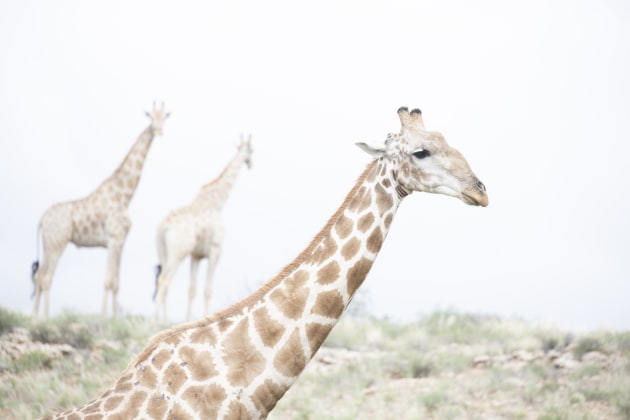
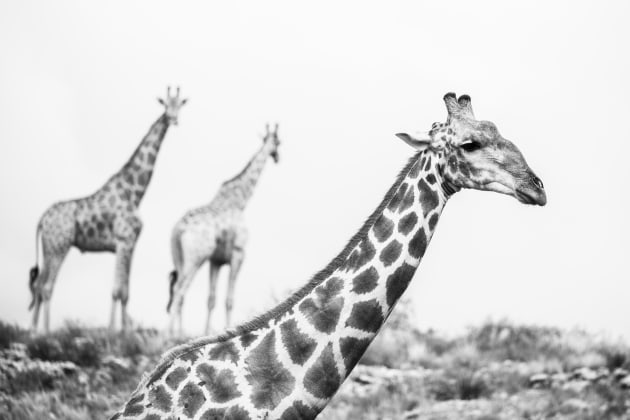
White balance
For most of our wildlife photography we set our cameras to Auto White Balance. We might occasionally go off-piste with something funky like a tungsten setting to create a blue hour effect, but generally AWB gives us a good starting point.
Shooting in RAW means we can then adjust the white balance in Lightroom without damaging the image quality.
AWB often needs a little tweaking with the Temp slider. Animals shot in shadow, for example, might benefit from some gentle warming to remove excessive blueness. As always restraint is the key to a natural looking image here. You’re never going to generate a convincing golden hour effect just by cranking up the white balance to eleven.
So too with Tint, which we use occasionally, for example if an image looks a little too magenta, although never more than +/- 10 and usually less. We rarely use the White Balance Selector (eyedropper) to neutralise our tones, it works very well with many photographic genres, but with nature images it can remove precisely the warmth of light we’re trying to capture.
Exposure
We tend to do our exposure adjustments in the Basic tab, rarely using the Tone Curve tab. Generally, we’d hope to have made a reasonable exposure in-camera, so the Exposure slider will need only a little adjustment, if any – certainly no more than 0.25 stops either way.
The exceptions are where we’re looking for a high or low- key effect when a more radical exposure adjustment is called for.
We’d hope to get this about right in-camera, but with challenging subjects like, for example, white swans on a misty lake, judging the right amount of over-exposure to achieve the required effect is tricky in the field when you don’t always have time to bracket your shots.
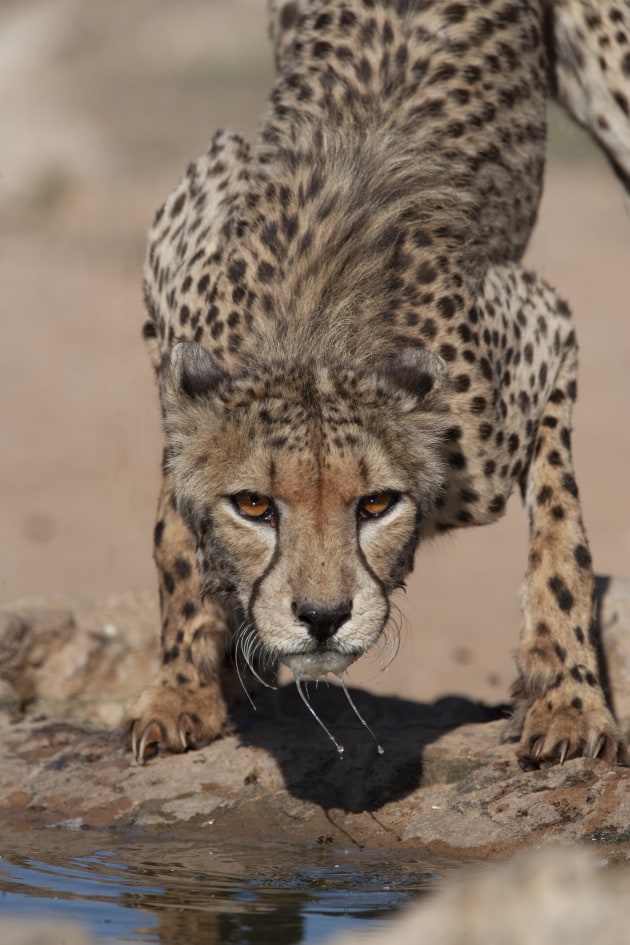
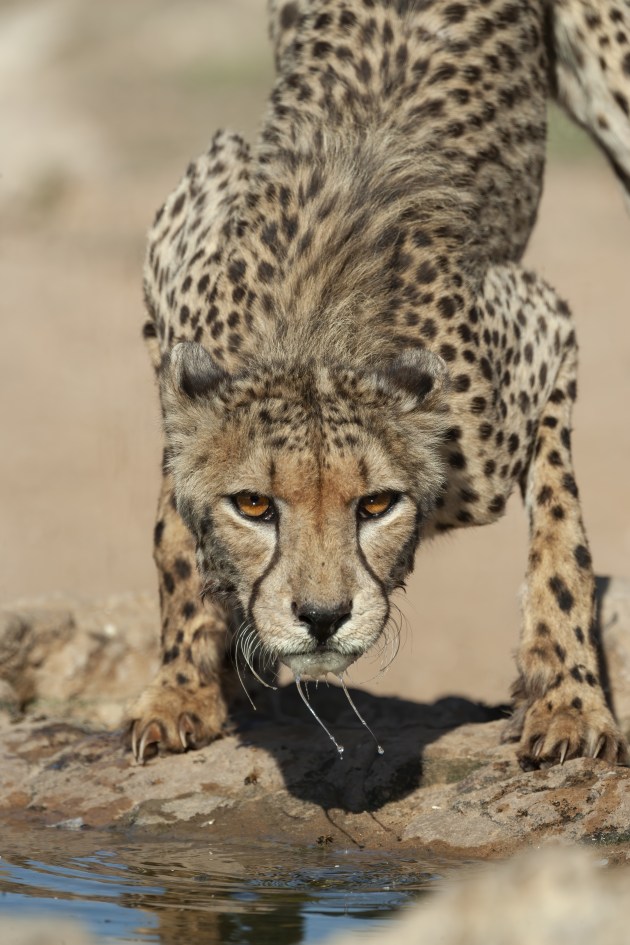
If we’re subtle with the Exposure slider, we’re much more assertive with the highlights, shadows, whites and blacks. Whites and highlights work in tandem, we’ll often increase whites significantly to punch up the Raw file, but decrease the highlights to avoid them burning out.
Many animals and birds have bright tones that can easily blow out – white feathers and fur, shiny horns or muzzles. So while we might add +50 or more to the whites, we’ll sometimes drop the highlights by as much as -100.
Shadows and blacks similarly operate in tandem, so opening up the shadows by moving the slider to the right often demands a slight decrease in the black, to maintain sufficient contrast.
Our shadows and blacks adjustments tend to be more restrained than our whites and highlights, not least because brightening the dark tones too much can add substantial noise. We’d rarely adjust either by more than +/- 15.
All the while we’re adjusting tones we keep an eye on the clipping warning triangles in the top corners of the histogram. For publishing purposes it’s inadvisable for the tonal range to extend right to the limits in most cases, so if we see a clipping warning we’ll pull the sliders back in a little.
We rarely use the Contrast slider – it’s a bit too rough and ready. We much prefer to target our adjustments .
Presence
The presence sliders are a big temptation, offering enticing image ‘enhancements’ but flirting with the danger of excess. Who wouldn’t want more clarity in their subject, more texture in fur and feathers? But this is where it’s very easy to make the real world appear unreal.
We’ll often add a little Clarity, perhaps +10, but rarely more than +15. And if we’re adding clarity, we’ll often use masking to apply it just to the animal, preferring to leave the background softer.
The Texture slider isn’t something we generally tend to adjust, to our taste it rarely enhances natural subjects. Dehaze we also rarely use, though applied locally through masking it can sometimes help reduce the softening effect of an out of focus foreground object like a leaf across the subject.
RAW files often need the colour enhancing a little, but be wary with natural subjects not to overdo it. Vibrance is another of those sliders that’s often abused, making green grass too emerald, water too blue.
We’ll often apply a little positive Vibrance, but generally no more than +10. And we’re tentative with the Saturation slider, which, like the Contrast slider, can be a bit too broad brush for most things.
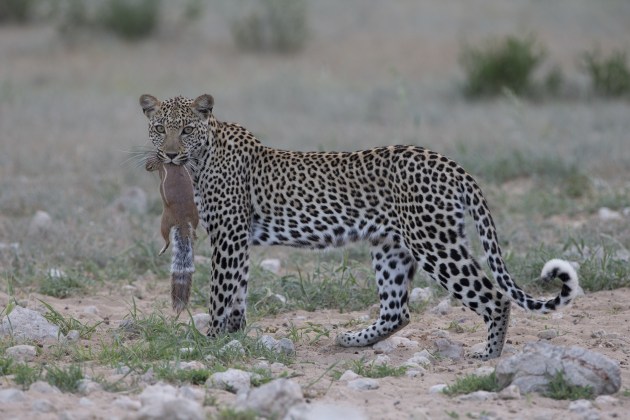
Selective adjustments to make your subject pop
Lightroom has powerful masking tools which allow for selective adjustments within the image and used carefully can really make your subject sing.
In masks, the Brush tool is probably the most useful, allowing us to ‘dodge and burn’ our image by applying tonal adjustments to specific areas. It can also be good for applying a little extra sharpening to key areas such as eyes, though as we’ll discuss later, we prefer sharpening outside of Lightroom.
Generally, we use the brush with a lot of feathering, only using a hard-edged brush for small, well-defined details like eyes. As well as enhancing the overall balance of tones in different parts of the image, the brush tool is also useful for dulling down distracting highlights, such as bright rocks, branches or glimmers of sky among foliage.
The Select Subject function works very well but rather than use it to enhance the subject, we’ll often invert the selection (click on the three dots for this option) and adjust the background instead.
Subtle changes to subdue the background, such as reducing Clarity a little, making it a little darker or lighter and dampening distracting highlights, all can help make the subject animal ‘pop’.
We’ll further refine this technique occasionally by not only inverting the subject selection to select the background, but also intersecting this selection with a linear gradient, dropped down from the top of the image.
By then applying a Clarity reduction, it’s possible to emulate focus drop-off, reducing the clarity most at distance, but progressively less as you get nearer the subject’s plane of focus.
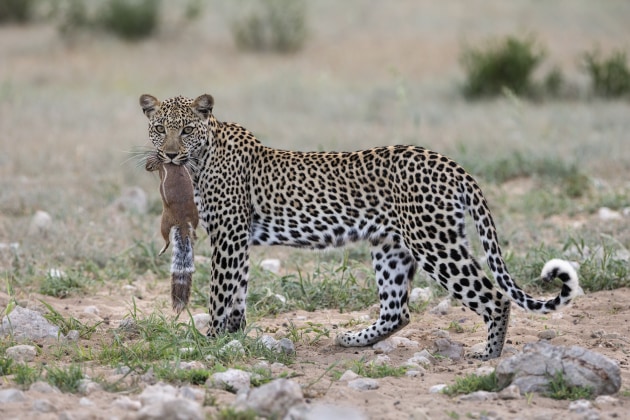
This can be a powerful way of making the animal stand-out in situations where you perhaps needed quite a lot of depth of field to make your subject sharp throughout, but in doing so rendered the background intrusively in-focus.
The degree to which you apply these selective adjustments to enhance your image will depend on your end use – you may need to be less bold with an image destined for competition, for example.
But whatever the end use, try to exercise restraint and as a guide ask yourself whether someone would be surprised if they saw the RAW file of your processed image.
Look out for the final part next week.