
Lightroom tips for wildlife photographers (Part three)
This is part three of a three part series on editing wildlife images. You can see part one here, and part two here.
HSL/Colour
We don’t use this a lot, but occasionally it’s handy to dampen down colours which appear unnaturally oversaturated, such as acid-yellow flowers. If you use a polarising filter, watch out for foliage turning electric-green, and adjust the hue and saturation to combat this effect.
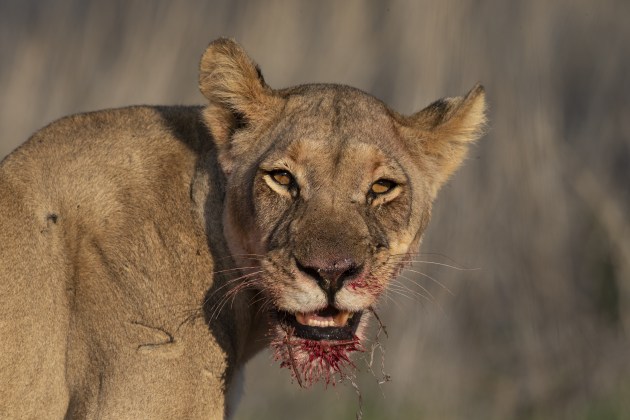
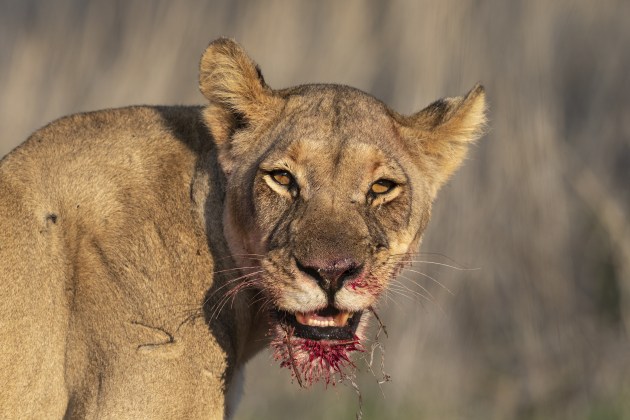
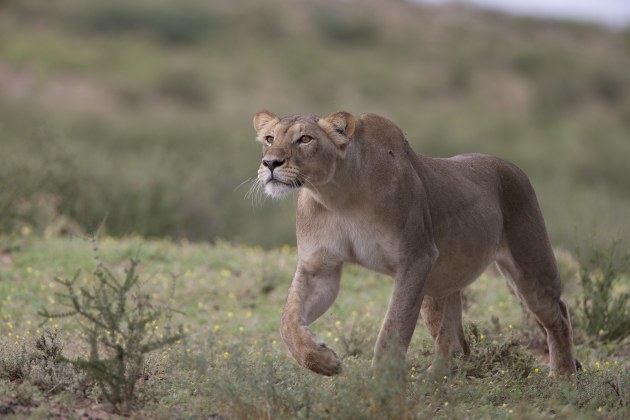
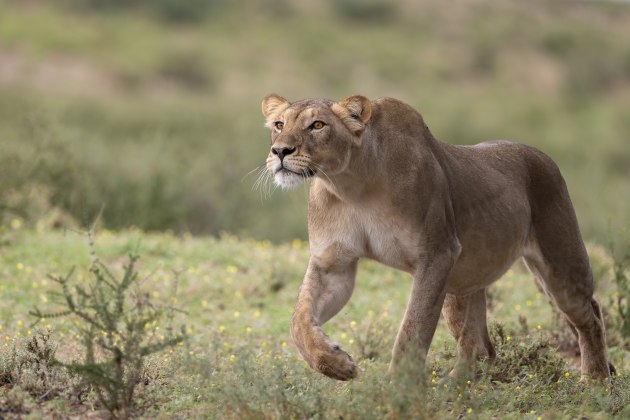
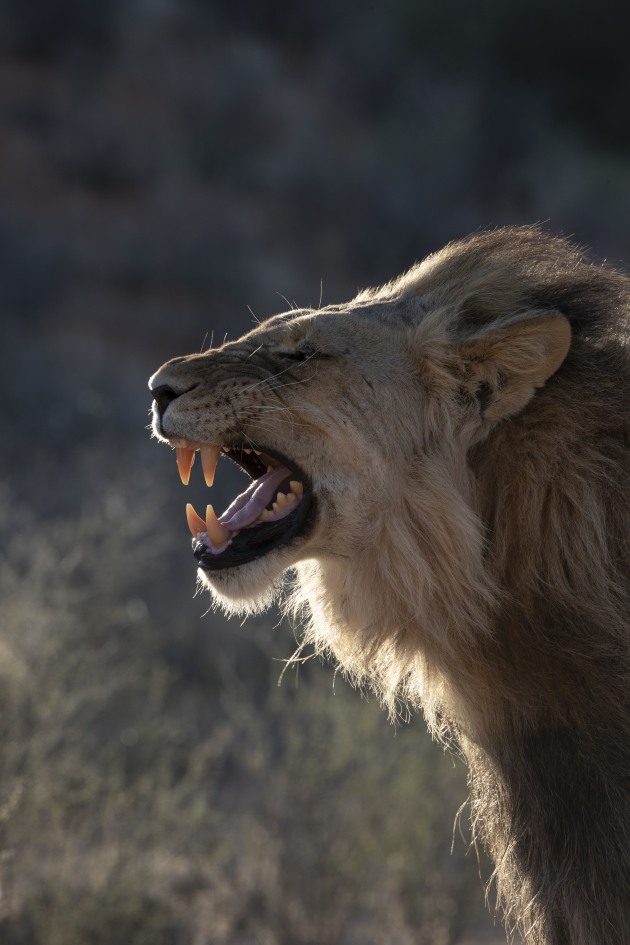
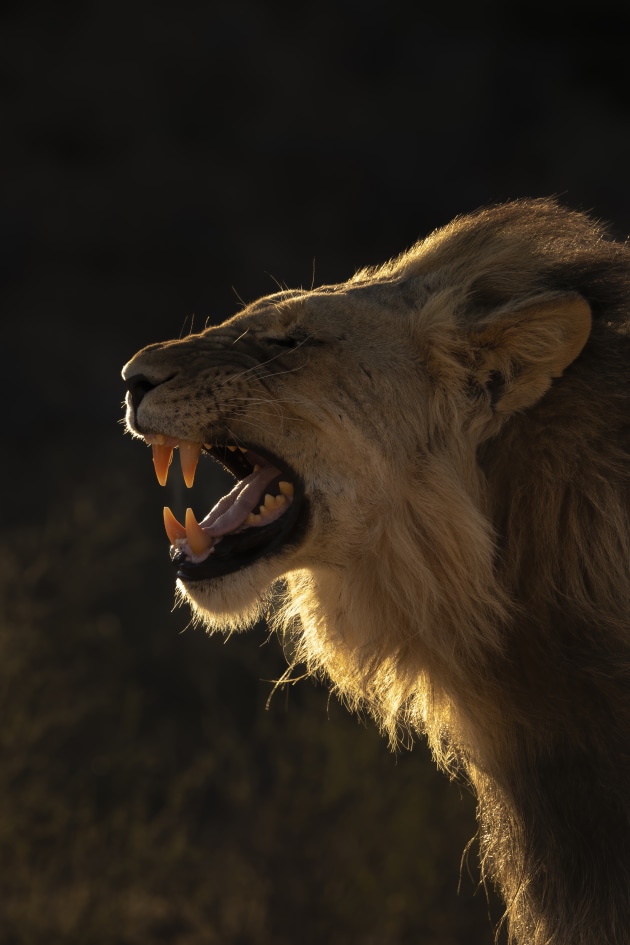
Targeting specific colours can be an effective way of helping make your subject shine. If we’ve photographed a lion, with muted fur tones of yellow and brown, against a wet season grassy background, with verdant hues, we might drop the saturation of those greens so they are not out-competing the animal.
We might even reduce the luminance of the greens, to darken the background if the animal is a light-toned subject. As ever, subtlety is key.
Noise and sharpness
Once we’re happy with the image in Lightroom, we’ll finish it in Photoshop. We prefer to do our dust removal in Photoshop, using a combination of soft-edged Clone stamp and Healing brush tools.
If there’s any noise reduction needed, we do this in Photoshop, using the Topaz Denoise AI plug-in. Topaz is a very powerful tool, but noise reduction should only be used on images that really need it, rather than by default.
Overuse can give a plasticky effect, soften the image, and produce random artefacts, especially around highlights. We find the auto setting in Topaz far too strong and generally set a very low level of Reduce Noise, and the minimum level of sharpening possible.
As a rule we don’t sharpen our images before archiving them, other than occasionally applying a little local sharpening to, for example, an animal’s eyes if the focus was a tiny bit off. Overall image sharpening should be applied according to the intended use, an image for the web will need very different settings to an image which is to be printed.
So we export our images from Lightroom as 16 bit tiffs, do any necessary work in Photoshop, then save them for archiving as uncompressed 8 bit tiffs, with no sharpening applied.
Only when we come to use individual images for specific end purposes will we apply the appropriate amount of sharpening. We have Actions set up in Photoshop to batch resize and sharpen images for various uses including Facebook, Instagram, etc.
The final edit
When we’ve worked through a series of images and output them fully processed, we’ll do a final edit, comparing all our images and deleting any that don’t make the grade. Working as a couple allows us to give objective feedback on each other’s images and point out the shots, that if we’re truly honest with ourselves, don’t quite work.
The final task is to keyword our images to make them searchable. We keyword our images individually in Photoshop, creating templates on the fly for use with multiple images of the same subject.
It’s a laborious, painstaking process but ensures we are happy each image is thoroughly and accurately keyworded with all the relevant metadata fields filled in.
It works for us, as we edit our shoots very hard and only keep a relatively small number of images, but If you’re dealing with lots of images it makes more sense to do your keywording in Lightroom, where you can apply relevant data to multiple images at a time. You can create sets of keywords in Lightroom which you can apply regularly, for different species, locations, etc.
Keywording is essential if you wish to submit your images to photo agencies, but it’s also valuable for your own uses, especially as your image archive grows.
Be thorough but relevant with your keywords, including the obvious info such as species’ common and scientific names, location, and behaviour, but also any relevant concept words, such as ‘fierce’ or ‘cute’.
We also include photo techniques, where relevant, such as ‘high key’ or ‘monochrome’.
This is useful if we’re looking for images to illustrate specific photographic approaches, perhaps for a slideshow or article. And don’t forget to include copyright and contact details in the metadata.
Once we’ve completed keywording, we’re finally ready to archive the images. We save the tiffs and RAW files on three different hard drives, plus a fourth kept off-site and updated every couple of months.
We also convert the images to high quality JPEGs and upload them to a cloud storage service, which means we can access them when we’re away from home, so long as we have internet access.

A final word
Perhaps more than most photographic genres, wildlife is unforgiving of excess in the digital darkroom.
With post-processing we’re generally aiming for a final image with a good range of tones and no clipping, natural colours, a complementary, but subdued background, and emphasis on the animal through the restrained enhancement of contrast and clarity, colour saturation and luminance, and differential focus effects.
But then sometimes we apply more radical transformations for creative effect and to push at the boundaries of the genre. Either way, there’s a balancing act to perform. The outcome should be like successful cosmetic surgery – the appearance enhanced, but no signs of the operation that produced it.