The flyer’s guide: 10 tips for better drone images
Advances in drone tech have made flying and shooting easier than ever, but nice gear is just one part of the equation. Take your aerials to the next level with these tips.
#1 Research everything
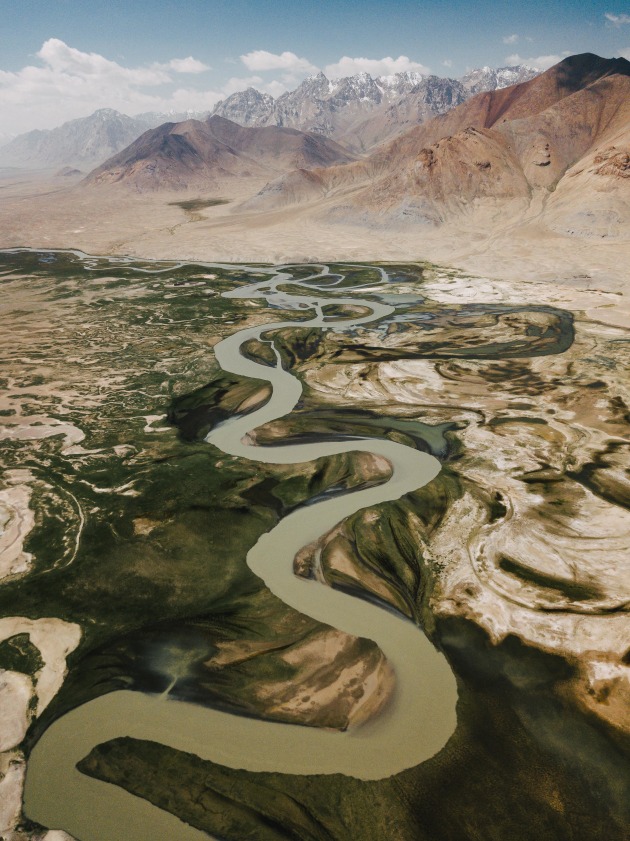
The vast majority of my images have not come about from luck alone. The locations have been thoroughly researched online using Google Maps and Google Earth, which provides a satellite image of the subject and its surroundings.
Google Maps is not only a great tool to locate unique subjects but can be used to scout suitable locations to launch from outside of the No-Fly-Zones. Too often I’ve come up with an idea for an aerial image only to check the DJI app and find it’s a no-go.
PhotoPills is great for checking sunrise and sunset times and the exact location in which this will happen. With this knowledge, you can plan to fly within the first 15-20 minutes after sunrise and 30 minutes before sunset to maximise the warm light and long contrasting shadows.
Once I arrive at my destination, I always walk around before flying to look for hidden obstacles like powerlines and trees, and I also use this time to choose the best location from which to launch safely. It’s important not to believe everything Google Maps shows you. Environments can change dramatically due to natural causes like storms or man-made interference like construction work.

#2 Keep cool and recognise you and your drone’s limitations
Mastering the basics of flying your drone is not only essential for capturing amazing images, but dramatically increases the amount of fun you can have as well.
As you gain more confidence, you will find that utterly terrifying time you flew through strong winds over the ocean only months ago is now executed with precision and finesse: it’s now become a calculated risk. This ability to take calculated risks isn’t something you just get from flying an hour every few weeks. The skills and intuition of the best drone photographers come after at least 50-60 hours of flying in a variety of conditions, gaining a feeling for what the drone can handle, how best to navigate tricky situations and recognising when it’s best to abort and fly home.
It’s important to note that calculated risks don’t include playing chicken with low flying aircraft or speeding over the Opera House. Award-winning images can be captured all within regulation.
With your increased flying abilities comes improved safety for those around you and the prevention of unnecessary complications resulting in a lost or crashed drone.
Each drone brand features a plethora of safety features along the lines of optical vision sensors, return to home fail-safes, altitude and distance limitations, and now even physical restrictions on where your aircraft can leave the ground. Familiarising yourself with what these features do, how they interact with each other and, more importantly, what to do if a feature fails, will keep you and your drone safe to fly another day.

#3 Utilise Filters
Drone ND filters work in precisely the same way as filters for your handheld camera and are vital in controlling shutter speeds to match frame rates for video, as well as helping with long exposures. Polarisers help boost saturation and cut glare and many brands sell ND filters that feature polarisers built in. The major downside is that once the filter is on, you’re stuck with it until you land and swap it over.
Look for a filter that uses high-quality optical glass and is light enough to leave mounted during gimbal calibration. I almost always leave my polariser on unless attempting to capture reflections in the water.
#4 Dip It Low
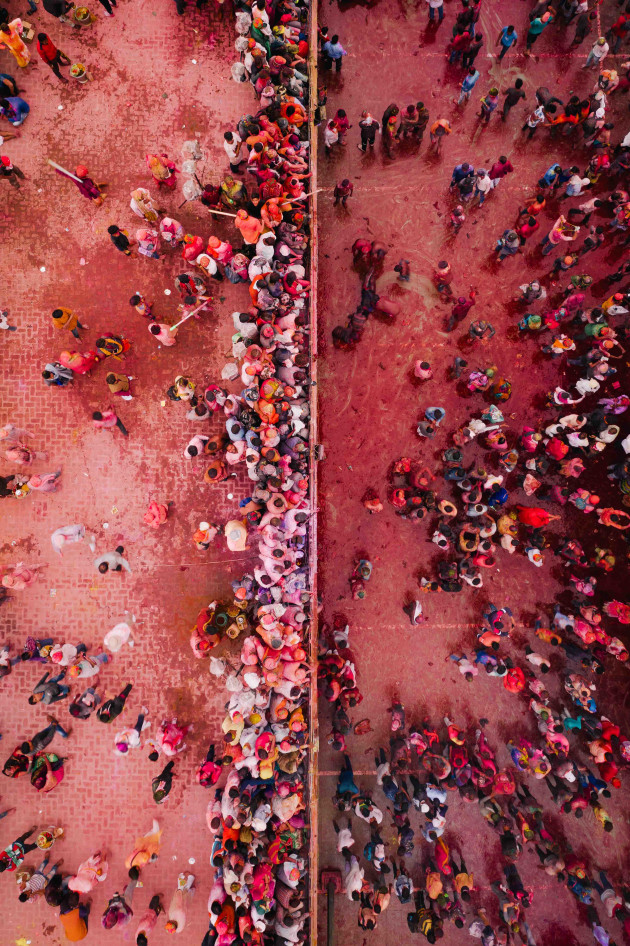
Huge expansive shots look great, but don’t forget the intricacies of detail are often found closer to the subject. This could mean flying 10-20m above a subject or hovering at eye level. Imagine those times you had your handheld camera and were wishing you were that little bit taller or had longer arms to extend out beyond a cliff. Drones make this possible.
Some of my favourite drone images from around the world are taken from close proximity to the subject, bringing the viewer into the scene when executed correctly.

#5 Map Your Controls
Depending on the brand of your controller, you may wish to map your controls to suit the features you use the most. I can only speak from experience with DJI, but I’m sure many of the features are standard.
I’ve set my gimbal control settings to react quite slowly and fluidly for smooth video clips. The trade-off is that it takes quite some time to move the camera around to compose a still image.
Mapping the gimbal tilt up/down to the five-way C Button (the little joystick at the bottom right of the screen) is a quick way to flick the gimbal from a horizontal to a top-down position and vice versa.
You may wish to edit how your drone reacts when you move certain sticks or buttons too. This is helpful when filming cinematic video as it smooths out the often jerky default settings the units come programmed with. Do some research however as you can drastically change the flight dynamics of your drone by doing this.
#6 Tweak Your Camera Display
How each photographer sets up his or her camera is personal, and the quality and size of your monitor or phone will also play a role in how you set up the display. Take care not to clutter yours with too many distractions.
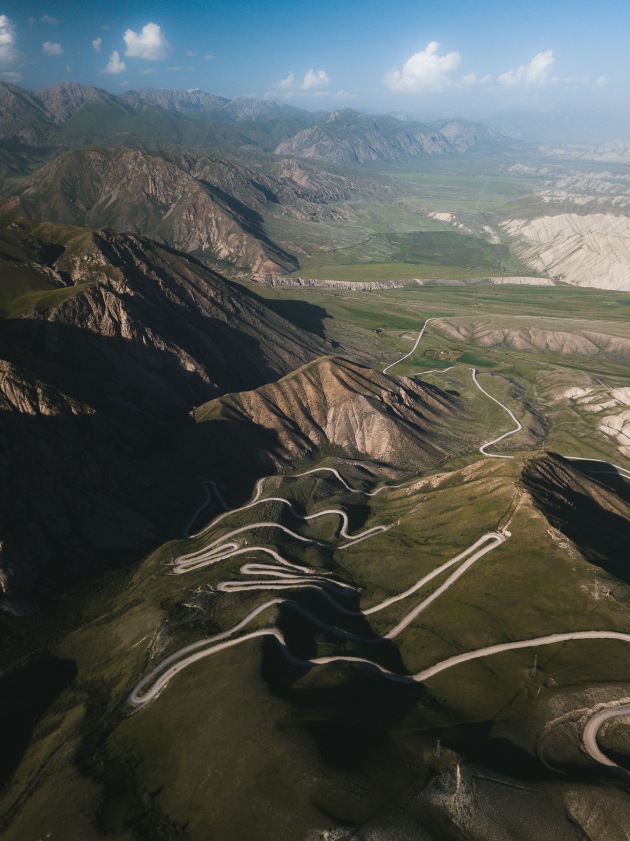
- Gridlines + Centre Point: There are numerous styles of gridlines, but I prefer the setting that splits my display into nine even rectangles and my centre point to a small ‘x’. Without these settings, top-down and abstract images become difficult
- Histogram: The reproduction of exposure levels in what the camera sees to what is displayed on your screen can vary. Sun glare is also another annoyance that can make exposing a scene difficult. This is where the histogram comes in. Once I know the composition is perfect, I’ll adjust the shutter speed, aperture and ISO accordingly so my exposure histogram sits to the right of centre without any part of the peaks falling off at either end
- Overexposure Warning: This blinking feature can annoy the hell out of a lot of people, but I always switch this on when flying in bright light or high contrast situations to ensure I don’t blow out too many highlights.

#7 Shoot in Manual
To really take creative control you should look at controlling all settings manually. This will not only progress your aerial work but will give you a greater understanding of how aperture, shutter speed and ISO work in all aspects of your photography.
Newer drone models feature variable aperture cameras which are fantastic for controlling the depth of field and for low light.
As a general guideline when flying in good light, you can adjust your shutter speed to expose the scene and leave the ISO at its lowest. When capturing high contrast scenes, you may wish to set the camera to Auto Exposure Bracket (AEB) 3.
This captures three images of different exposure values to choose from or blend in post-production. Finally always keep your ISO as low as the scene allows. And if possible, shoot a longer exposure in tripod mode (see point 10) and trust the gimbal will do the rest.
#8 Look for Subjects and Compositions Beyond the Norm
To really stand out from the crowd you should always be looking for a subject to photograph that is unique and possibly never seen before. If shooting a well-documented location, by all means, snap the ‘classic’ shot, but also try experimenting with unique compositions and angles. Easier said than done right?
It would be fair to say that much of Australia’s aerial social media content is of its incredible and pristine coastline. These locations are easily accessible, colourful and simple to compose for beginning photographers. Try and find a quiet beach as they are a great place to hone in your skills when flying over water, in the wind and potentially over trees.
50/50 split images are super easy but often overused. Attempt to use them in a way that conveys a story and add some creative flair by introducing new elements and lines. Ask yourself whether your image holds a viewer’s attention and has them questioning what is happening in the scene.
Some of my favourite and most interesting images were taken a mere one-to-two hour drive from Sydney and were the result of careful planning and numerous visits to the sites to chase the ideal light. It’s a case of those photographers willing to put that little bit extra into obtaining a shot that will come away with the winners.
Many of my aerial images are captured at angles that provide environmental context to the subject, which is important as far as visual storytelling goes. I prefer these angles as each image forces the viewer to question whether it’s been captured from a drone or high vantage point using a handheld camera.
For large subjects like castles, begin by flying to a distance that first encompasses the whole subject, then fly in a circle around it, shooting from all sides. Then gradually work your way closer covering different angles for shots that place focus on the individual subject. From here you can fly directly over the subject to grab a top-down shot before flying back home.
Remember that the least amount of zig-zagging and backtracking across the skies will maximise your angles while minimising battery consumption.
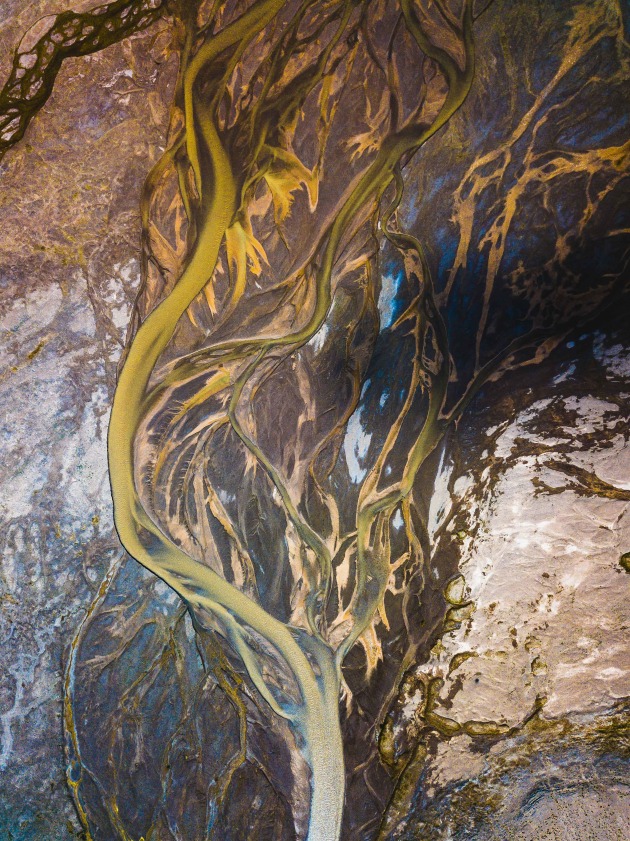
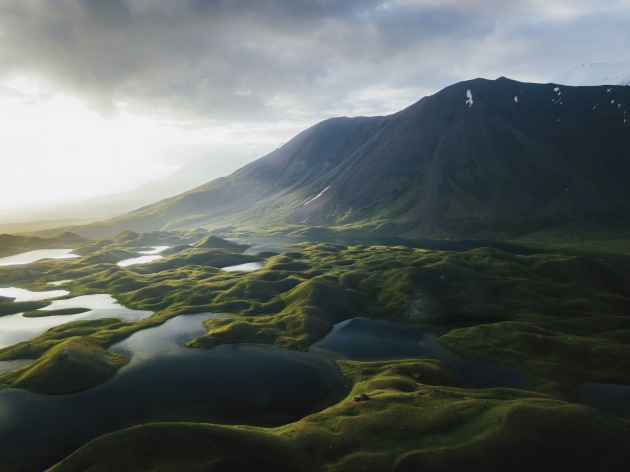
When photographing abstract scenes, top-downs are usually the way to go. For large scale, relatively flat textures like water, try experimenting with different angles as this can exaggerate the size of a subject. Abstract scenes benefit from the use of polarisers which add contrast and often work well with shadows illuminated from the side, such as at the end of a sunrise golden hour and the beginning of sunset golden hour.
There’s also nothing wrong with adding a little imagination into the mix to invoke some emotion.

#9 Use sport and tripod mode
Two modes which I use religiously on DJI products are Sport and Tripod.
Sport Mode is useful to combat fast winds, to change perspectives quickly or when filming over a great distance. It’s also a super fun mode to zip around in. Remember that some (or all) of your vision sensors will be off during this mode so it’s best to use with zero obstacles.
Tripod mode works much as the name suggests. By steadying or ‘dumbing down’ the controls, you minimise the risk of accidentally bumping a stick and veering off into a tree or blurring your long exposures. This is the go-to mode when flying in close quarters between objects such as trees, arches or even indoors.
It’s also a great mode to use when following a person walking as it matches the walking speed perfectly. It’s also a great mode to flick into if you begin to panic or begin losing control.
The adrenaline rush from flying can make you rapidly bash the shutter button in excitement. This works ok when the light is good, but for the crispest shots, it’s worthwhile to stop and hover, or switch to tripod mode.
#10 Firmware and Formatting
Often a source of frustration, the need to update firmware seems to crop up at the most inopportune times. In principle, updating firmware should be an easy task that improves the performance and reliability of a drone. In reality, this isn’t always the case. Unless you really need the features a new patch is offering, hold out at least a couple of weeks to see whether any new issues arise.
I would also advise against updating firmware a day out from a major project unless you can spend a few hours testing that everything is working as it should.
Once upgraded, always go back through your camera/gimbal/flight settings and check whether they are still as you previously programmed. It’s not ideal having to hunt through menus mid-flight.
Also backup your data, check it twice and format your card. I’ve been caught out on a few occasions where a one-off event is unfolding only to realise I’ve run out of space on my memory card. You would be surprised at how quickly a 64GB card fills up when recording 4k footage.
When your card becomes 75% full, offload the images, double check all data has transferred properly, then format the card.
About the author: Matt Horspool is an adventure travel photographer based in Sydney. His passion lies in exploring cultures and landscapes in areas of the world many do not get to see. You can see more of his work on instagram @etchd and on his website etchdphotography.com.


