
Photo tip of the week: how to shoot the Northern Lights
We know that shooting the Northern Lights is on most photographers' bucket list (including ours!), but if you're lucky enough to find yourself in front of them, have you ever really thought about how best to capture them, or even how to identify where they will appear in the first place?
In this great video by the ever-engaging Mads Peter Iversen, he first looks at the environmental factors that cause aurora conditions, how you can identify where they might appear, and finally the best camera gear and settings to capture them.
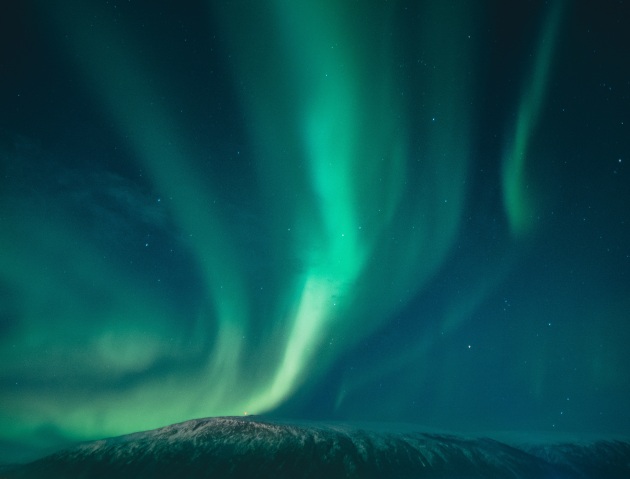
Auroras occur when electrically charged particles from the sun interact with the Earth’s magnetic fields. If this occurs in the Southern hemisphere, they’re called Aurora Australis (the southern lights), and in the Northern Hemisphere, Aurora Borealis (the northern lights).
Capturing them is a bit of an art. Once you've identified where they might appear (typically from using websites like spaceweatherlive.com to look at atmospheric conditions, and a local weather forecast to look at the level of cloud cover), you will need to work out your best camera settings based on the available light. However a good starting point is a relatively wide open aperture (f/2.8 for example) and an ISO of 1600 or higher.
Iversen suggests a shutter speed of 10 seconds, however, he’s also quick to mention that even with the above settings there are no standards when it comes to shooting auroras as the light is always different and changes constantly. Ultimately, you’ll have to rely on your photography skills and know your camera to get the shot you want.
You can see more of Iversen's videos on YouTube.