
Video: How to sharpen your images correctly
Sharpening gives your images a bit of pop by increasing the contrast on the edges, but it’s all too easy to go too far and end up with an over-sharpened mess.
In this 10-minute video, Tony Northrup demonstrates how sharpening works in Lightroom and how to know how much is enough.
Northrup notes that while almost all images can do with at least a little sharpening, going too far can result in haloing and fringing in areas of tonal transition. If there's noise in the image, it will also be emphasised.
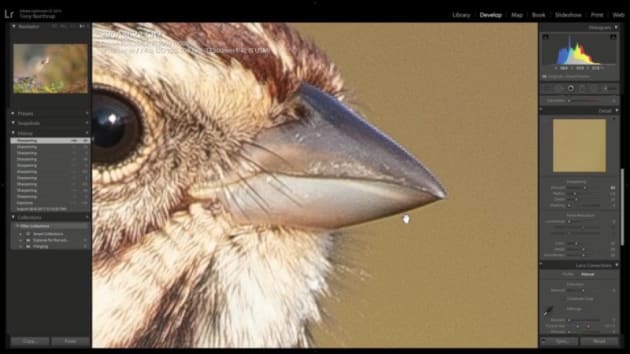
Try it for yourself - zoom in on transition areas in your image and increase your sharpening to the max setting, then bring the slider back. The key according to Northrup, is to find the balance that sharpens the image without haloing.
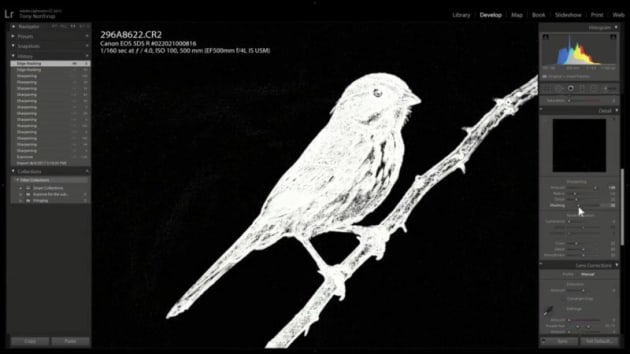
You can also use a mask to avoid adding sharpening to out of focus areas such as the background. By holding Alt (or Option) while moving the slider, Lightroom will show in white the areas of the image that will be sharpened. Increase this slider until only the parts you want sharpened are affected.
This post originally appeared here.